We have almost made to to March!!! There are a few holidays right around the corner. Most people do not decorate for St. Patrick’s Day but we do. March 17th is my husbands birthday so we decorate the house in green. When I decorate, I also put out a card holder of some sort. I did not have one for St. Patrick’s Day or for Easter so I decided to make some from the holders Dollar Tree sold for Valentine’s Day. Some might think it is odd to have a card holder as regular decor but in my kitchen it is a must. I have a friend of mine who sends me a hand made card every month and this is where I love to display it. She lives in Hawaii so seeing the card on my counter is a great way to think of her often!
Lets Get Started
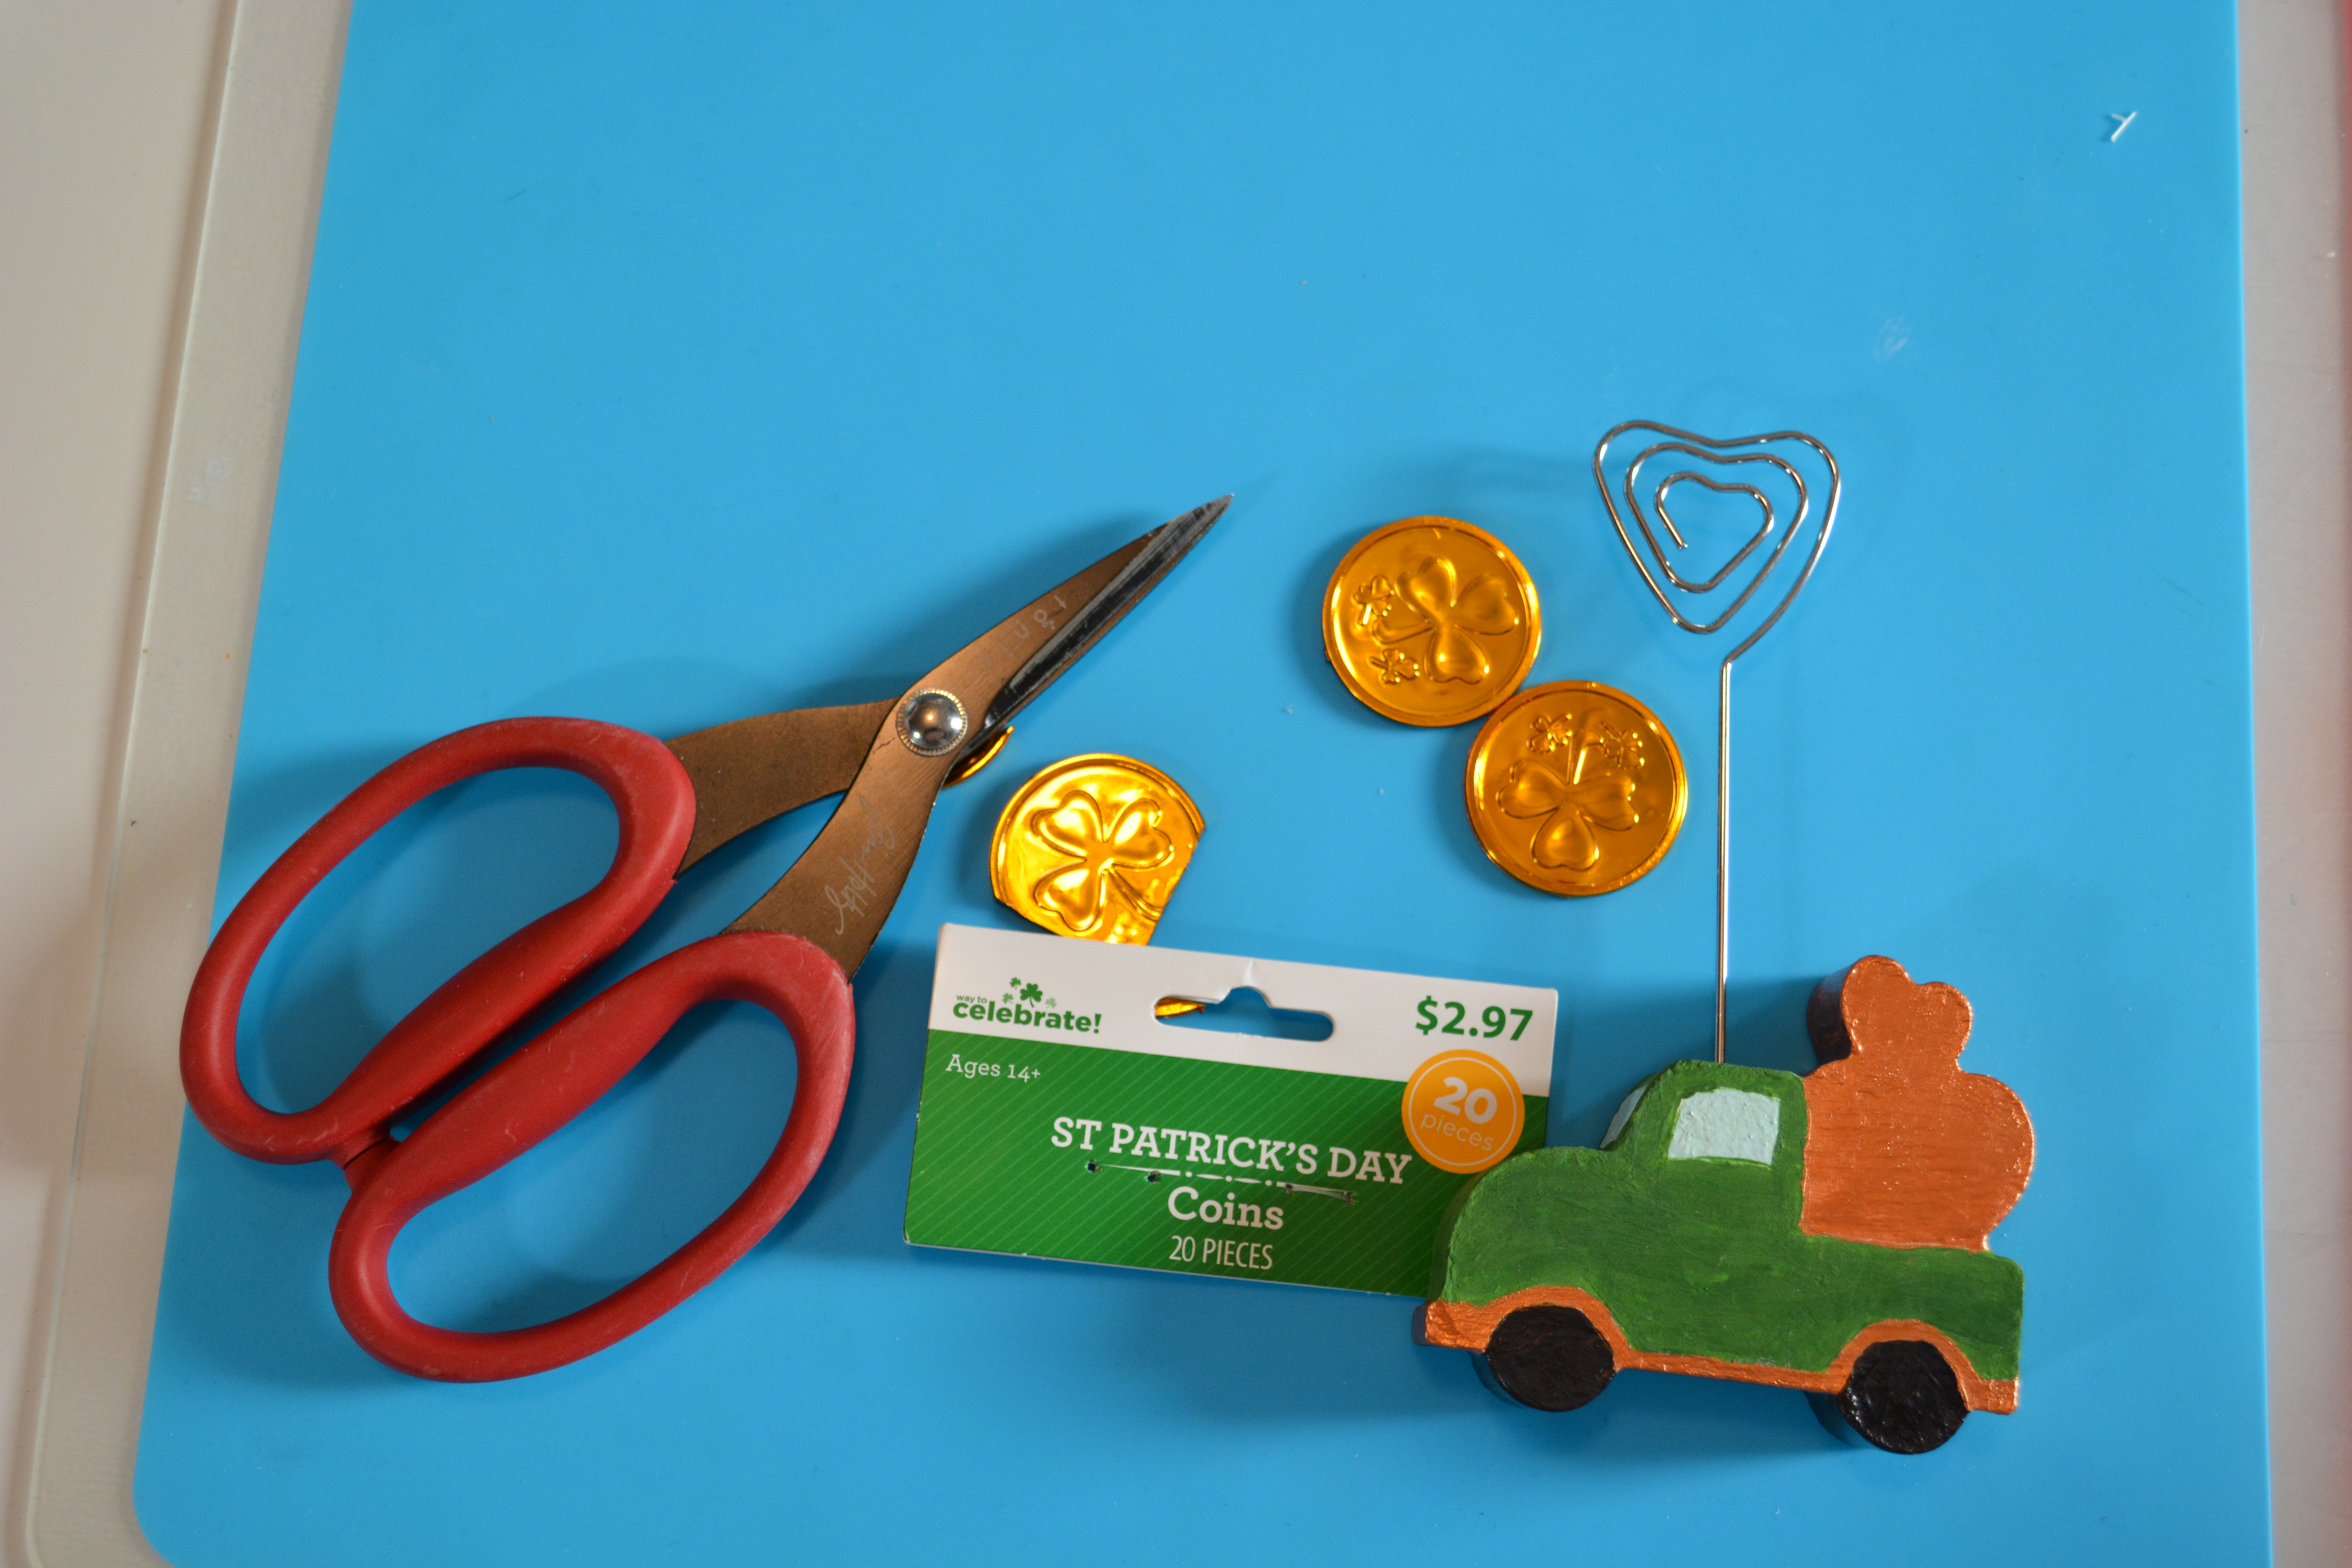
Supplies
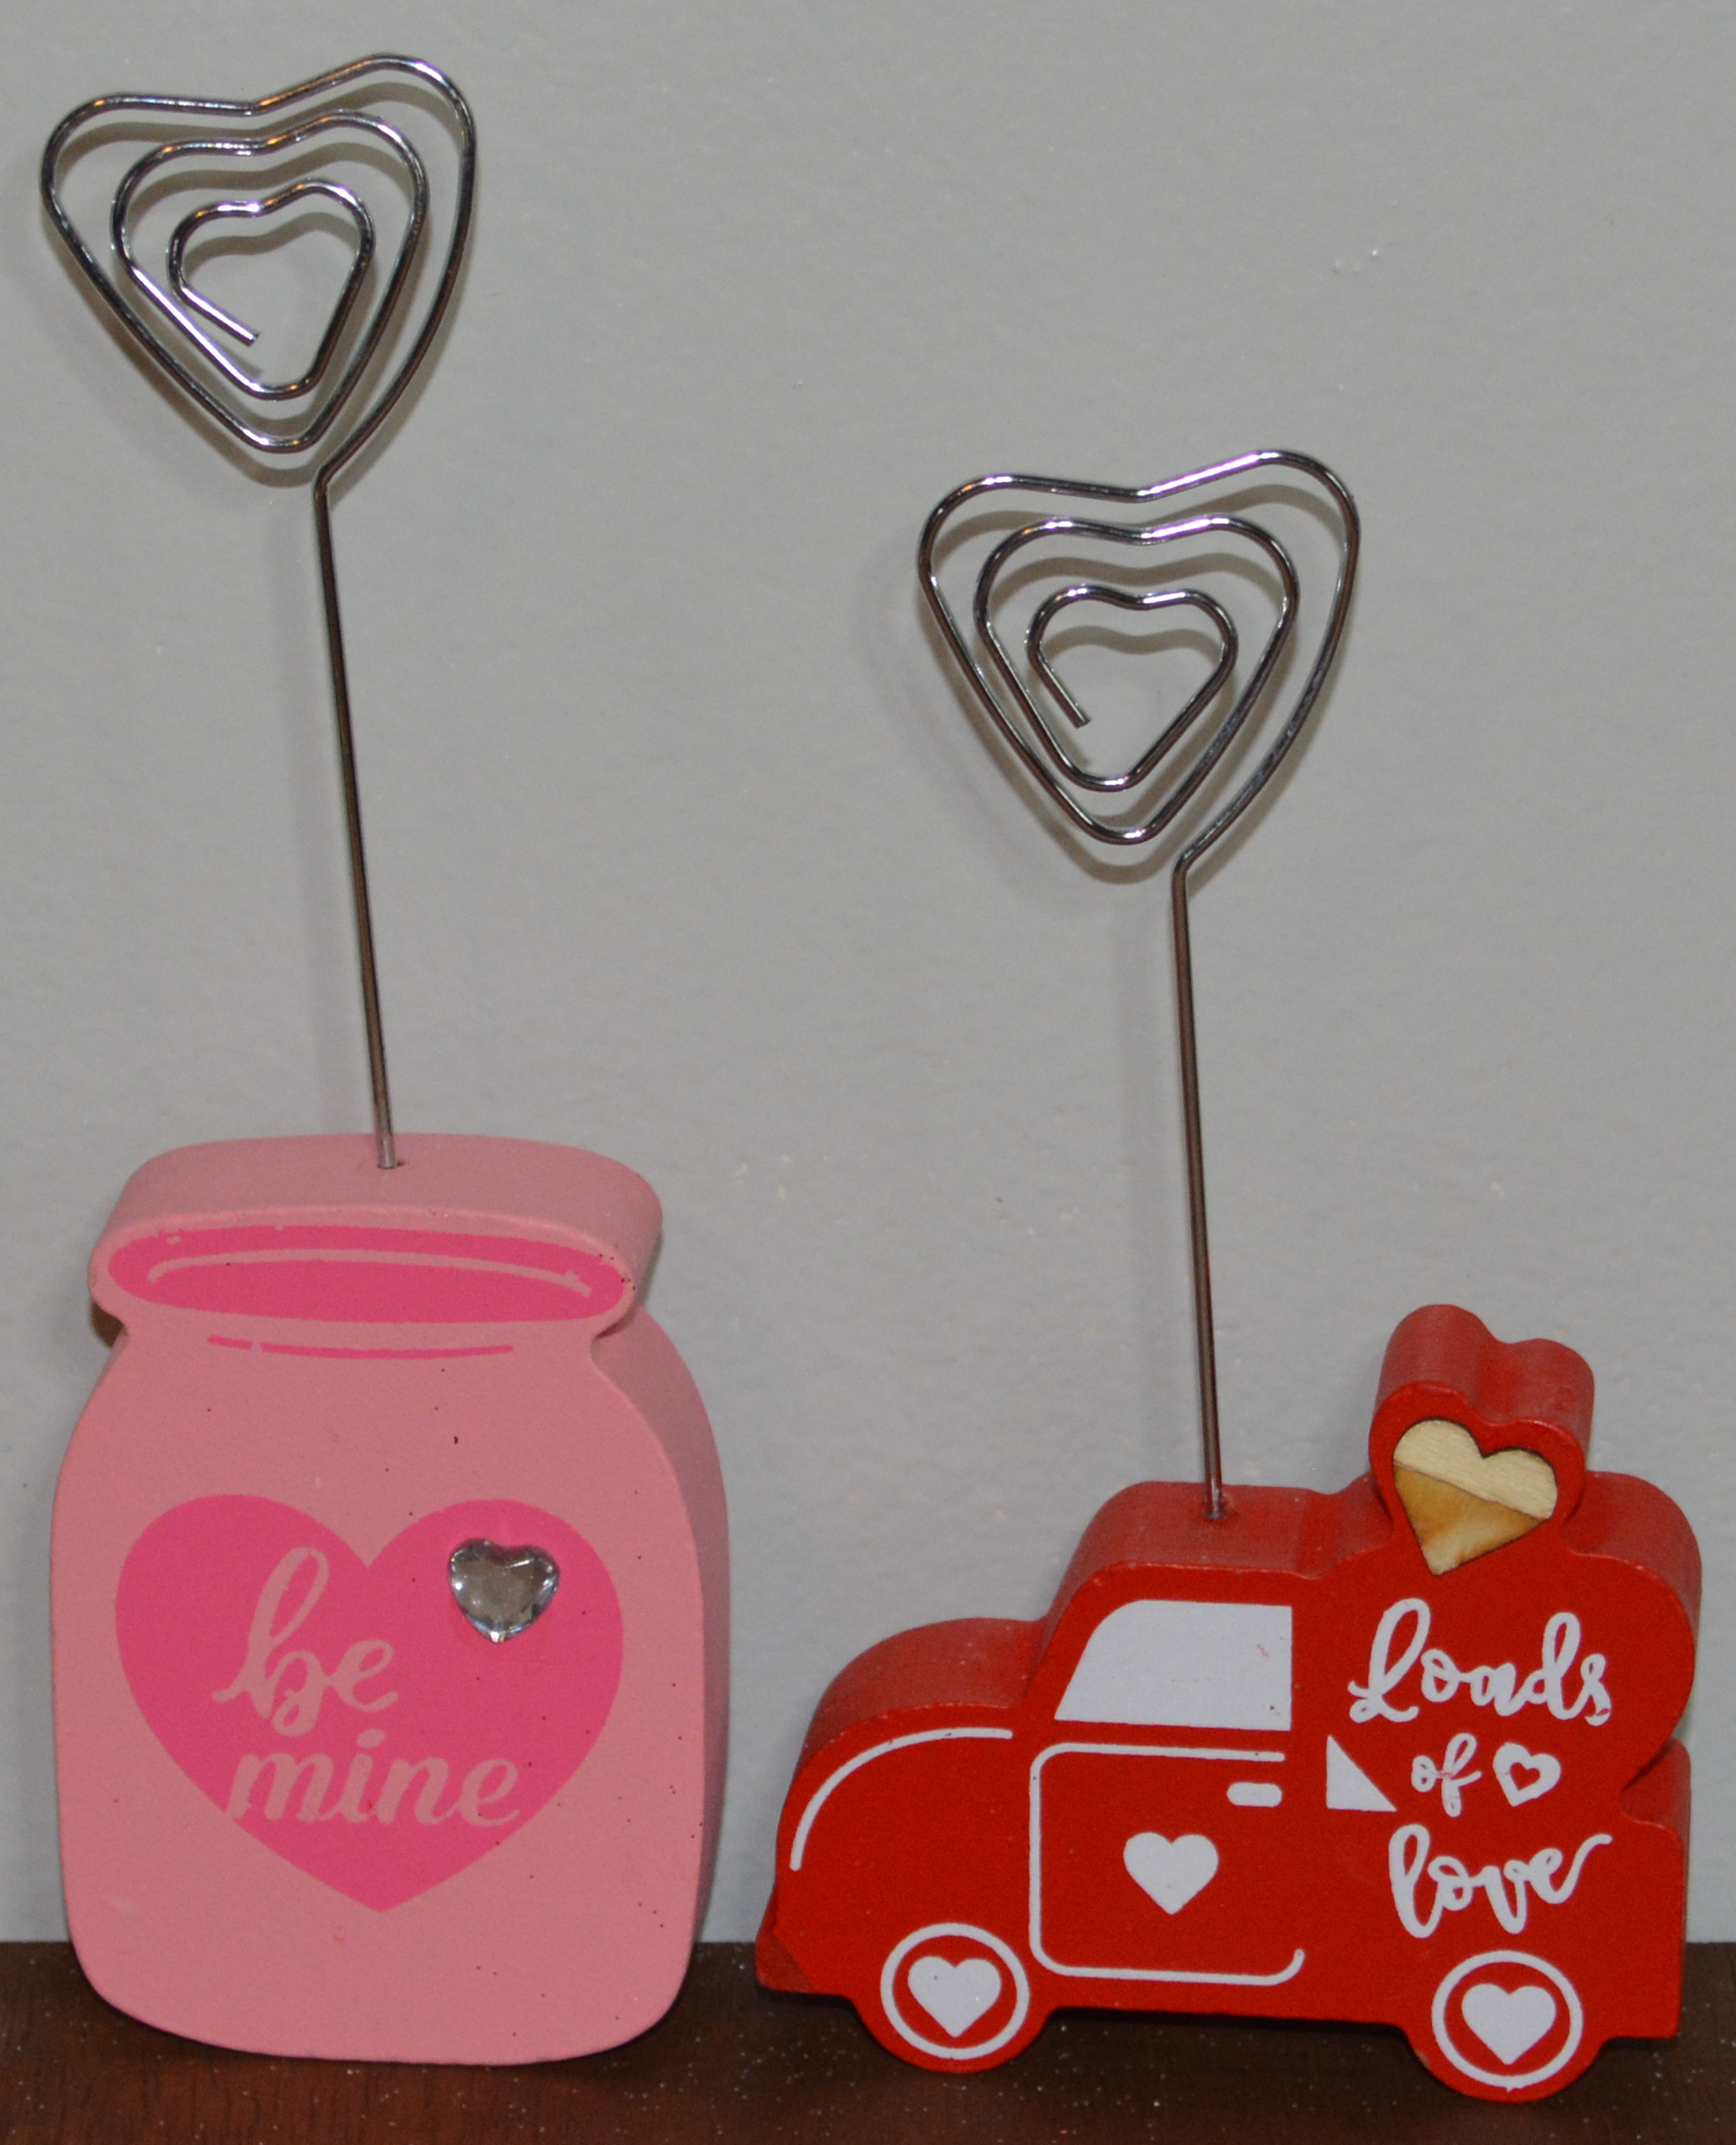

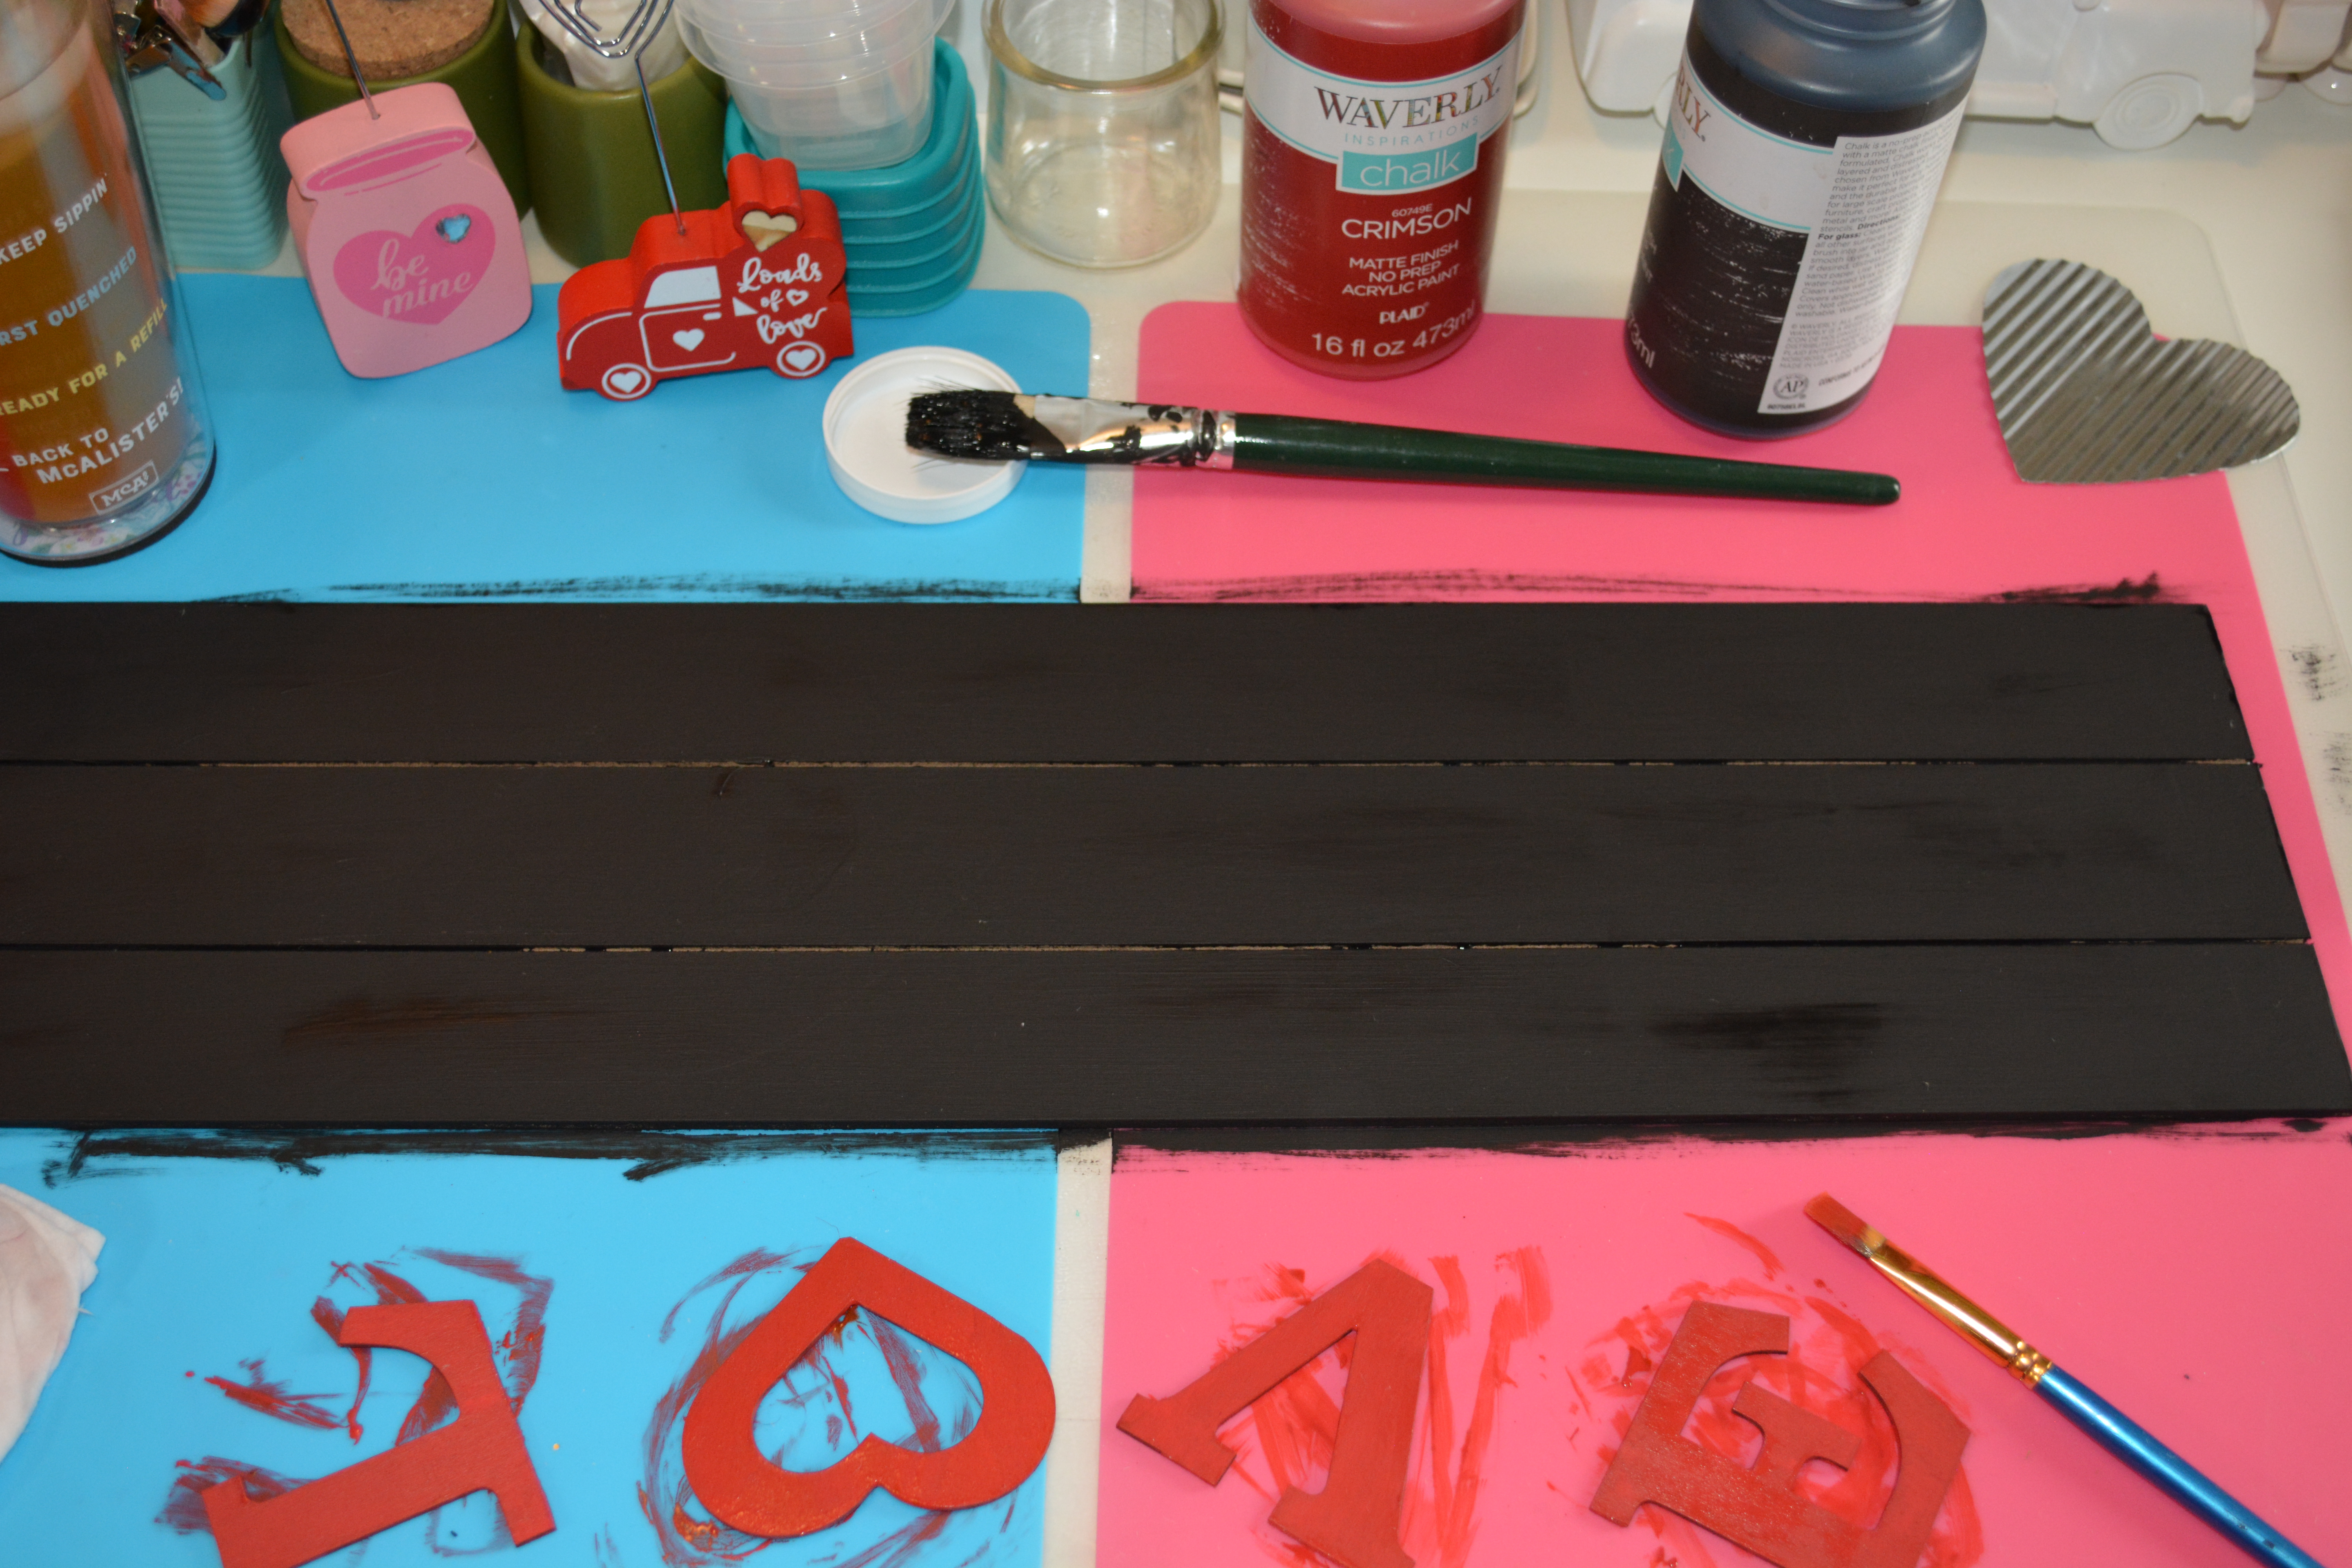
For this project I used these 2 card holders from Dollar Tree. One is a truck and one is a mason jar. They both need a face lift. I used chalk paint, acrylic paint, and Mod Podge along with several paint brushes. Towards the end of the project I used some strong scissors, fake gold coins, hot glue, and a window sticker.


To start off, I pulled the tops out of the holders. I had to twist them a bit but they finally came out. Then I popped the heart off the truck and the gem stone from the mason jar. That was rough. I stabbed myself with a knife in the process so please be careful. I did sand both pieces down a bit too because there was some glue still left on them from the embellishments.
Once your pieces are prepped I advise you prime them. For this I used Waverly White Chalk Paint. It took a good three coats of chalk paint to cover everything. Once everything is primed and dry, it is time to draw out the truck. I wanted to make sure the truck looked like a truck still once it was finished. I used a pencil to draw on the features like the bumpers, windows, tires, and running boards. If you are unsure of what an old truck looks like, just google wooden painted trucks. Several come up.
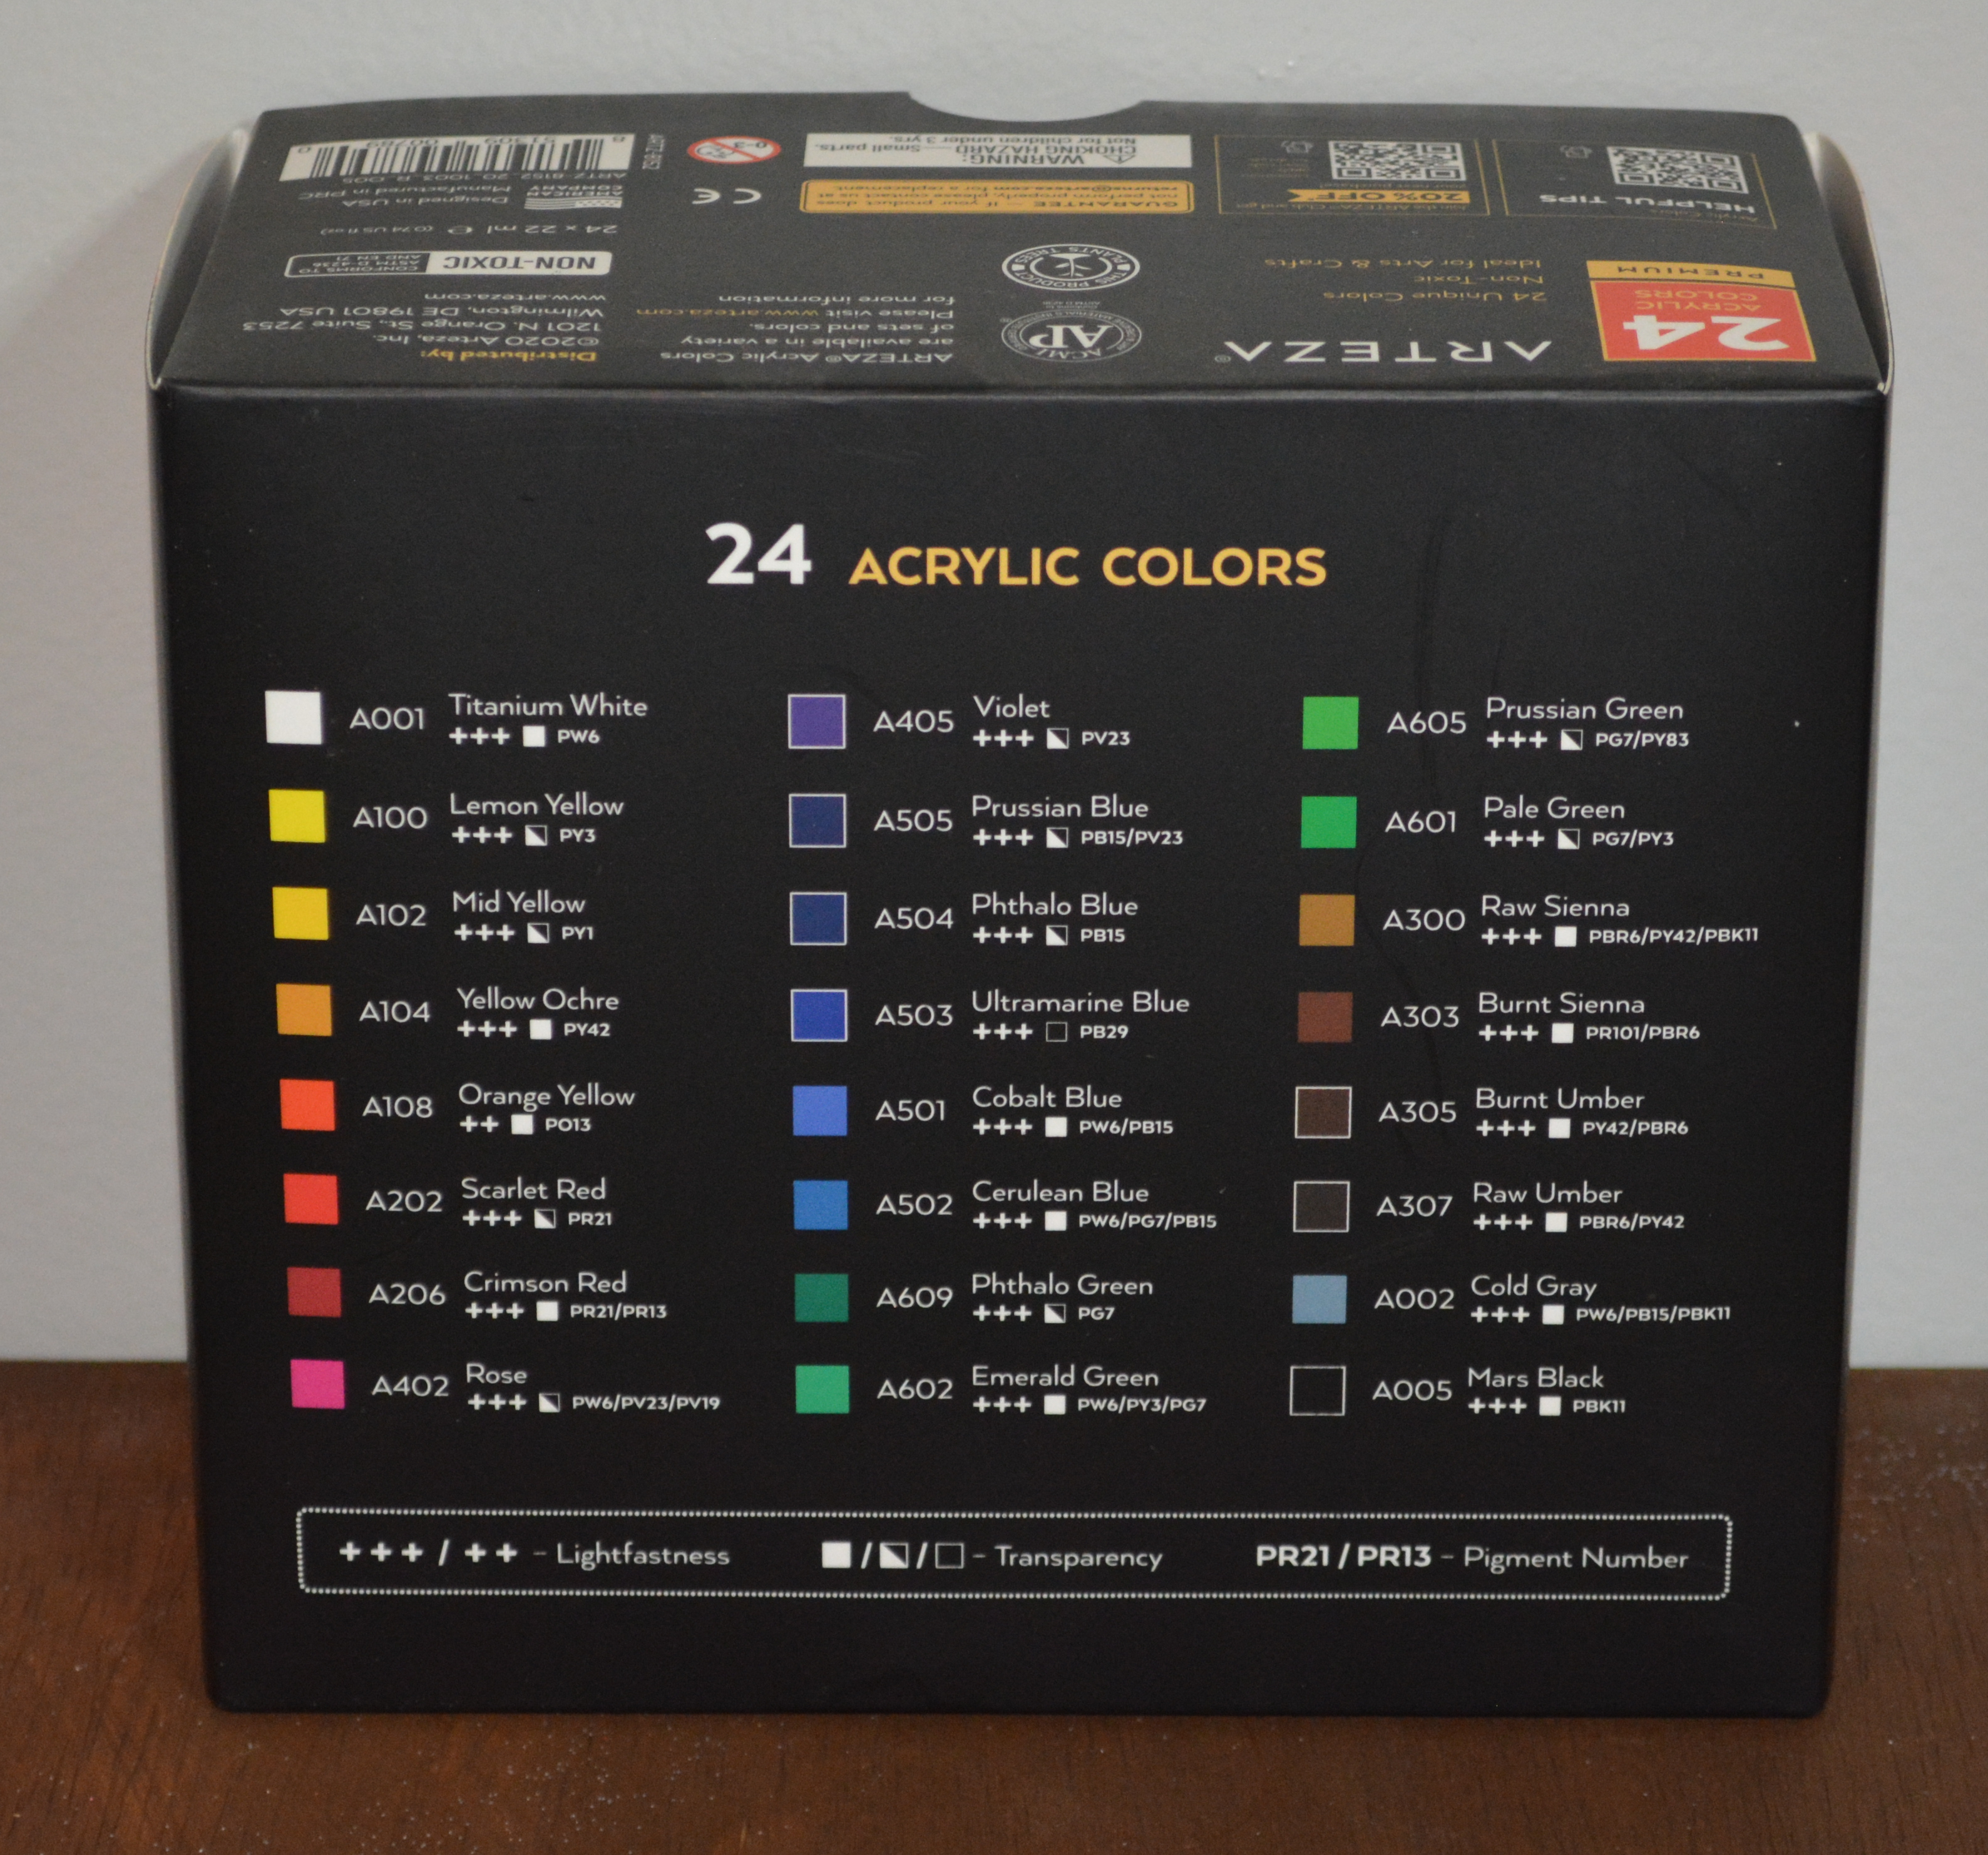
Now it is time to paint each piece. For the mason jar I used a Pool color so it would somewhat resemble glass. The truck I wanted to be green and used an acrylic paint from Hobby Lobby at first. The paint itself was terrible and would not cover at all. So I threw it into the trash and used the Arteza acrylic green paint to paint over it. The tires I painted with Ink Chalk Paint from Waverly. The penny color is a paint that was on clearance from Target. It is amazing and covers well. I was so surprised. It is a great color too.
After all of that was dry, I put two coats of Mod Podge on the mason jar. I used the glossy kind to make the it shine like a mason jar. The truck I did differently. I only put Mod Podge on the windows of the truck. That way they looked like glass.


It took me a while to figure out what to put on the mason jar. I thought about egg stickers or something like that. I looked at Walmart and Dollar Tree for some ideas but came up with nothing. So I shopped my stash and found this bunny that is a window sticker. I did add a bit of hot glue behind the ears to hold it in place. Then I put the card holder top back in it.
The bed of the truck had hearts on it from Valentine’s Day and I knew I wanted to cover them up. Gold coins were the perfect way to cover up the hearts. I cut one to make it look like it was down inside the bed of the truck. Use good strong scissors for this. I have scissors from Tim Holtz that are strong and can cut through almost anything. Then I hot glued 4 for coins around it. Finally I put the card holder back in.
Here are the finished projects. They are so cute and one of a kind. I love them. I can display cards in them proudly for the holidays. They will add to the decor in my kitchen for these two holidays where is it hard to find little things like card holders.
Let me know what you think of these projects. As always Like, Share, Comment, and Subscribe. You can find me on Instagram and Facebook under Yellow Butterfly Craft Designs.
John 3:16 For God so loved the world, that he gave his only Son, that whoever believes in him should not perish but have eternal life.
Have a wonderful weekend!
Melissa McGuire
Supplies
Truck and Mason Jar Card Holder- Dollar Tree
Waverly Chalk Paint in White, Pool, and Ink- Walmart
Arteza Acrylic Paint- Amazon
Penny Acrylic Paint- Target
Tim Holtz Scissors- Hobby Lobby
Gold Coins- Walmart, Dollar Tree
Bunny Window Sticker- Dollar Tree
Mod Podge- Any Craft Store
Surebonder Hot Glue Gun and Hot Glue Sticks- Hobby Lobby