

While Christmas has not really hit the McGuire household yet, and it will not until after Thanksgiving, it is going to be on the blog for a while. I have lots of projects planned. I am working around my three boys doing schooling from home right now, but I will make it work.
These first set of projects are ones that even if you do not have a Cricut or the time to stencil things, it is perfect for you. Only one requires painting but the other two are done by just buying the main pieces and then embellishing them.
Let’s Get Started
Project #1
Supplies


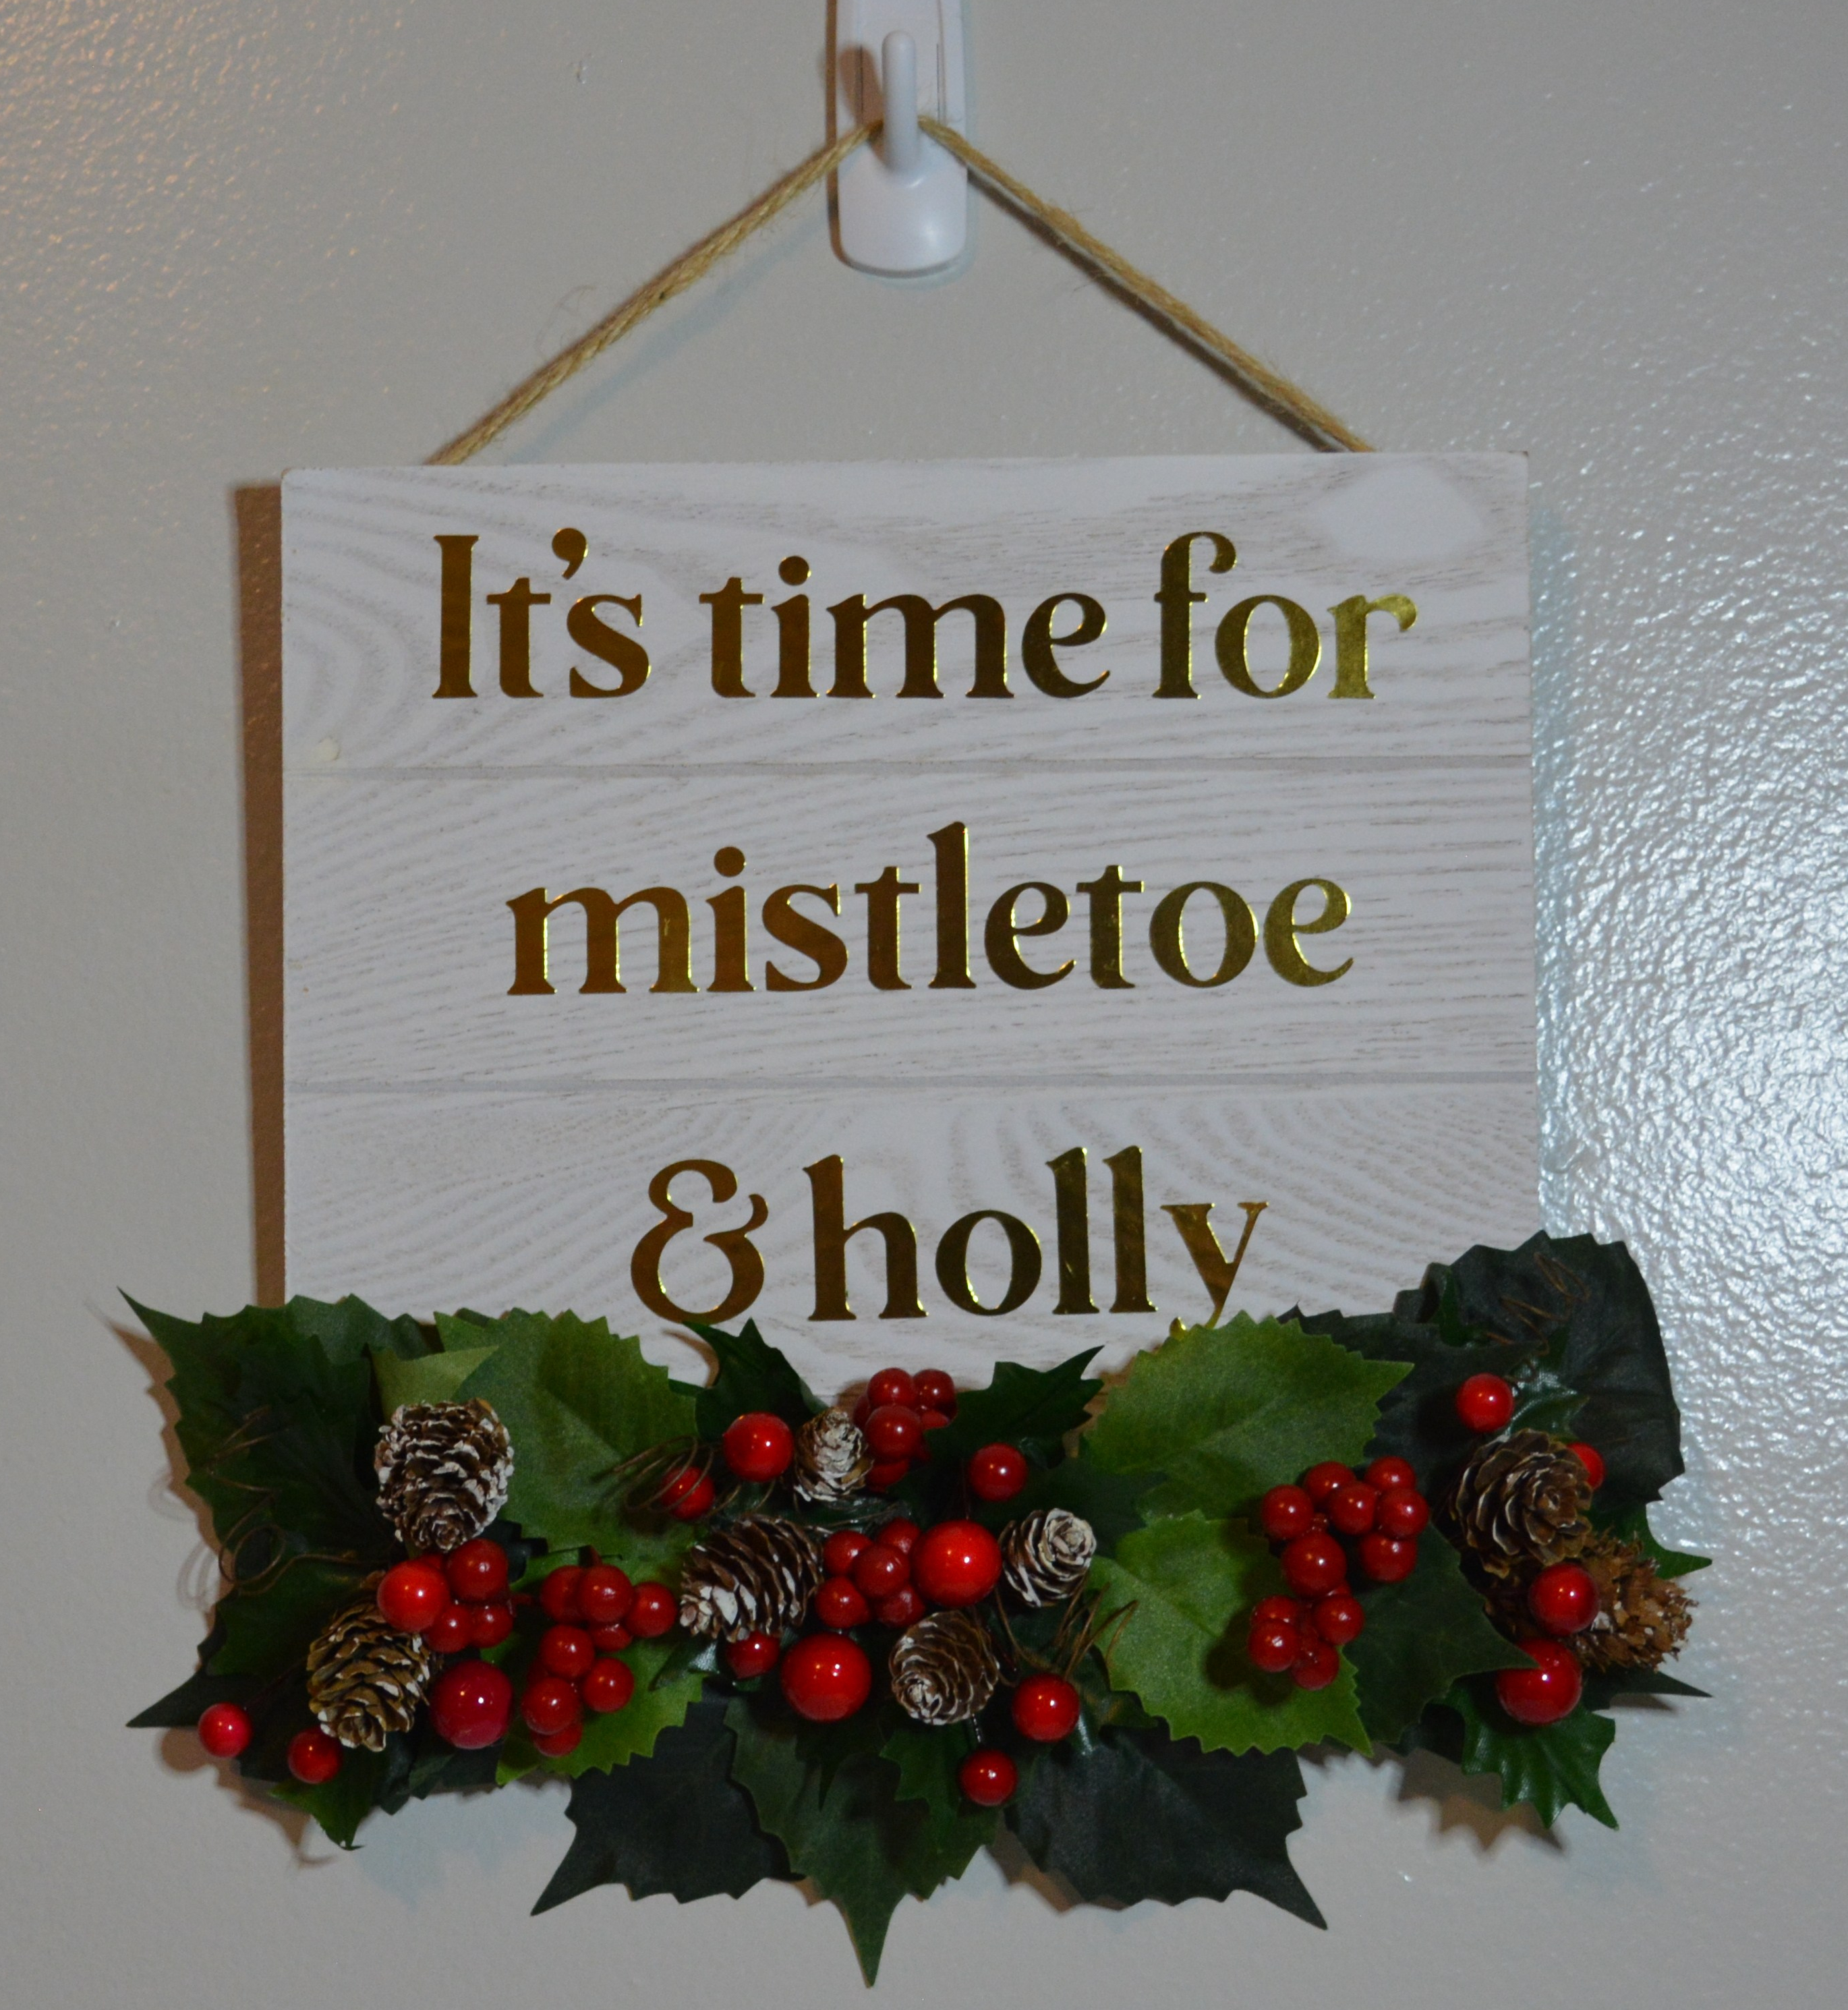
For this first project you will need a square sign. I found mine at Target in the Bullseye Playground along with the already cut out vinyl words. Another thing you might want to embellish the sign is some flowers which I got at Hobby Lobby. They have great Christmas sales right now so you will not pay full price for them. I did use some contact paper as transfer tape, twine, and some hot glue too.


To start this project I cut the string off of the wooded square. I wanted the planks to go horizonal, not vertical. Then I put wood filler in the holes so I had a solid piece. From there I weeded out the white vinyl (pull the white off of the paper decal leaving just the words behind on the paper. Also do this with the insides of the letters.) Then take the contact paper and place it over the words. Once the words are on the contact paper you can placed them on the square where you want them. Make sure you put them down where you want because the letters might not come back up. Press all the letters down well so they do not lift back up.
Next glue the flowers or holly around where you want it on the sign. I put mine at the bottom, but do what you like.
Finally put some twine on the back with hot glue. This will be your new hanger.

How beautiful is this sign, It took no time at all. I was done with it in about 10 minutes. It did cost around $6.00 because the sign itself was $3.00 and the flowers were from Hobby Lobby but I did not even come close to using them all.
Project #2
Supplies
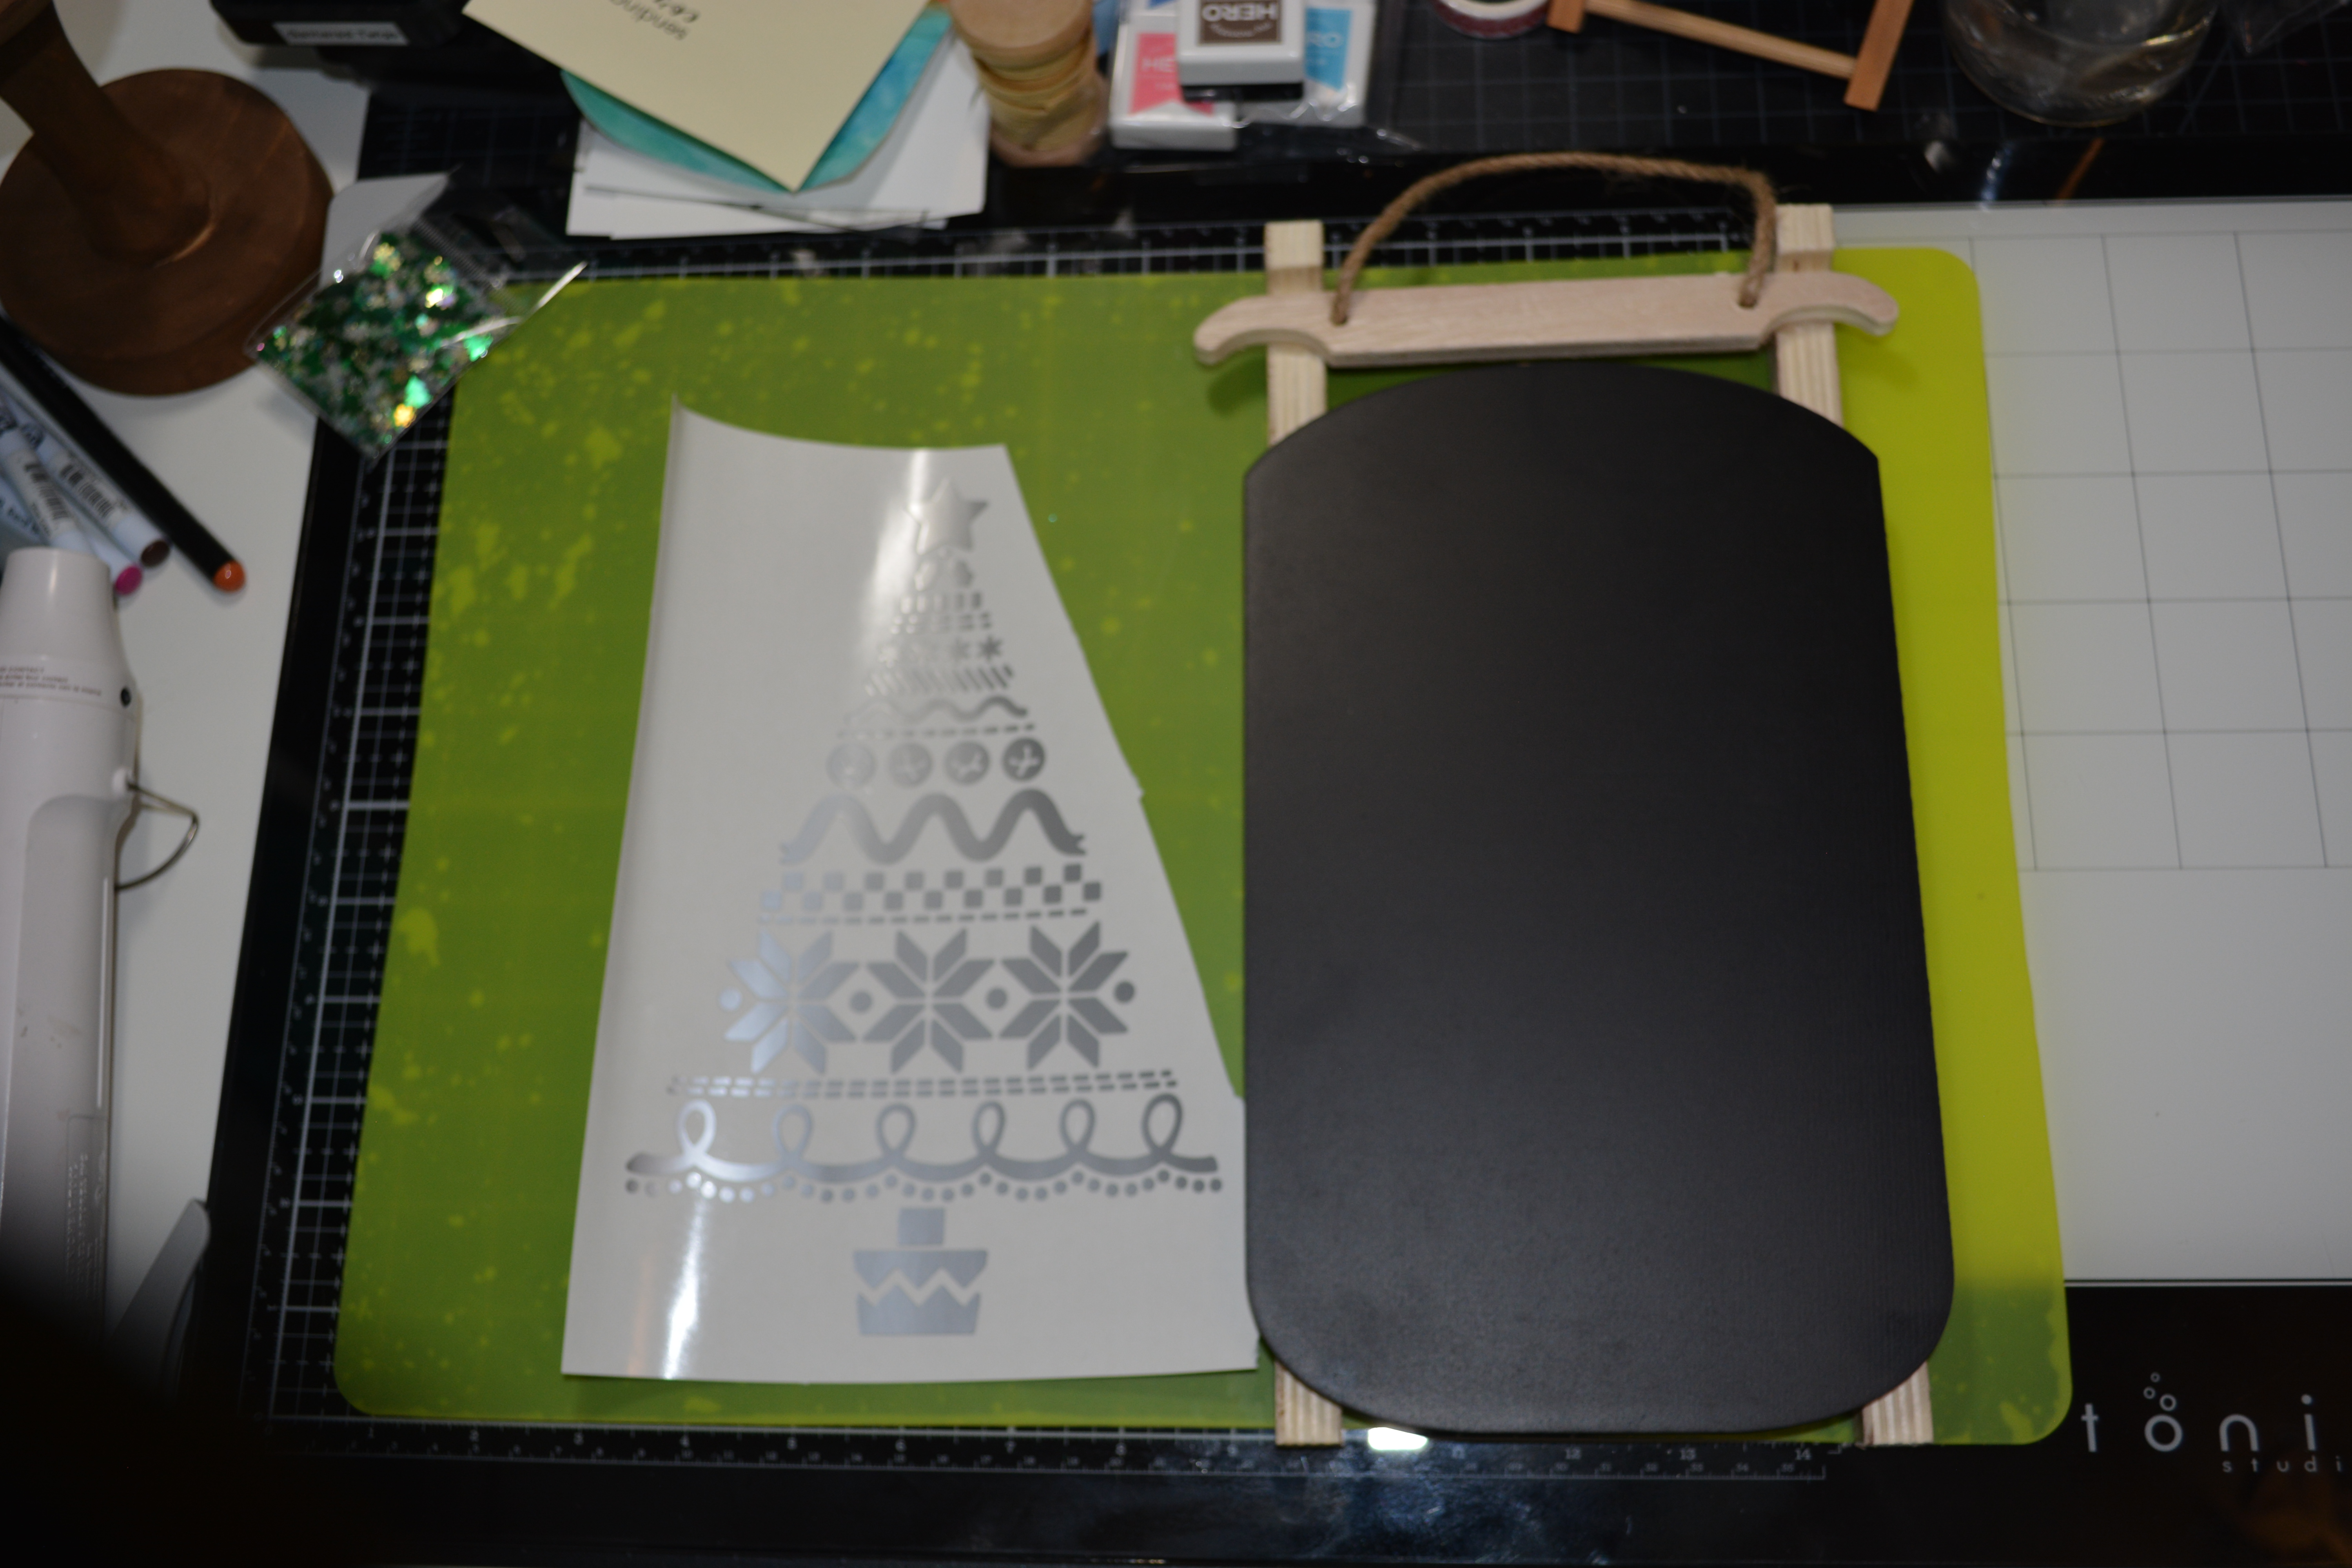

This next project was done with a sled I got at Target Bullseye Playground and flowers from Dollar Tree. None of the decals from Target fit on the sled except the mistletoe one and I did not want to copy the picture on the packaging. So I used my Cricut to cut out the beautiful tree decal.
I know I said that these were done without a cutting machine but I wanted to give you the options on what you could use if you do not have a cutting machine. Vinyl stickers of all kinds are on Etsy. You can buy them at several craft stores too. I try to make all my projects as authentic as possible which is why I did not put a Target one on this sled.
I got out my Cricut to start this project. You can use stickers, write or draw, or use stencils on the sled. I used the same method as above with the contact paper to get the vinyl tree onto my sled.
After that I used hot glue and glued the poinsettias and some leaves on the top of the sled.
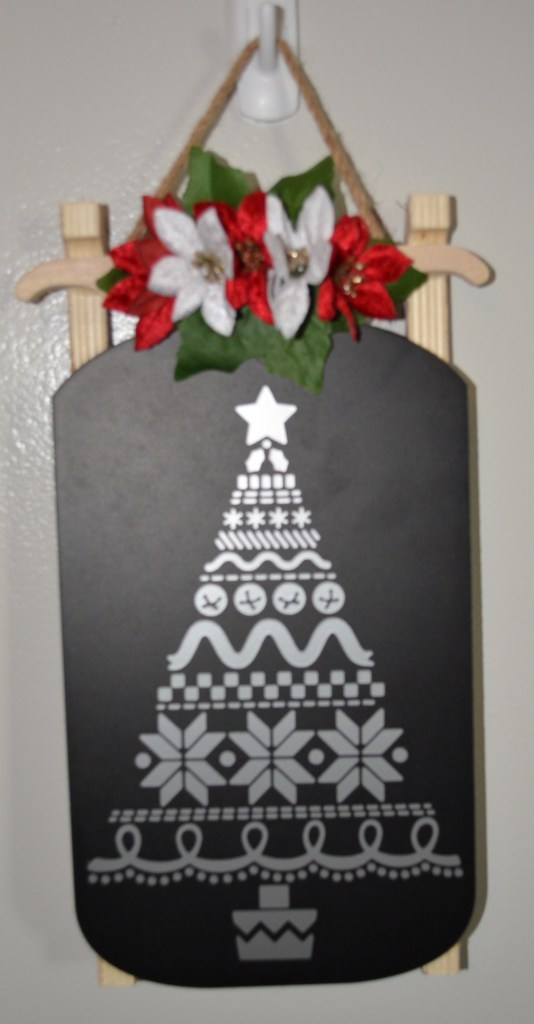
I love this so much. It turned out so much better than I expected. This would be great on a Dollar Tree sled too. I am loving the Nordic style trees this year. It is very festive and traditional Christmas decor.
Project #3
Supplies


Lots of supplies for this project. This one also takes some time to put together. You will need some type of large sign. I used a tag shaped sign from Dollar Tree. The Vinyl decal is from the Target Bullseye Playground. You will also need some paint, paint brushes, twine, sand paper and hot glue. I finished it up with some ribbon and already made bow.


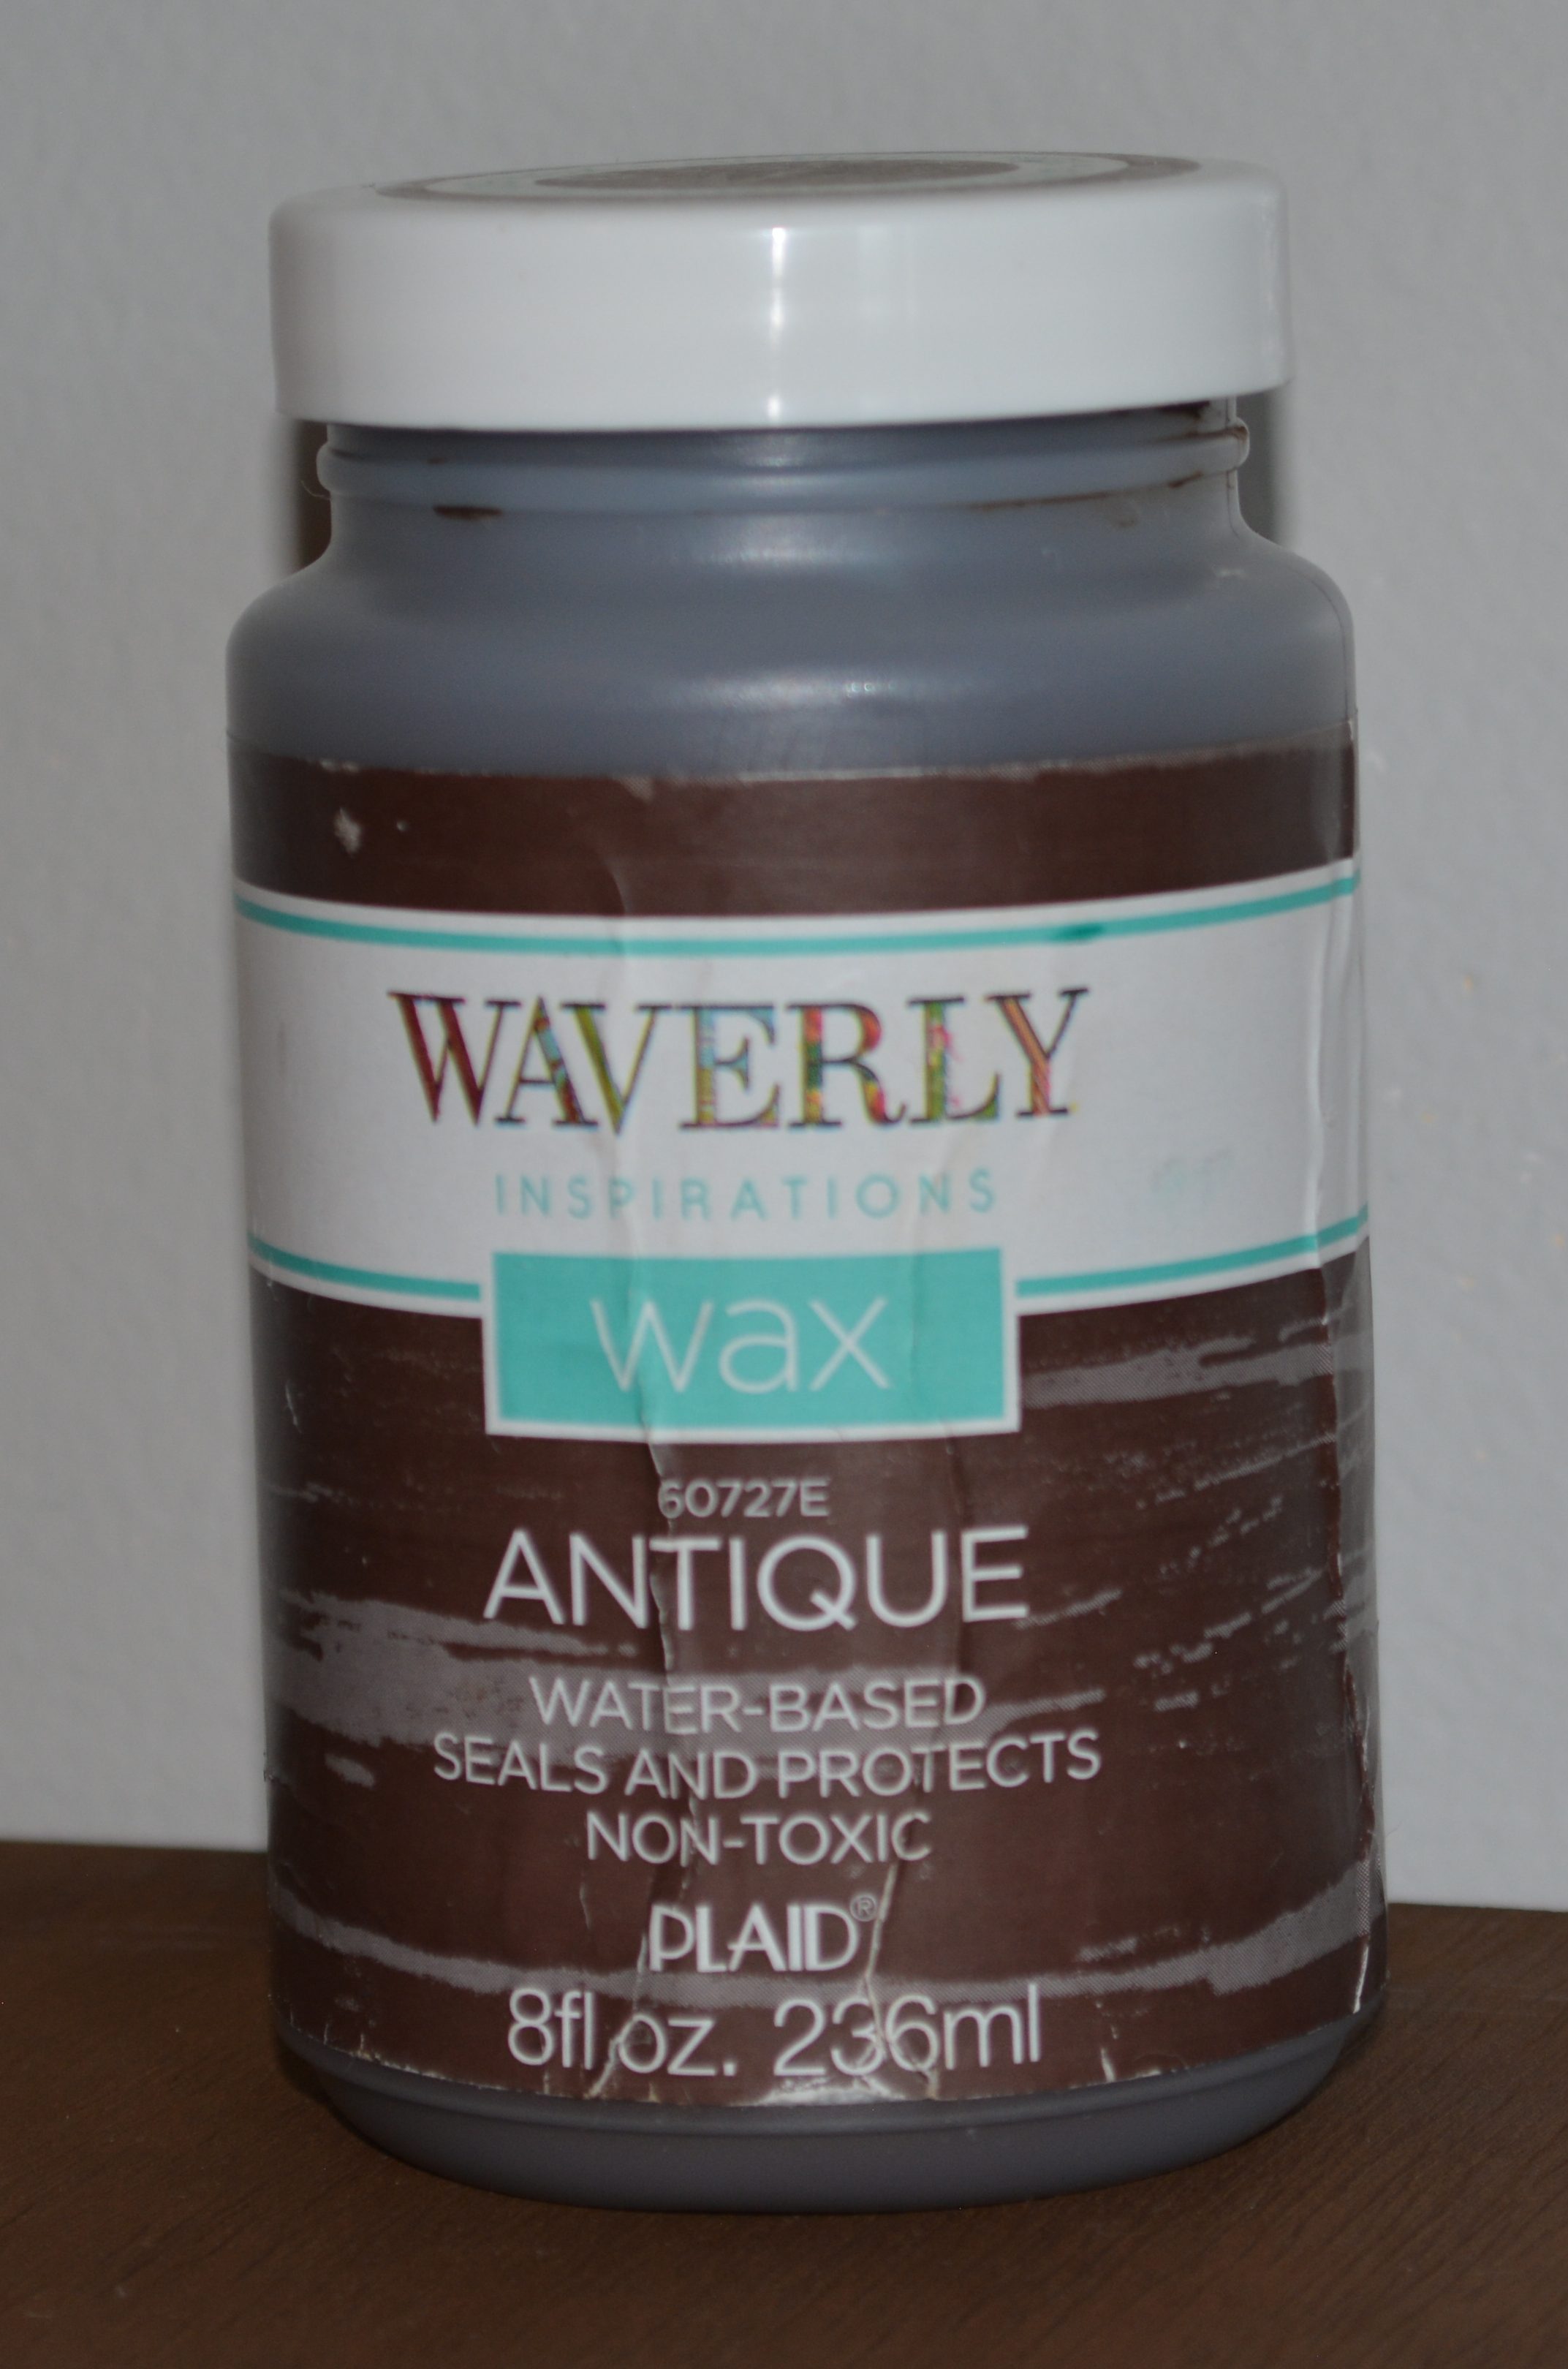
Since my tag was not a blank canvas I had to paint it. I painted it white with Waverly Chalk Paint. Then dry brushed it with Waverly Antique Wax. If the wax was to dark I used sand paper and sanded it down some to lighten the was up. This is all about what look you prefer. I also sanded the edges down to make it more distressed.
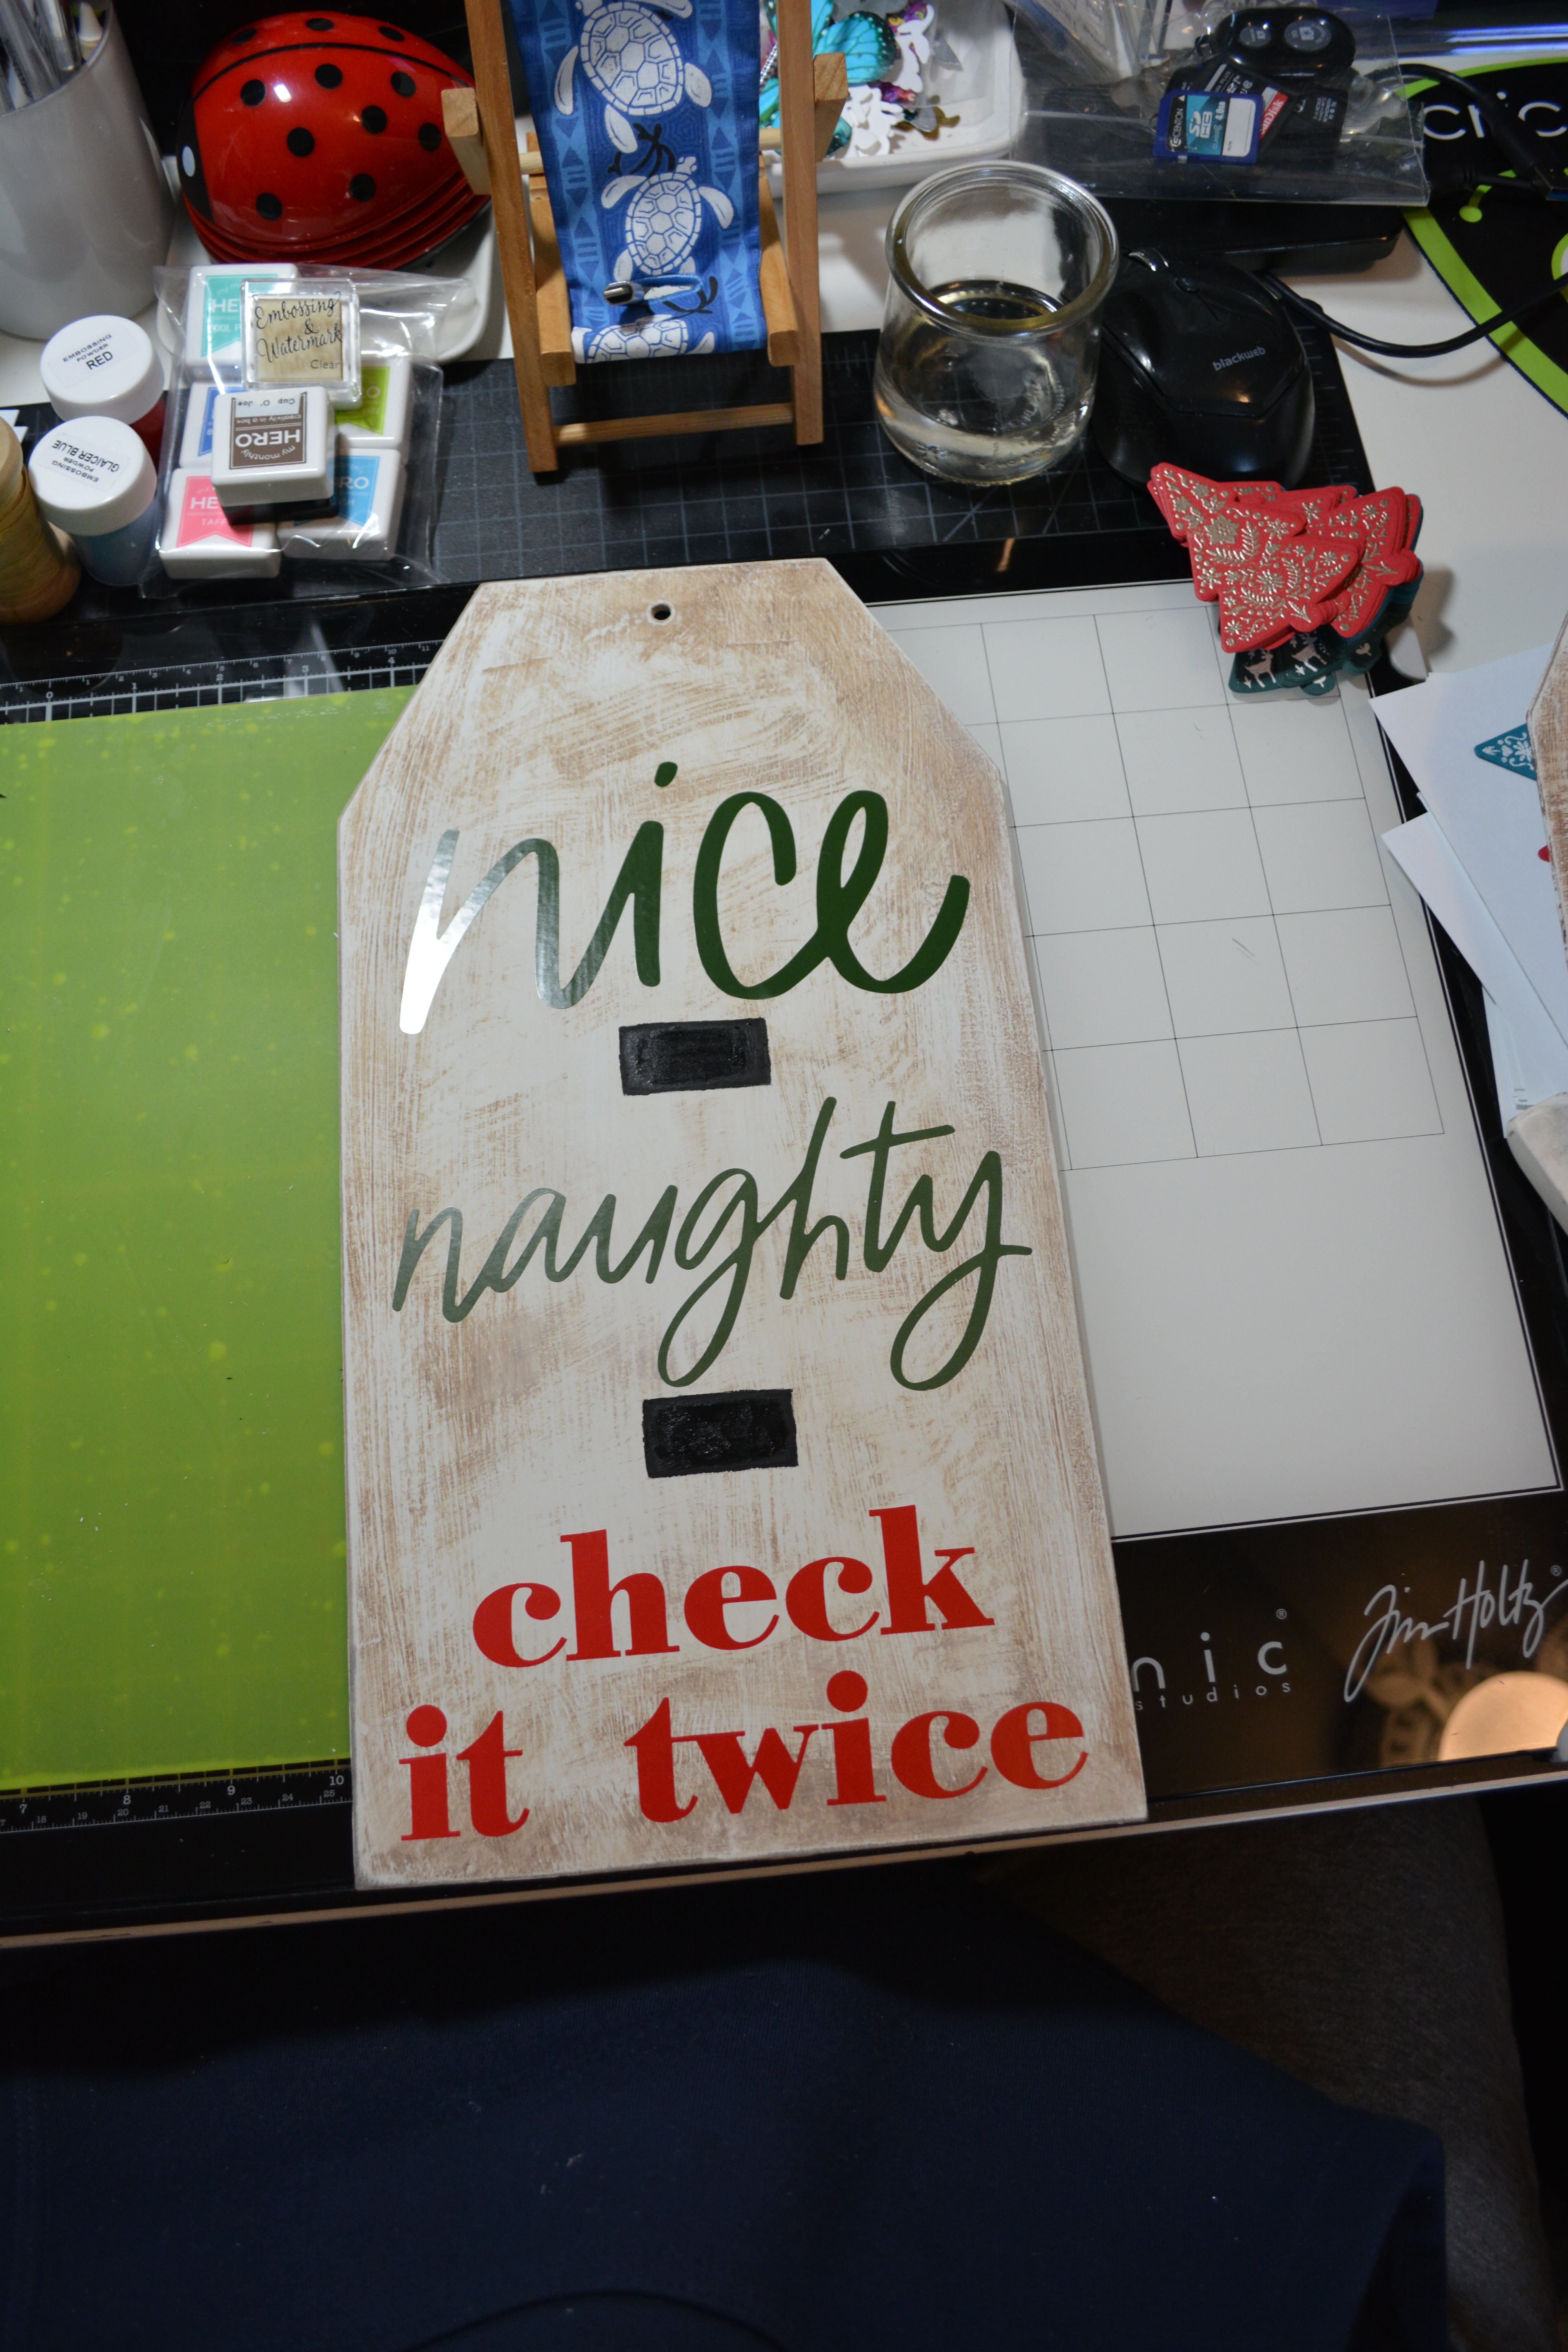
To put the decal on, I used the same method with the contact paper as I did before. I did do it word by word though except the “check it twice” I put all three words on the contact paper at the same time and applied them to the tag.
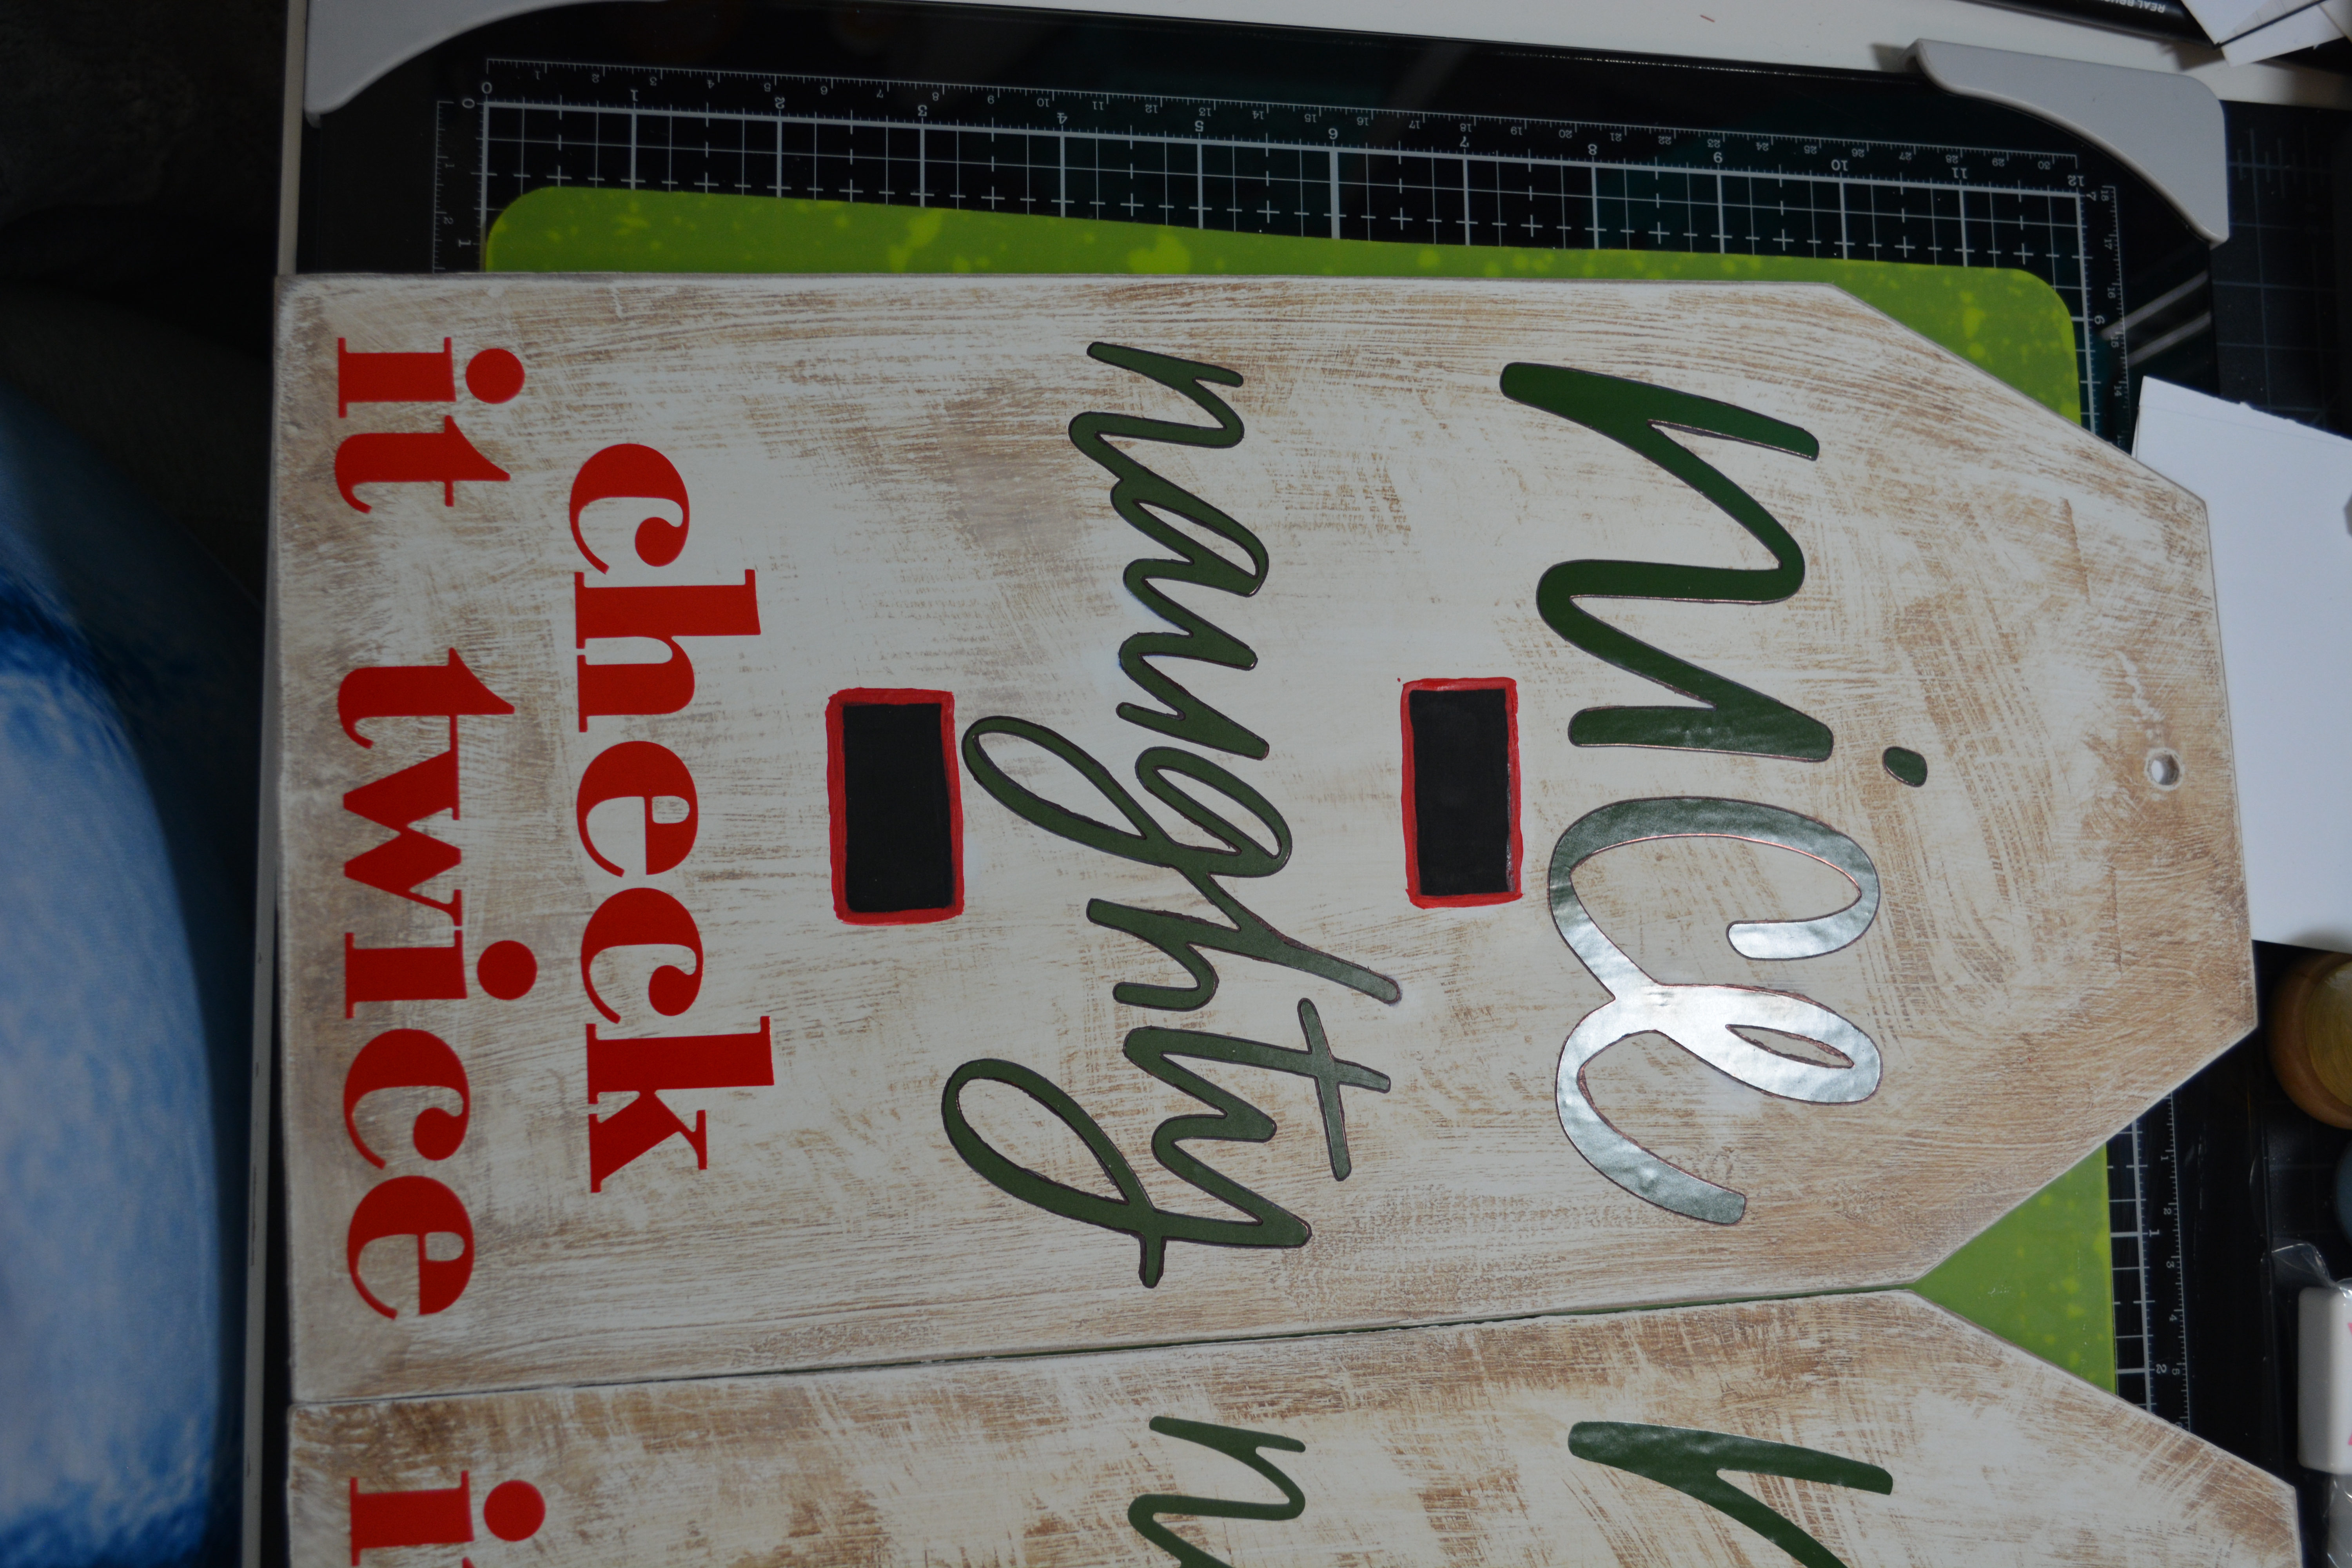
After the words were on, I felt like the sign needed something to divide the words up a bit. So I took some black chalk paint and free handed two rectangles. One between each word. Then I painted a thin boarder around the black rectangles with red chalk paint.
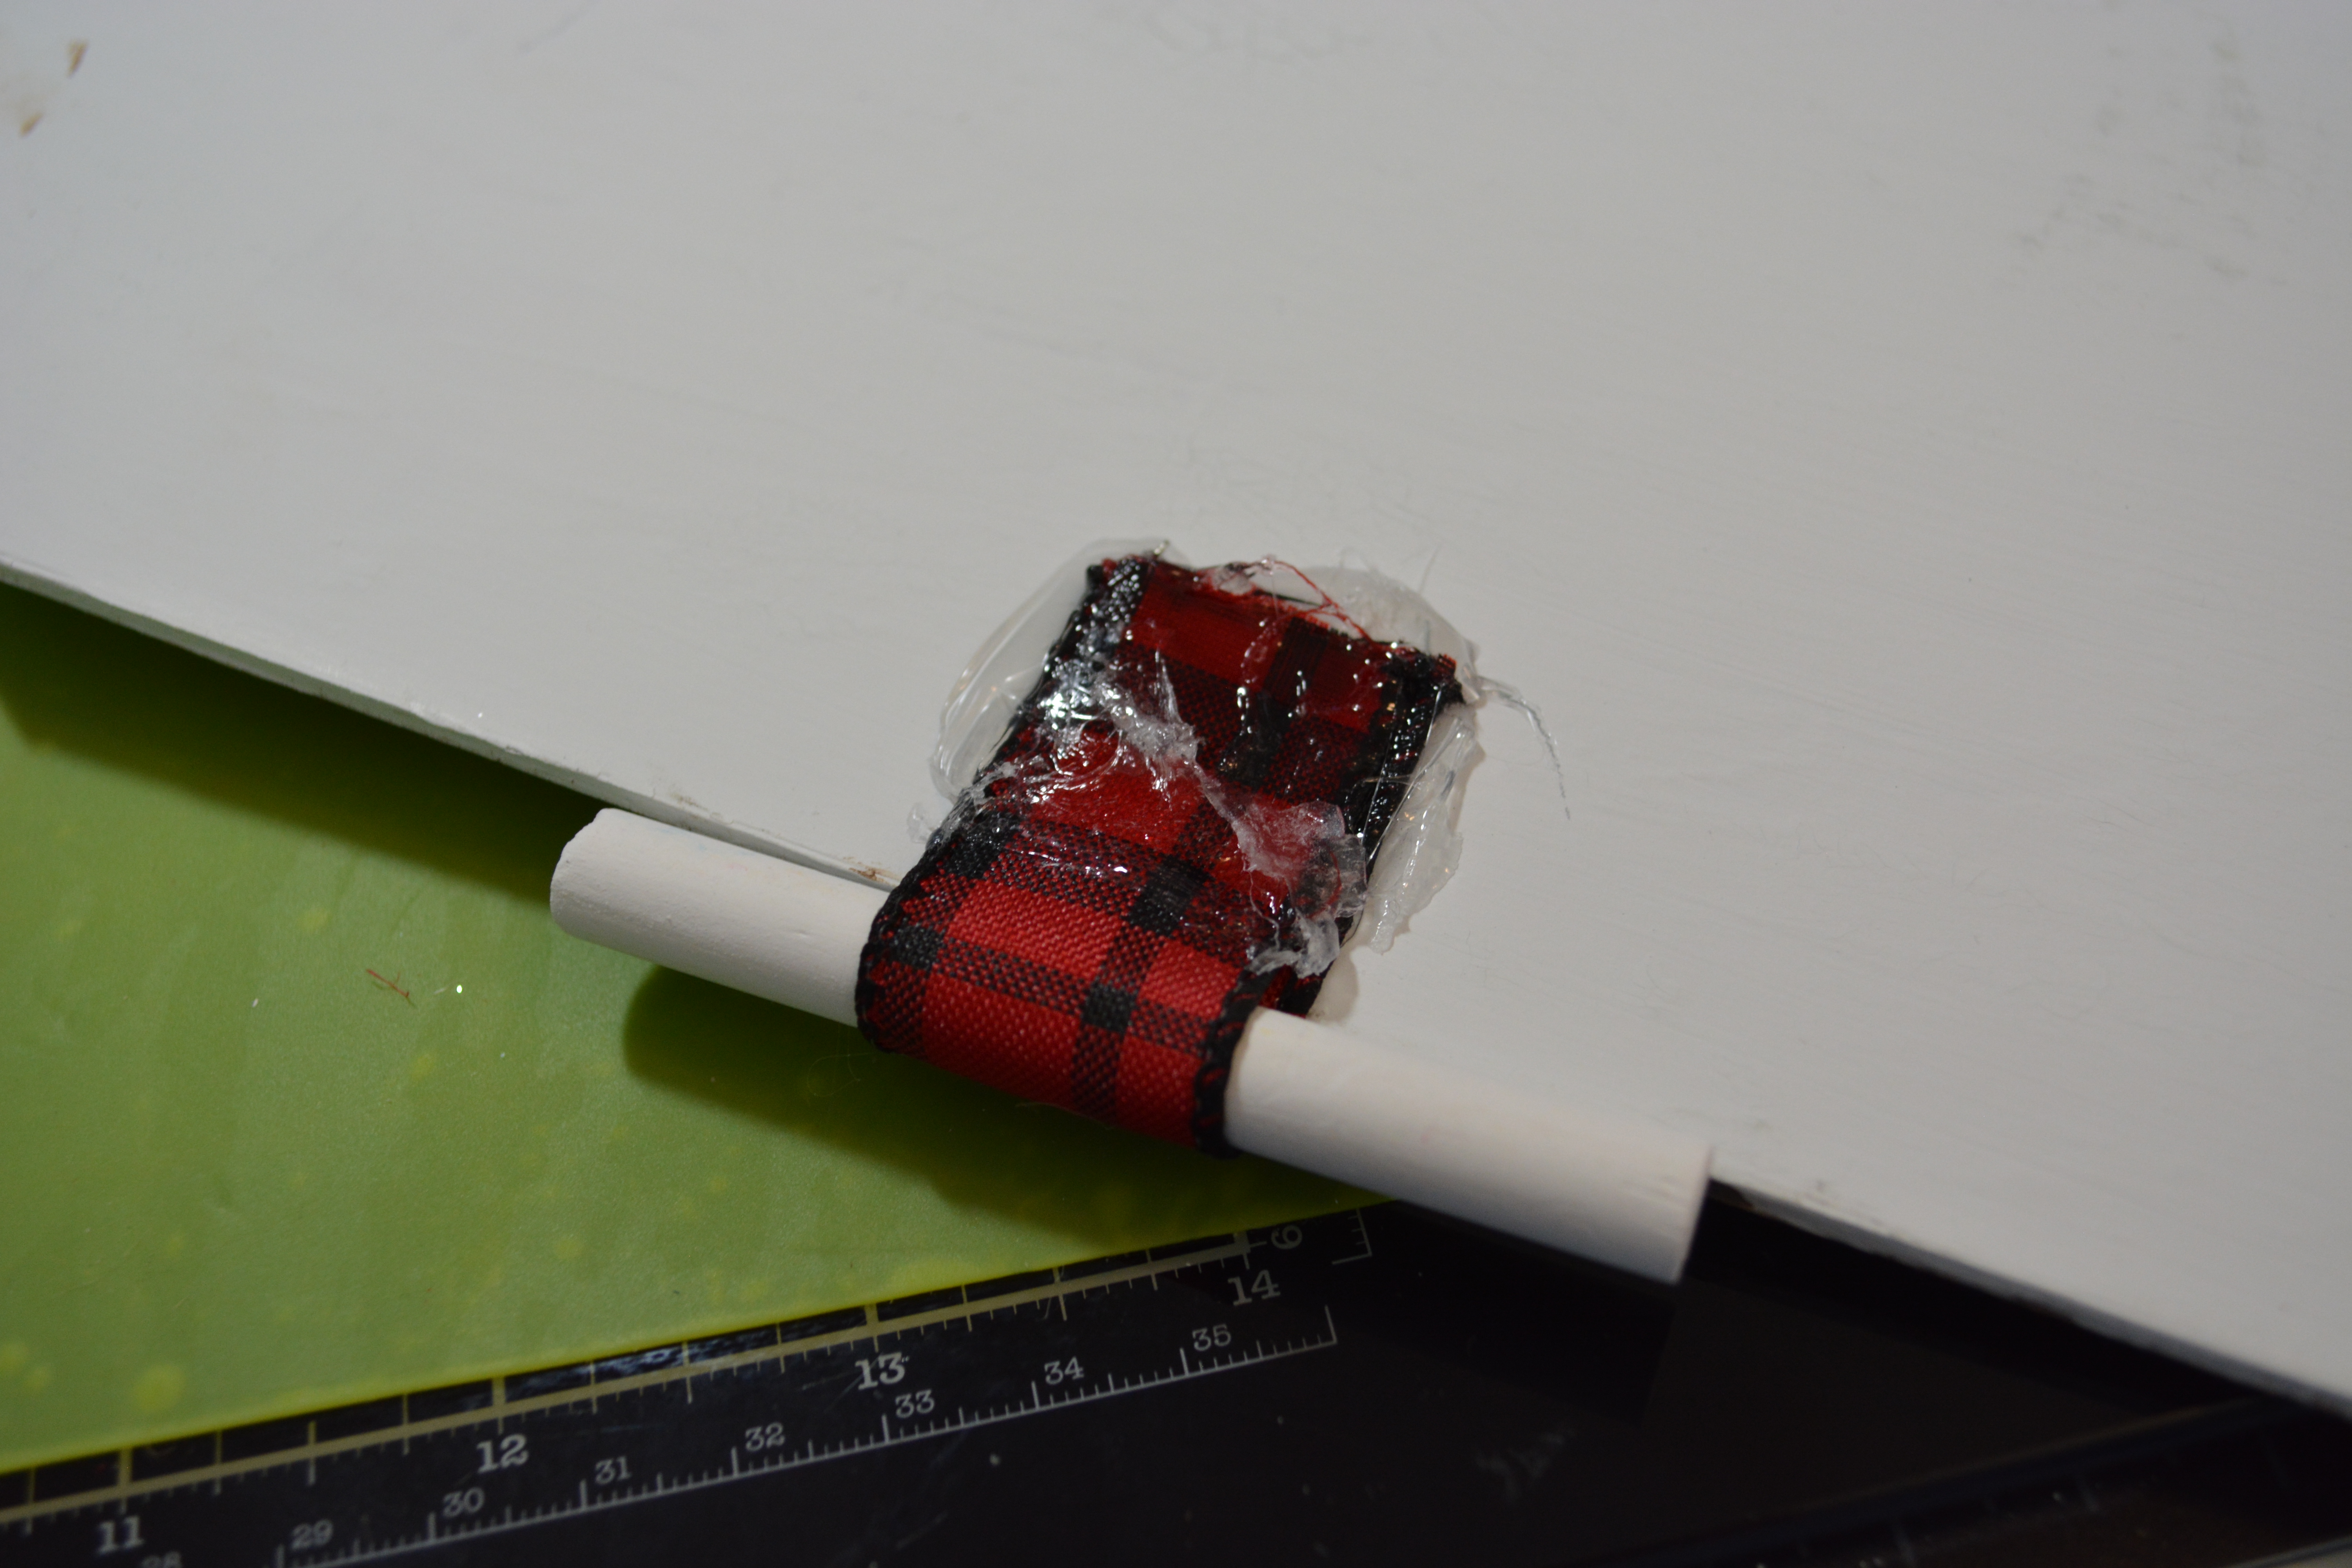
Now I send pictures to a few trusted people to see if they like what I create and if they think it is missing anything. Well I had a friend suggest that I add a piece of chalk somehow. I was going to hang it from string at the top of the sign but I did not want it to stay in front of all the words so I then decided to put the chalk on the side of the sign. This was done with ribbon.
I took the ribbon and looped it around the chalk. Then took hot glue and glued it to the back of the sign. This makes it to where the chalk can come out and be put back on the sign.

Finally I added a store bought bow from Walmart and put some twine at the top to be able to hang the sign.
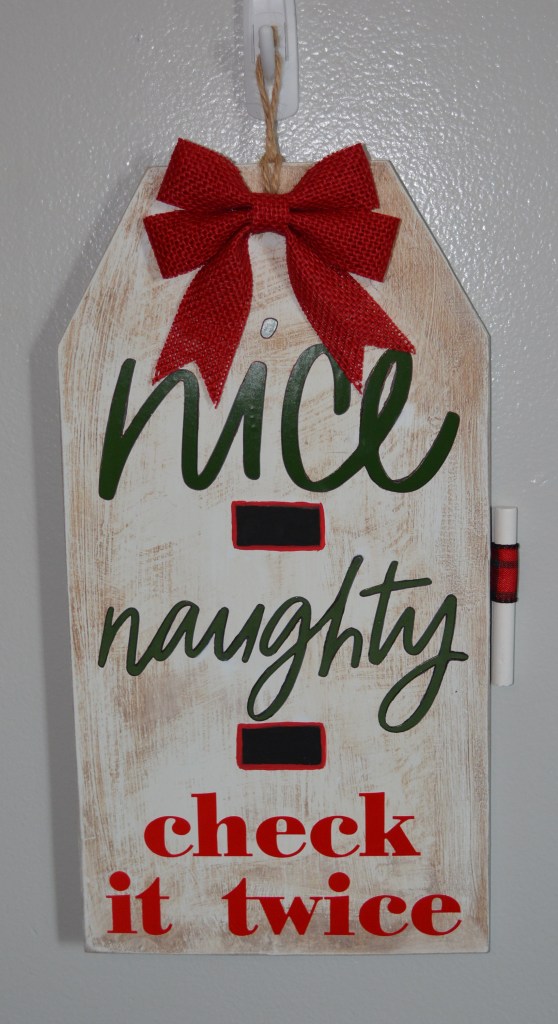
Here it is!! This is a complete transformation from the Dollar Tree tag I started off as. It would be fun to hang this on a kid’s room door to maybe keep them in line until Christmas comes. (I might be the only sassy one to do that) Your kids might have a lot of fun with this one.
Thank you much for joining me for these beautiful Christmas crafts. They were a lot of fun to create. I have lots more Christmas decor to show you. Some of it is very simple and some is very cheap.
Have a great weekend and stay healthy! Also Like, Comment, Share, and Subscribe!
Melissa McGuire
Supplies
Project #1
Wooden Square- Target Bullseye Playground
Wood Filler- Lowe’s
Flowers- Hobby Lobby
Vinyl Decal- Target Bullseye Playground
Contact Paper- Dollar Tree
Twine- Hobby Lobby
Surbonder Hot Glue Gun and Hot glue Sticks- Hobby Lobby
Project #2
Sled- Target Bullseye Playground
Cricut Explorer Air 2- Michael’s Craft Supply
Orical 651 Silver Vinyl- Michael’s Craft Supply
Flowers- Dollar Tree
Contact paper- Dollar Tree
Surebonder Hot Glue Gun and Hot Glue Sticks- Hobby Lobby
Project #3
Wooden Tag- Dollar Tree
Waverly Chalk Paint in White- Walmart
Waverly Antique Wax- Walmart
Waverly Chalk Paint in Ink- Walmart
Red Chalk Paint- Walmart
Chalk- Walmart
Ribbon- Michael’s Craft Store
Twine- Hobby Lobby
Already Made Bow- Walmart
Surebonder Hot Glue Gun and Hot Glue Sticks- Hobby Lobby