Winter is in full swing right now. I am not much on the cold and if it is going to be cold then I feel like it might as well snow. We lived in Wyoming and Montana and their winters are brutal. So I do not miss all that snow but I would like to have enough for the kids to play in.
After taking down all the Christmas decorations, I always feel like my home is empty. For me, it is to early to put up Valentine’s stuff so I wanted something for the in-between time. I found these wooden figures at Target and was going to use them for Christmas but then thought they would look better as winter decor. It is not big massive decorations but just enough to add something to my home so it does not look so empty and depressing.
Lets Get Started
Supplies
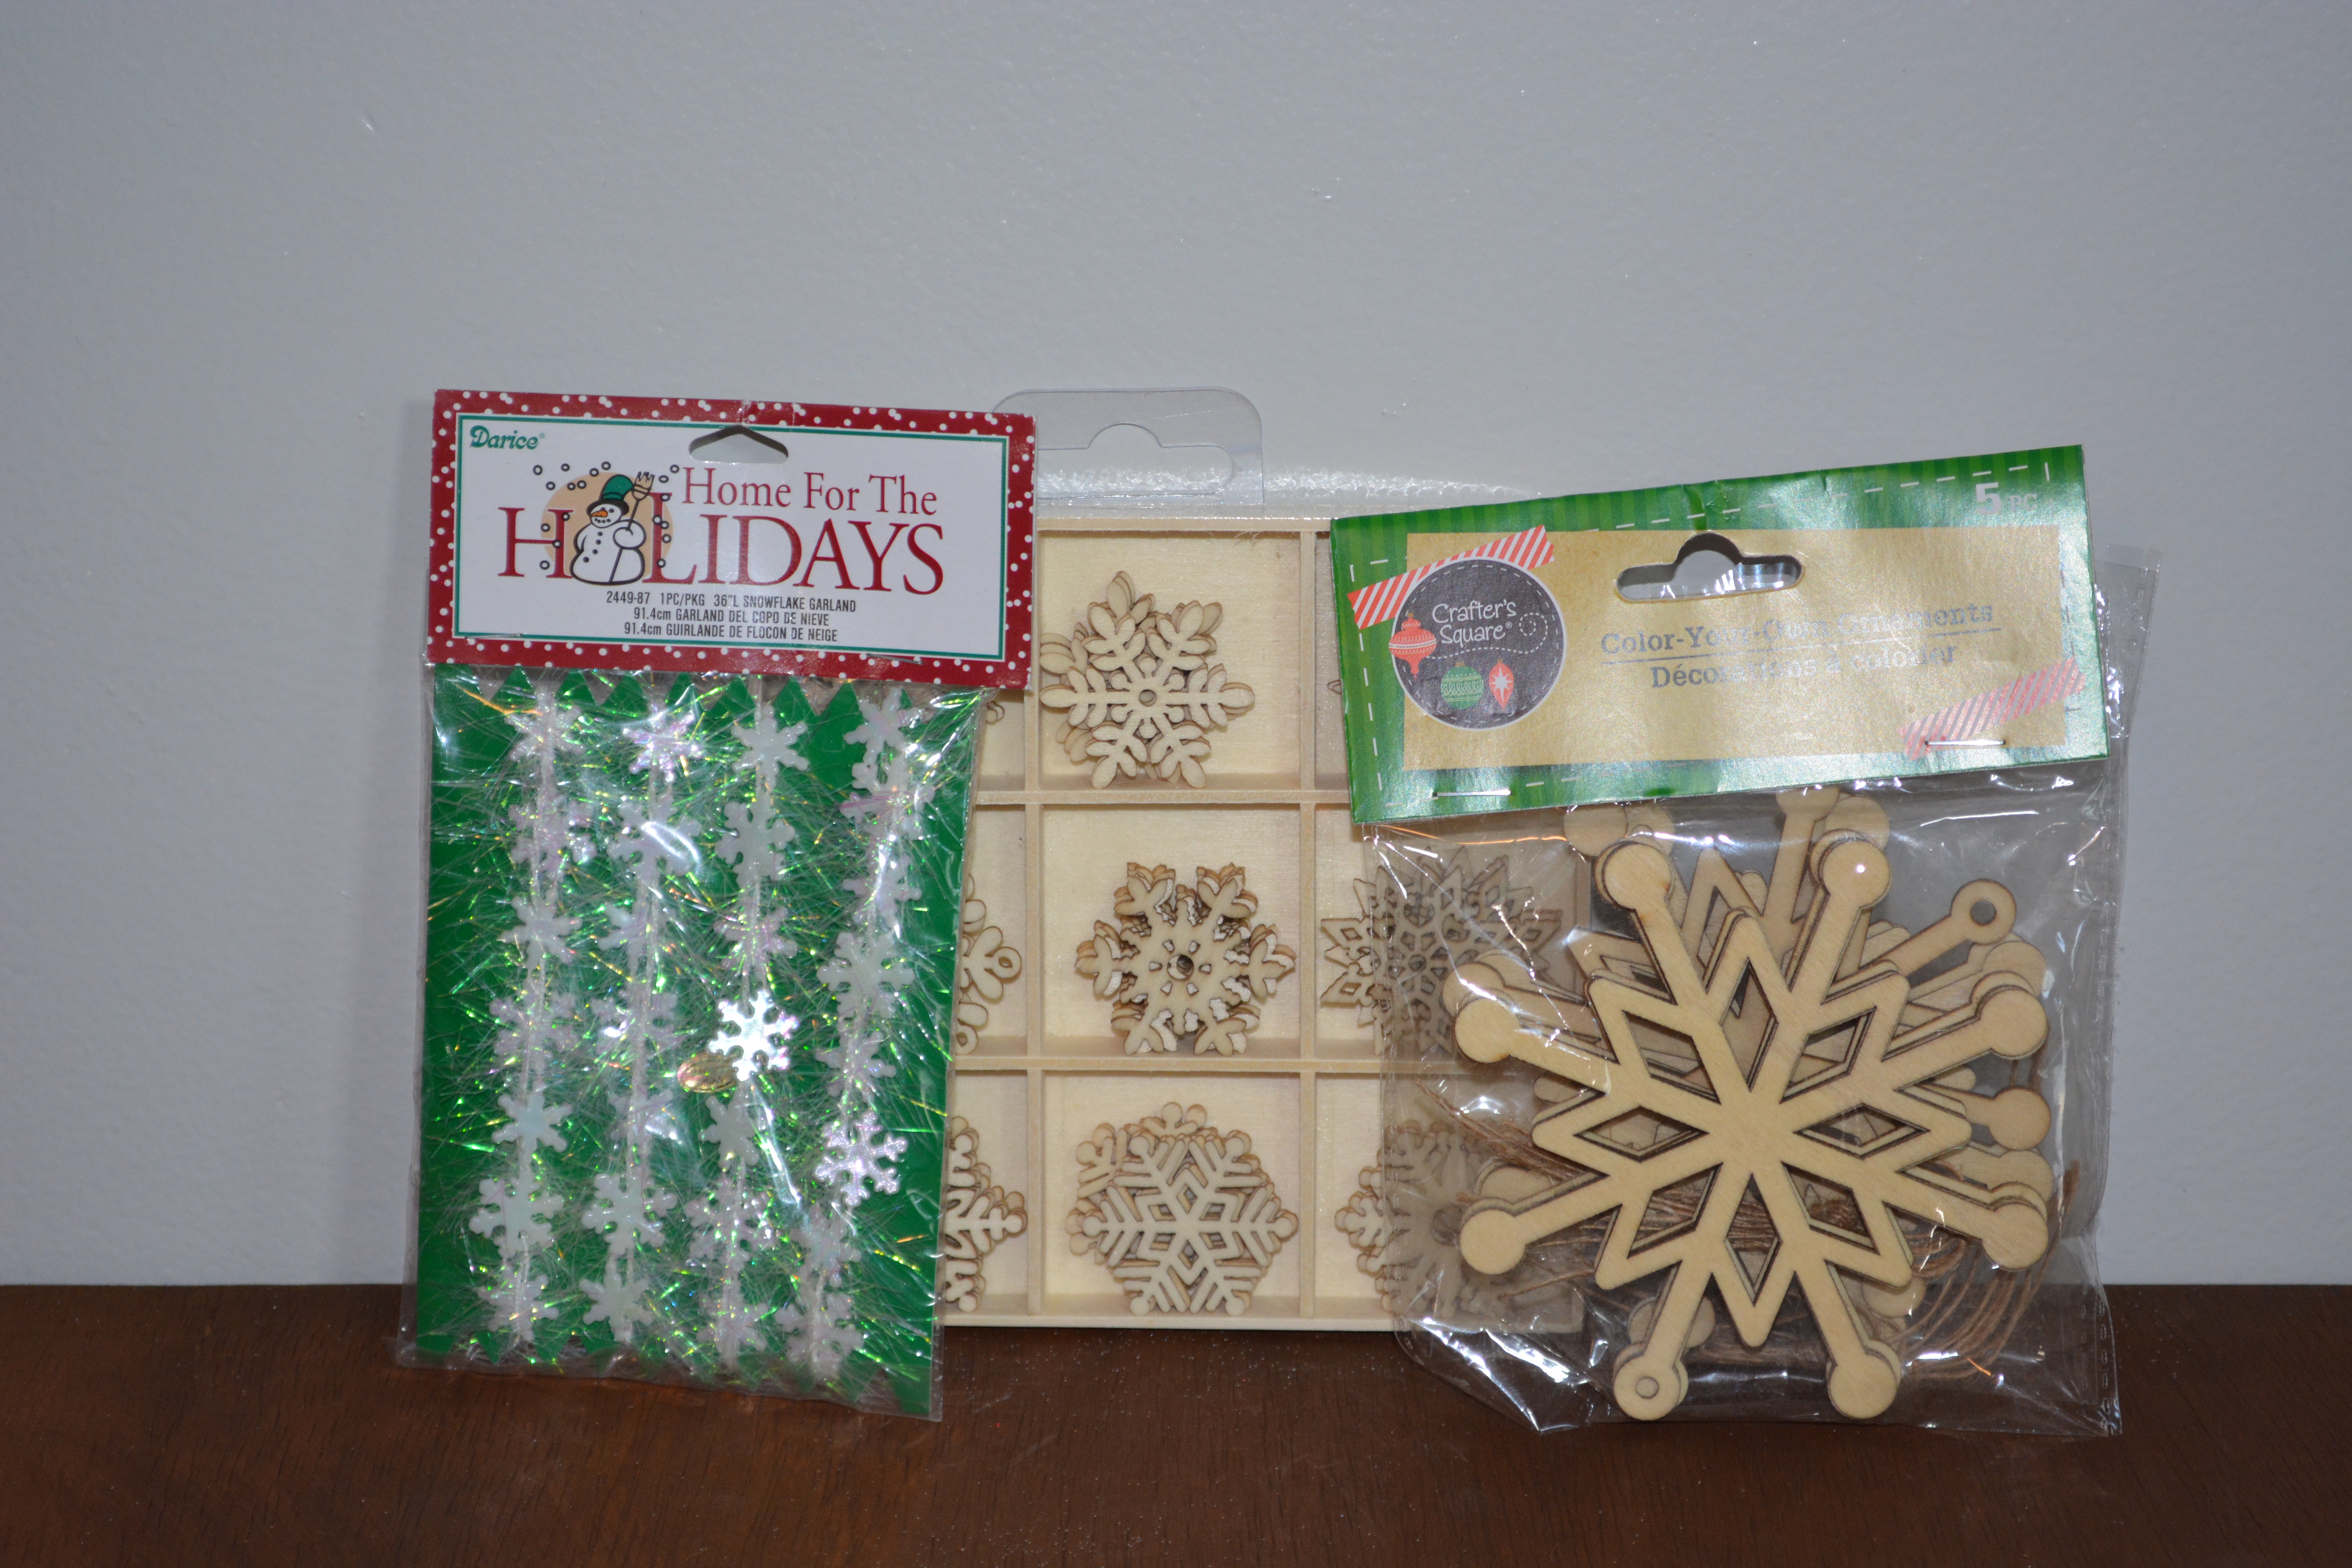
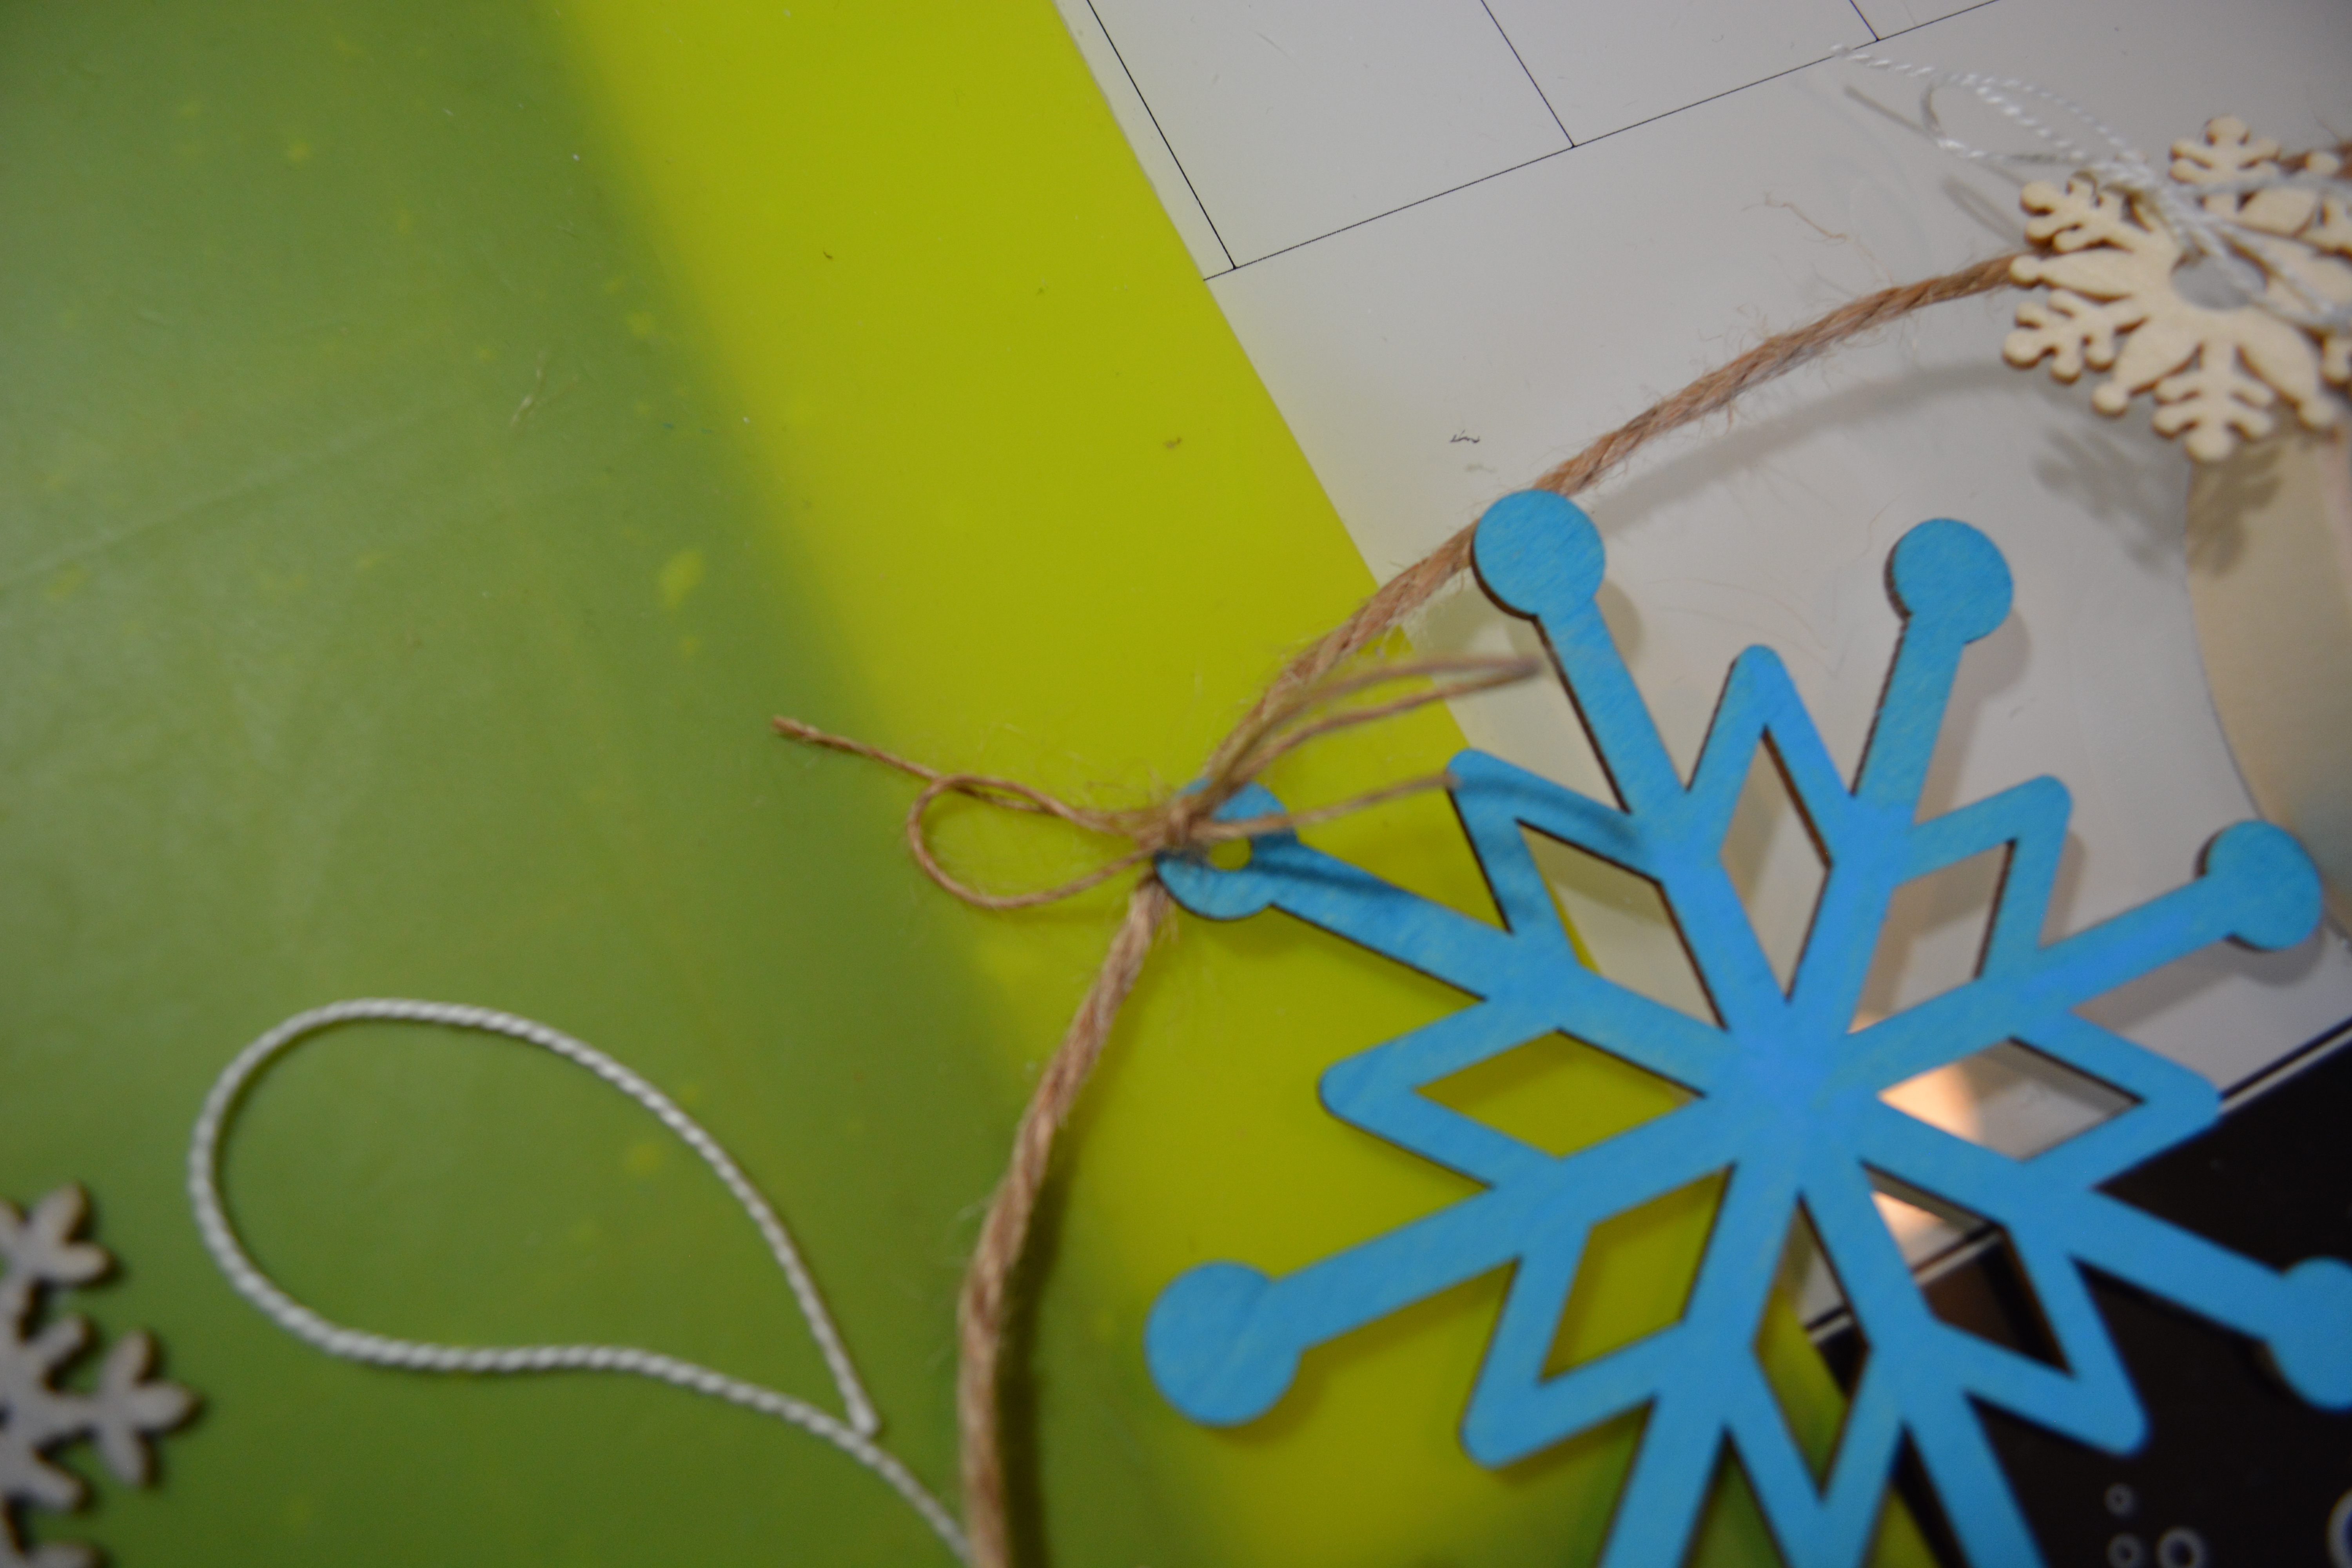
The things you will need for this project are some wooden figures, which I got at Target. If you can not find figures like this then you can cut them out of foam core board. They are simple shapes and will cut out easily. The star shapes with snowflakes on them are from Michael’s in their discount bins. The trees that are already painted green were from a shop called Scattering Joy in Hamilton, OH. They are a wonderful little shop if you are in the area check them out!! And here is a shameless plug, some of these DIY’s I have done on here are for sale in the shop along with my greeting cards. There are SOOO many different items in the store that I buy something every time I go in.
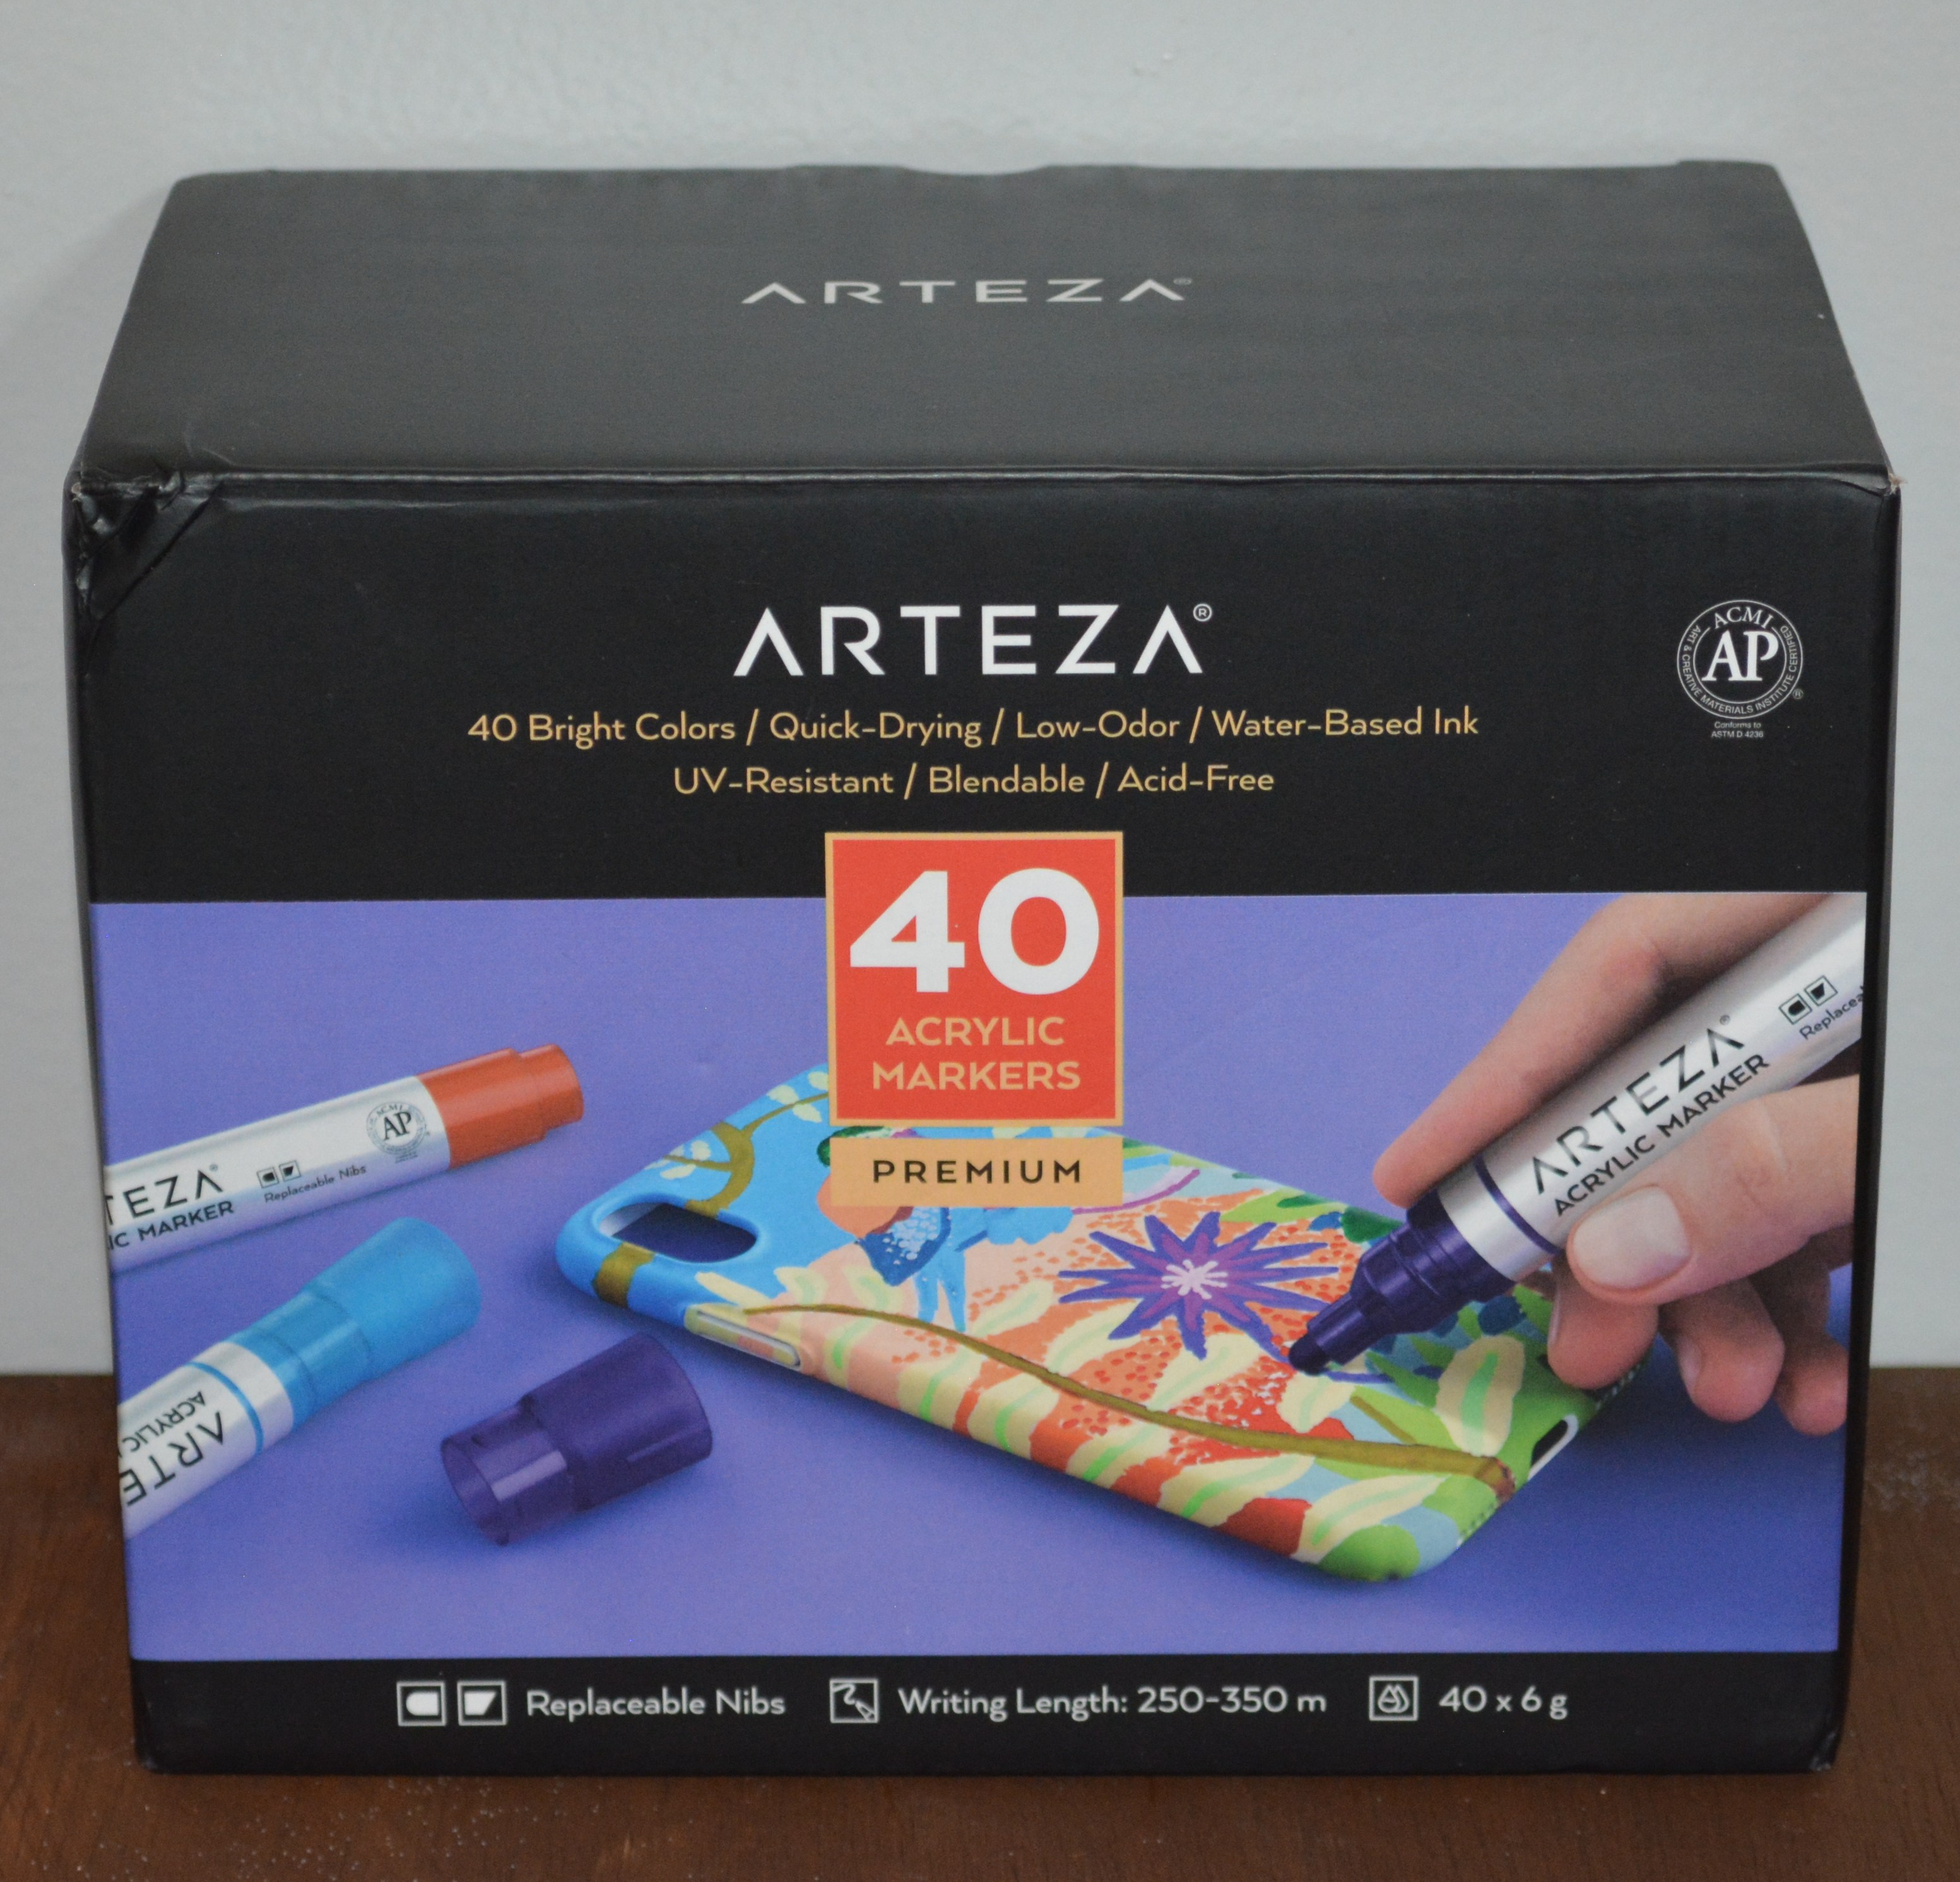
You will also need paint of your choosing and paint brushes. I used chalk paint and paint markers. Other things I used was a scarf, felt, hot glue, and a colored pencil.
Lets start with the snowman. He was a natural wood color so I wanted to paint him white. The wood that the snowman was made of had pretty wood grain in it and I wanted that to show through. To do this, I took White Waverly Chalk Paint and mixed it with lots of water. Then I did a white wash over the snowman.
From there I used a black Arteza acrylic paint marker to draw on a mouth and eyes, and colored his hat black. For his nose I wanted something 3-D. I took some orange felt and rolled it up and glued it together. After that I cut it in a carrot shape and hot glued it on. Finally, I had a Dollar Tree scarf that I cut up and made a mini snowman scarf out of it.
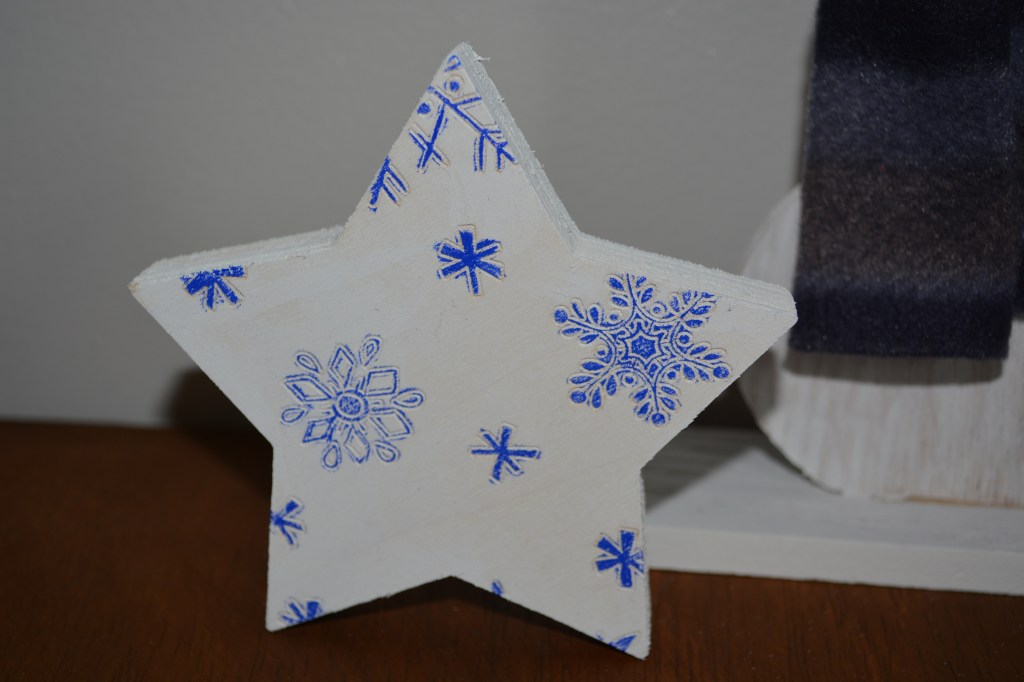
I white washed the stars too. Then I took a blue colored pencil to the raised parts of the snowflakes. It really popped off the white.
Next lets look at that the deer. I used the black paint marker to give him an eye and a nose. Then I used the same scarf and cut him a small scarf for him to wear. If your scarf will not lay right just add some hot glue to it to hold it in place.
The trees I did differently. For them I took a fan brush which is pictured above and dipped it into the white wash paint and then dabbed some of the paint off. Next I lightly and at an angle, brushed the white wash paint over the trees. I did it will all of the trees. This should be done slowly and lightly with small strokes of the brush. You can build up the paint little by little.
I think these turned out really cute. They are not loud with bright colors but are just enough to add some decor till Valentine’s stuff goes up. These were easy and fast to do. I completed them in a few hours while helping kids with online schooling.
I hope you are all happy and healthy and having a great start to 2021. A few more winter DIY’s are on their way in the next week and then bring on all the red, pink and purple!! Please find me on Instagram and Facebook. Also Please Like, Share, Comment, and Subscribe!!
2 Timothy 1:7 “For God gave us a spirit not of fear but of power and love and self-control.”
Melissa McGuire
Supplies
Wooden Deer, Snowman, and Big Trees- Target
Stars- Michael’s Craft Supply
Green Trees- Scattering Joy, Hamilton, Ohio
Waverly White Chalk Paint- Walmart
Paint Brushes- Anywhere
Felt- Hobby Lobby
Arteza Acrylic Paint Markers- Amazon
Scarf- Dollar Tree
Surbonder Hot Glue Gun and Hot Glue Sticks- Hobby Lobby