

Fall is in the air! It is my favorite season. I love making crafts for fall. The colors are bright and amazing. Jewel tons are finally in fashion. So lets kick off the fall season with three really easy projects that take very little time to create and are easy on the pocketbook.
Project #1

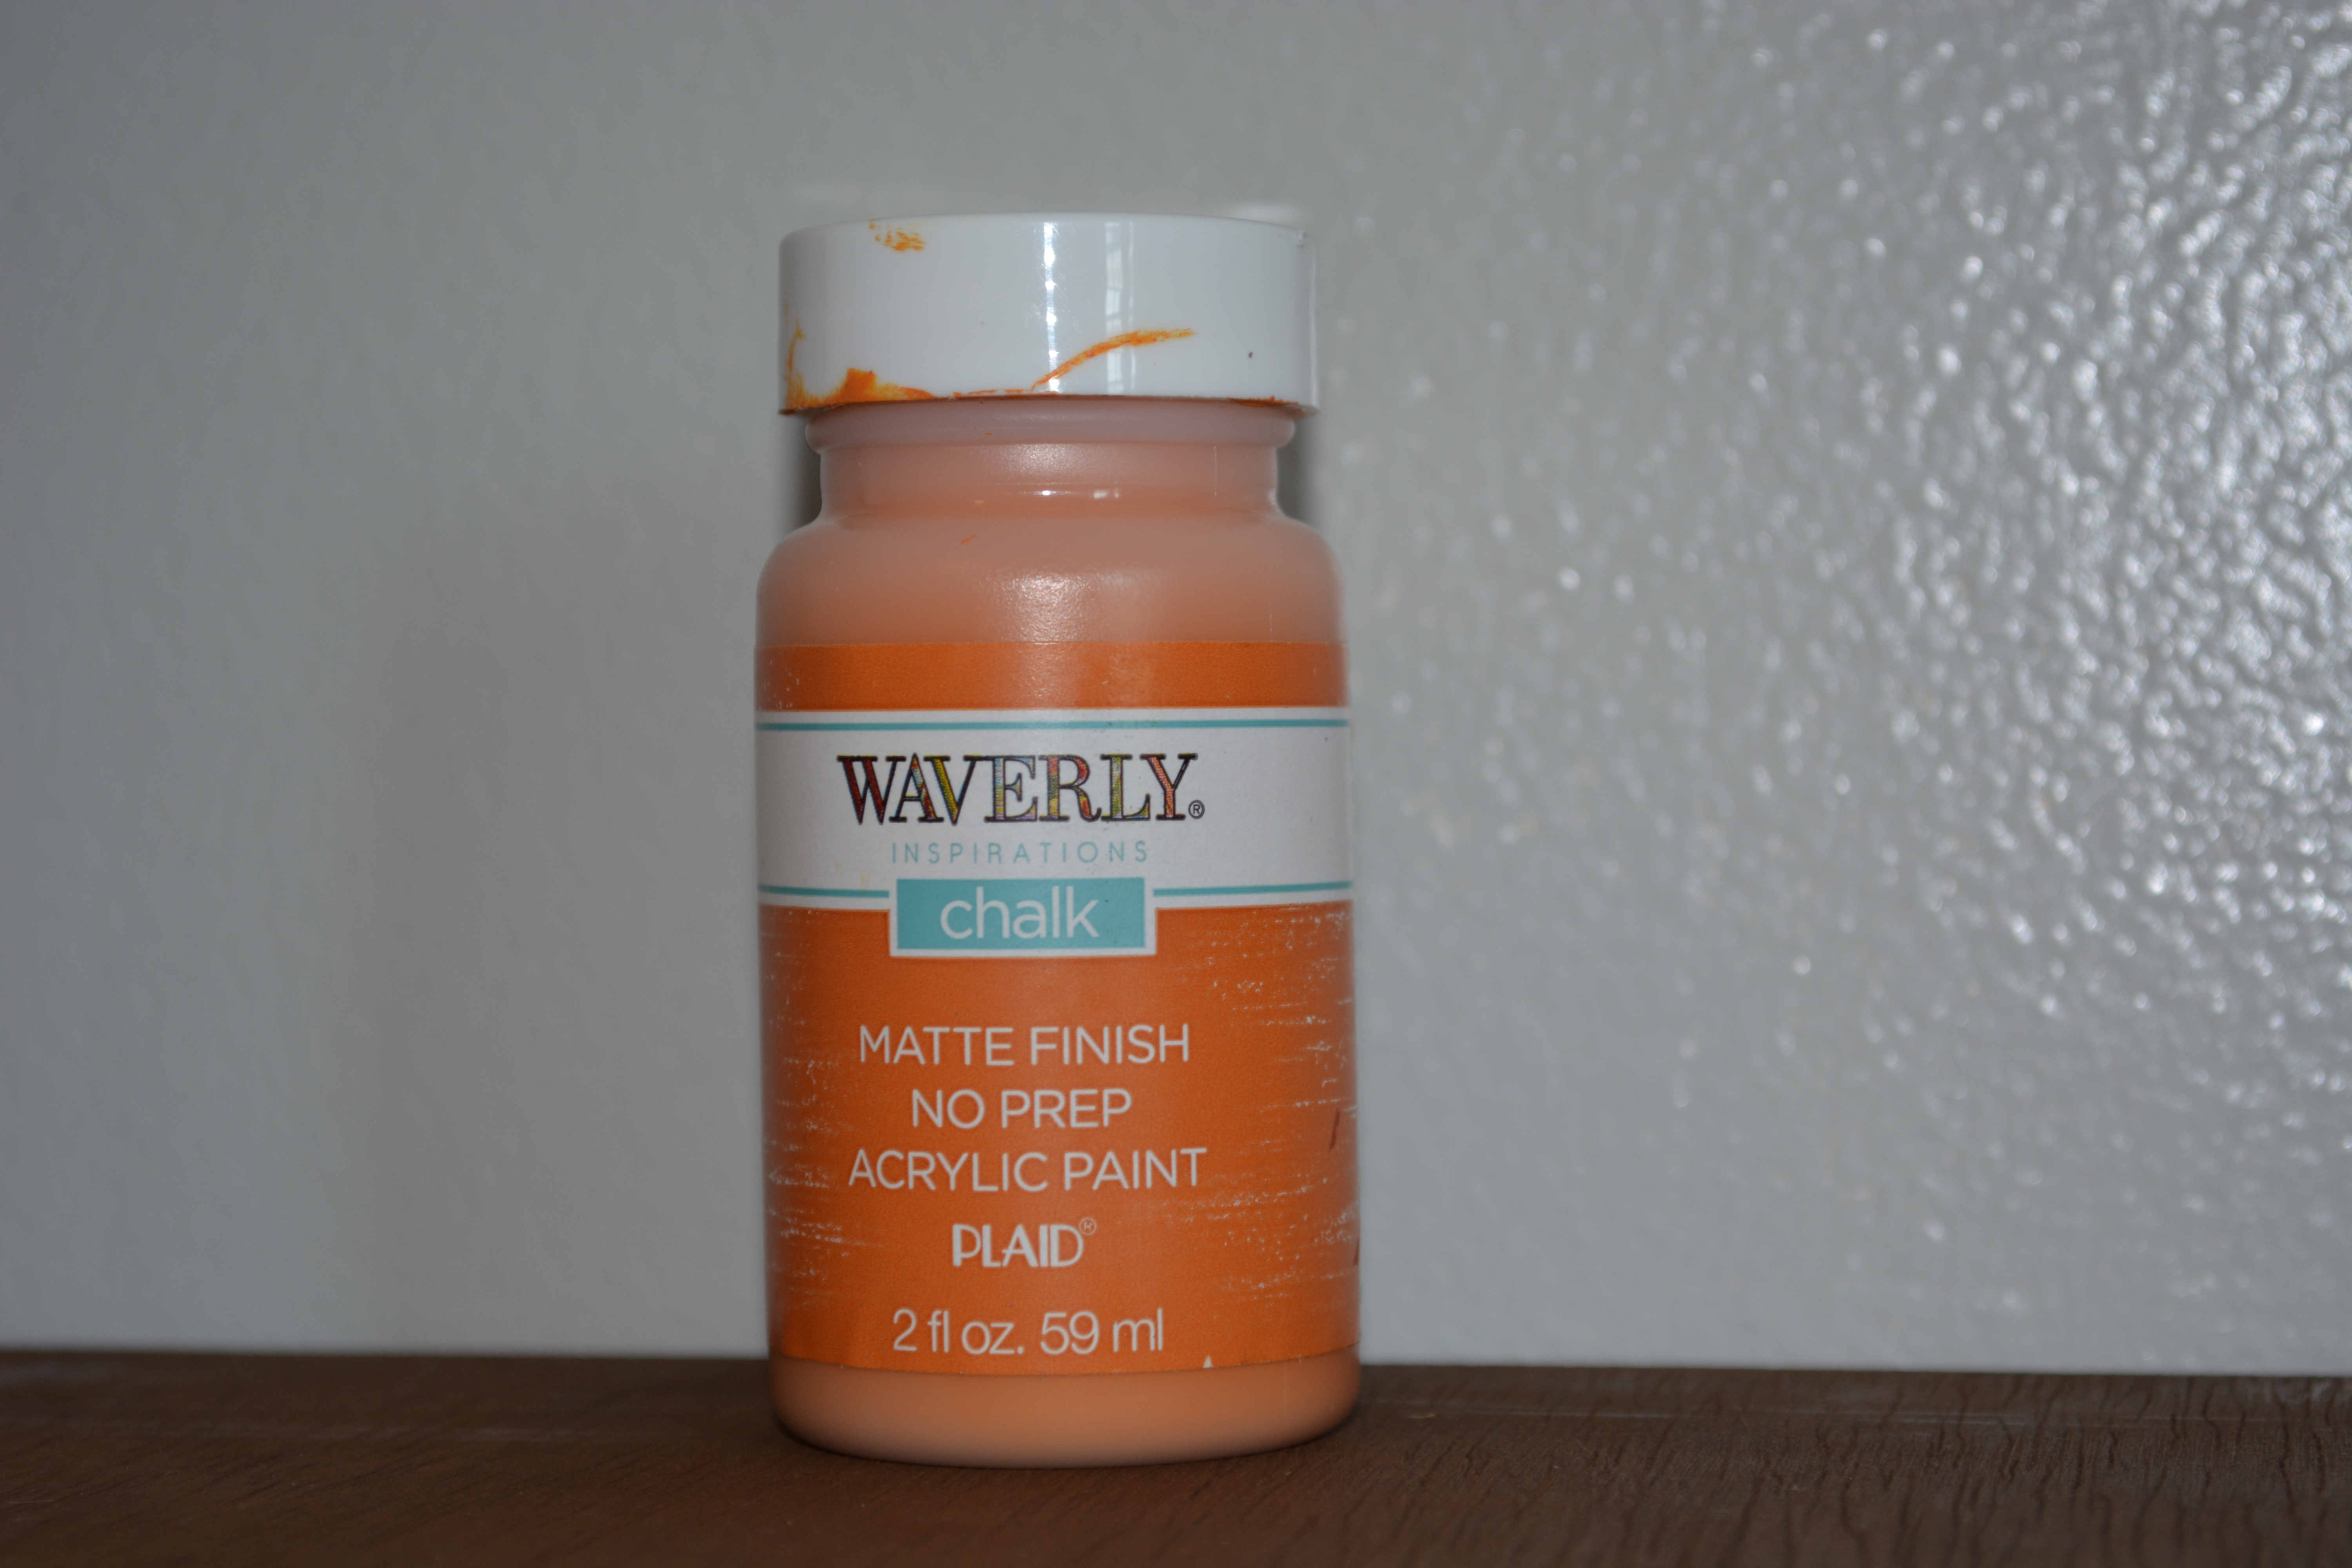
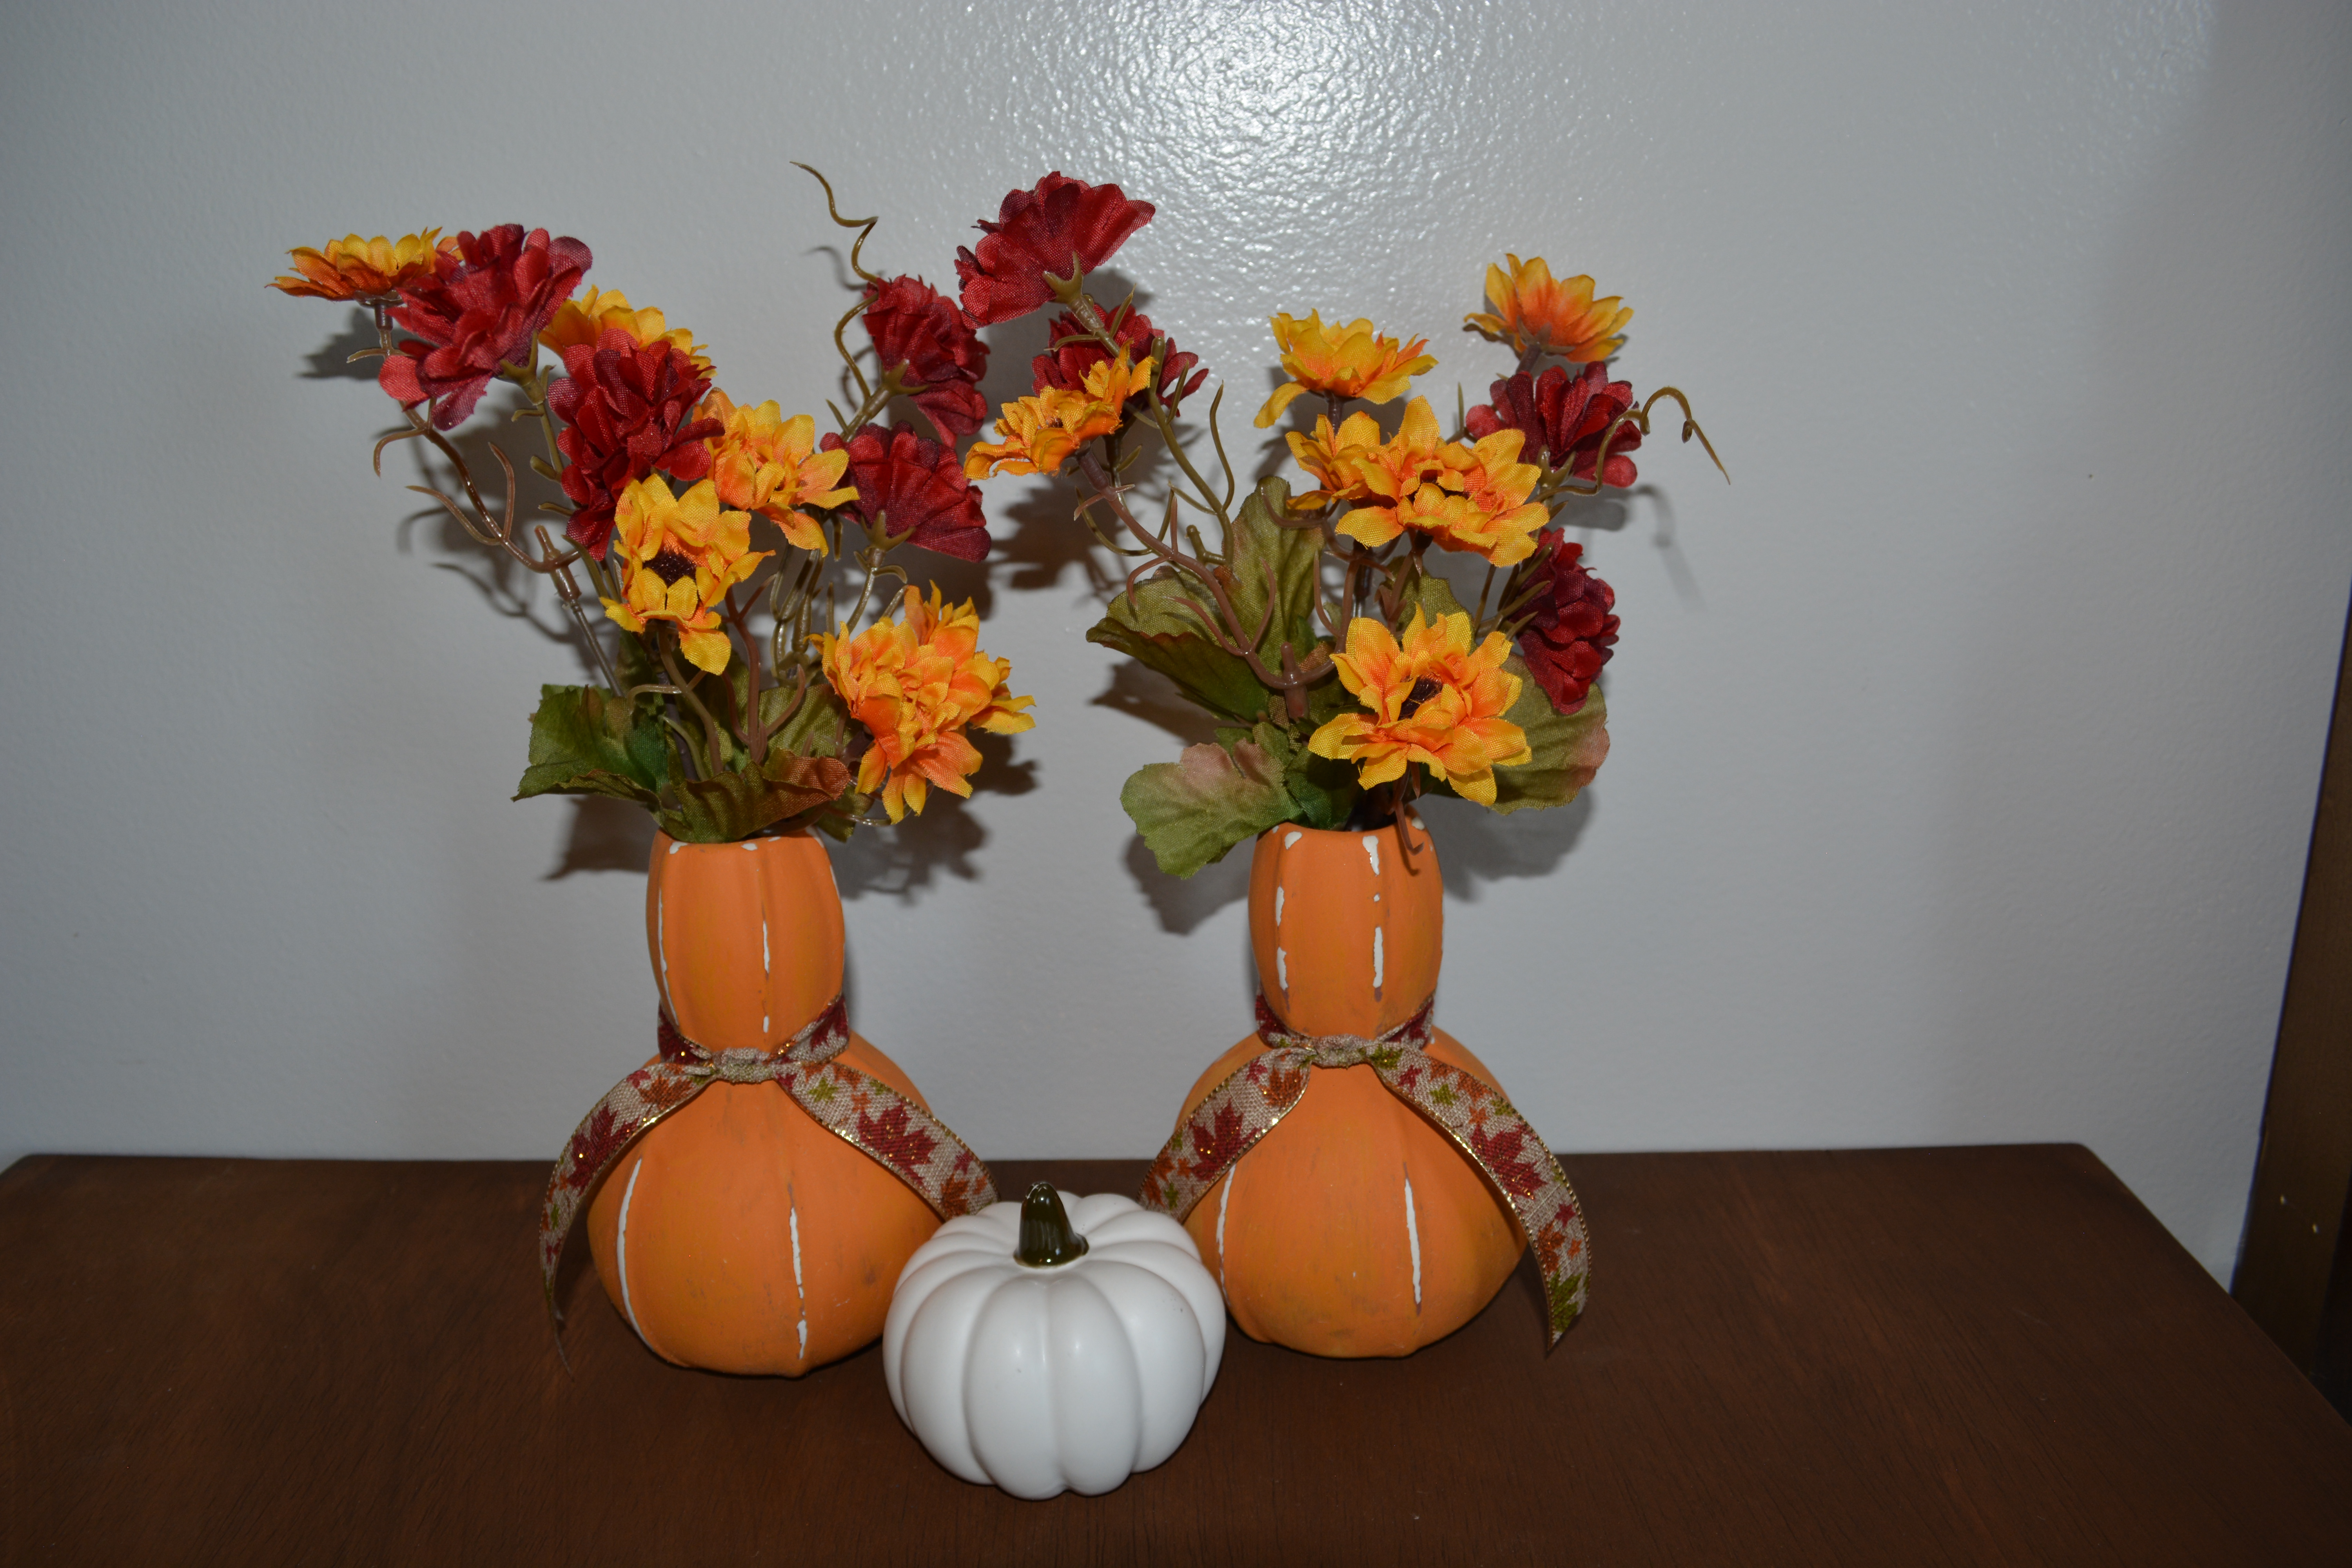
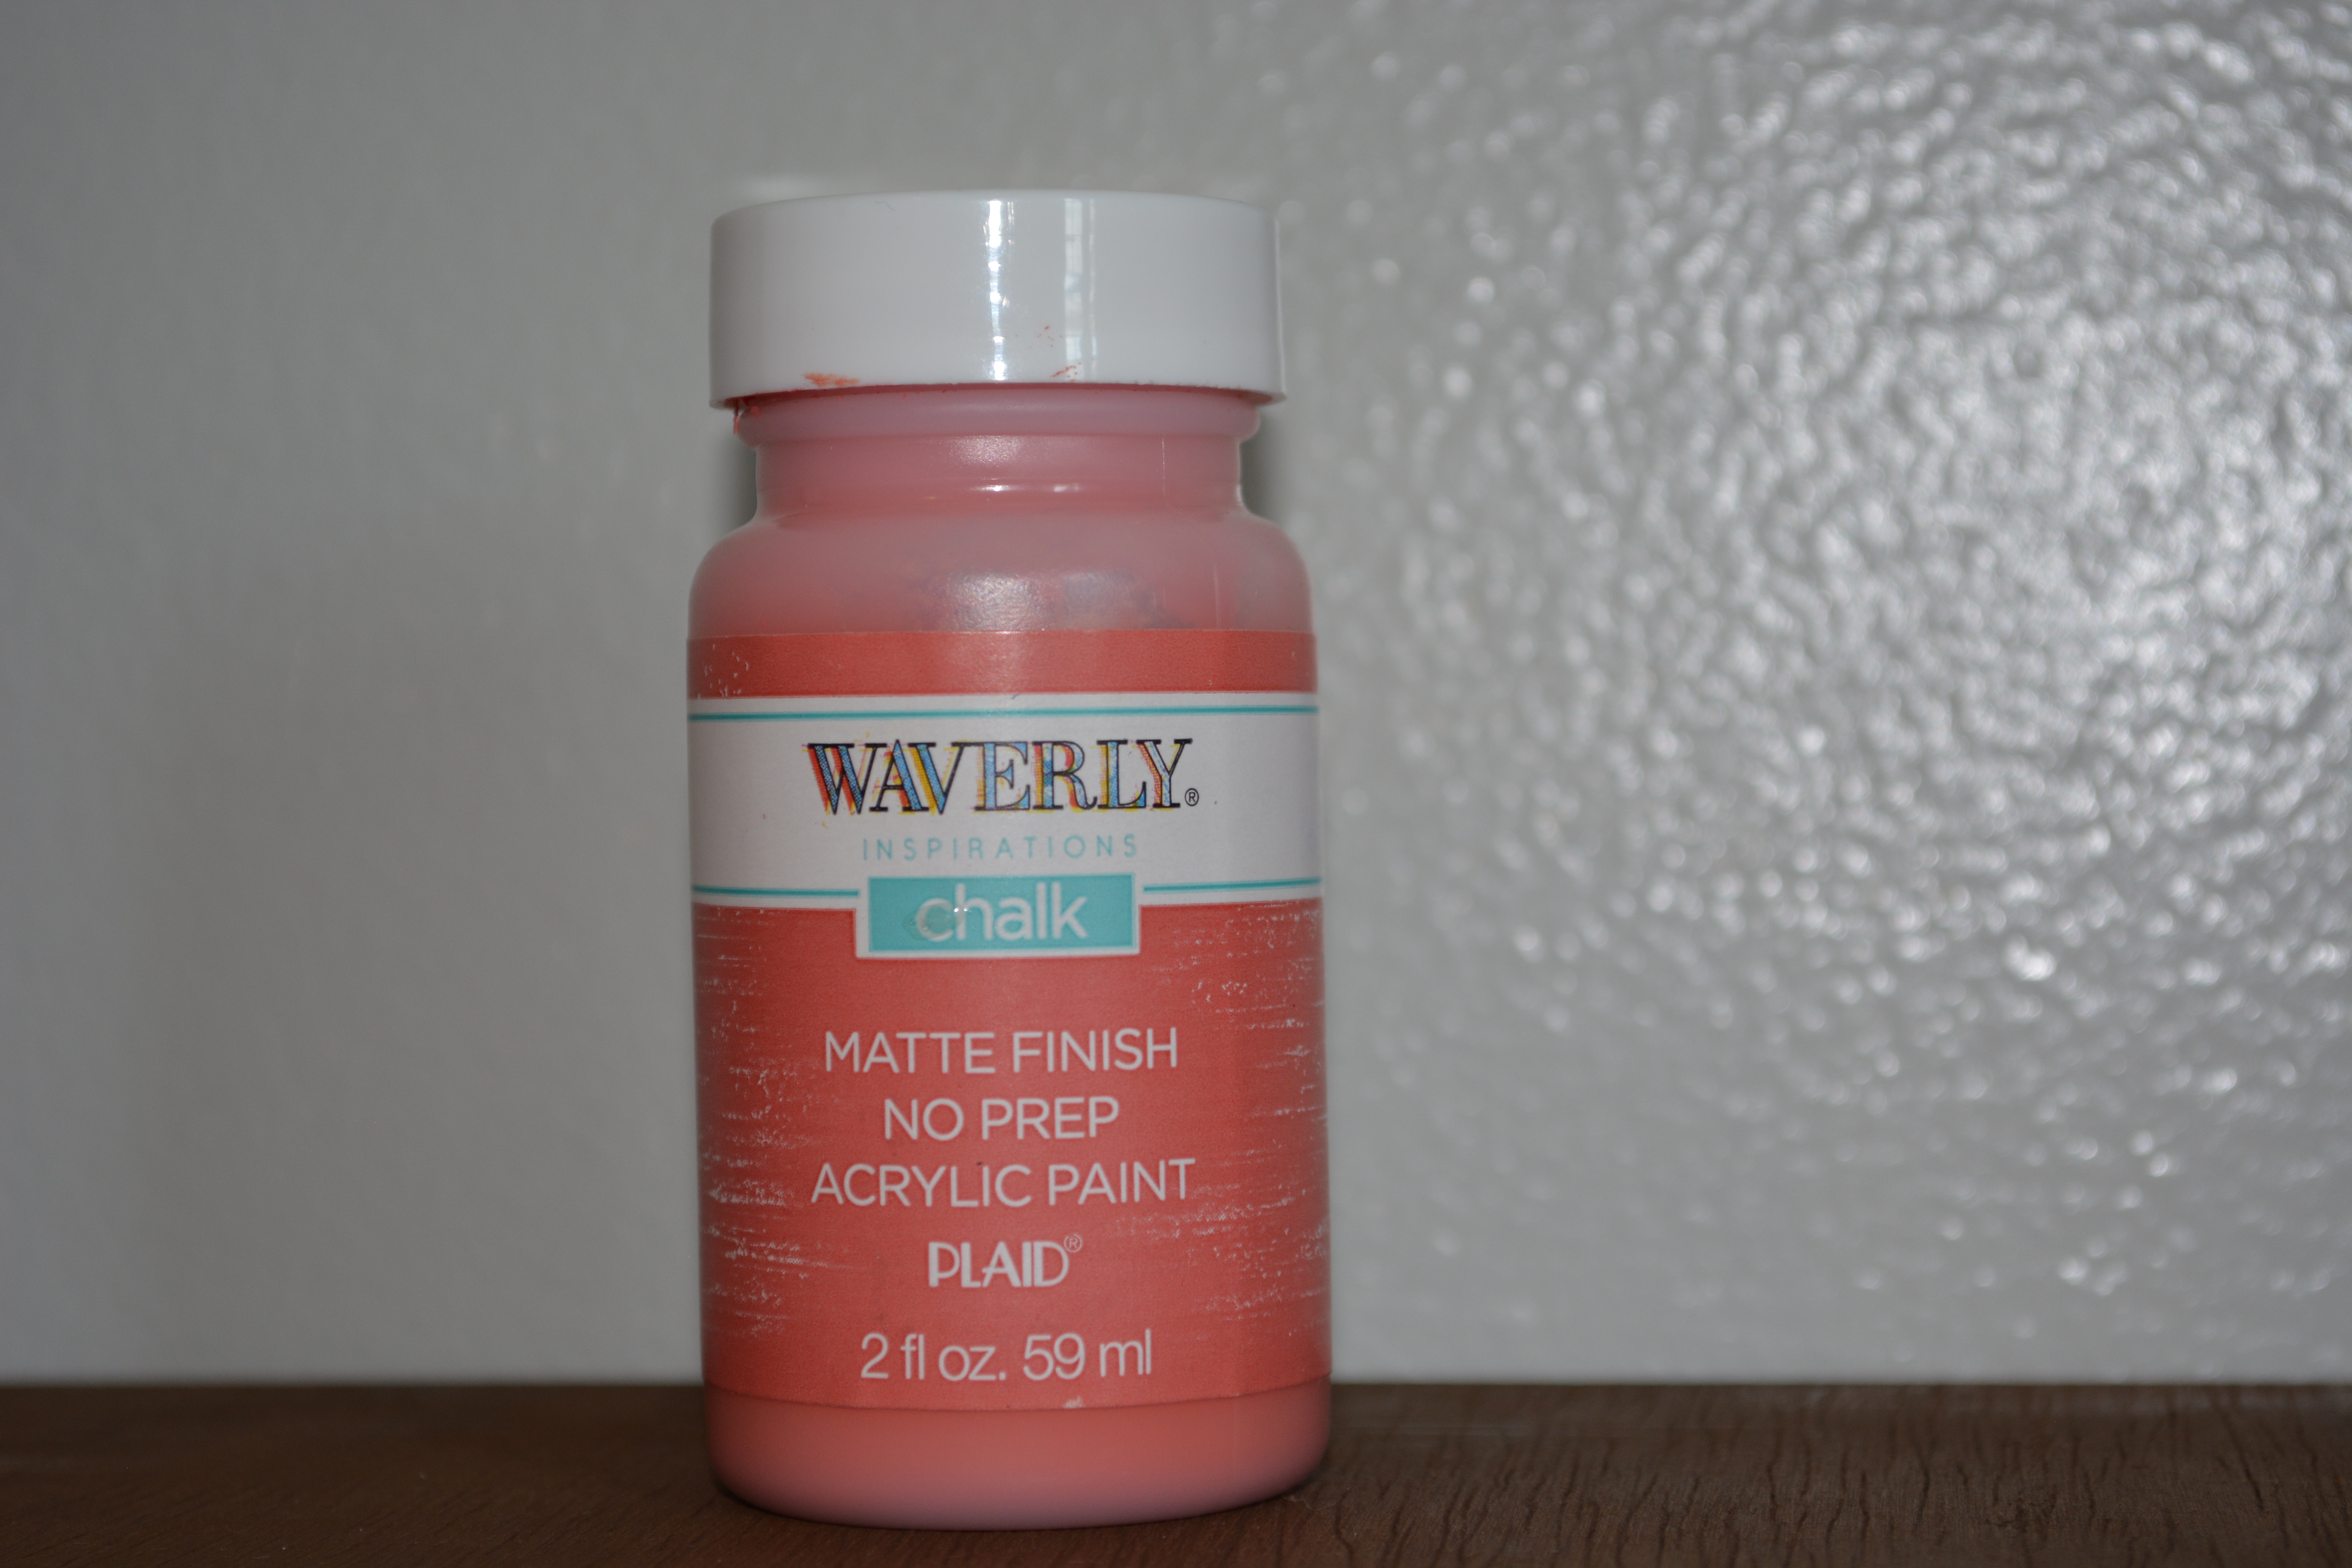
The first project is cute gourd flower vases. You will need as many vases as you want to make. I found 2 of these white vases at Dollar Tree. They come in all kinds of colors. You will also need paint if you want to change the color of the vases. I used Waverly Chalk paint in Pumpkin. Finally pick your favorite fall flowers. Mine are from Dollar tree.
A few extra supplies you will need are paint brushes, ribbon, and a sanding block.
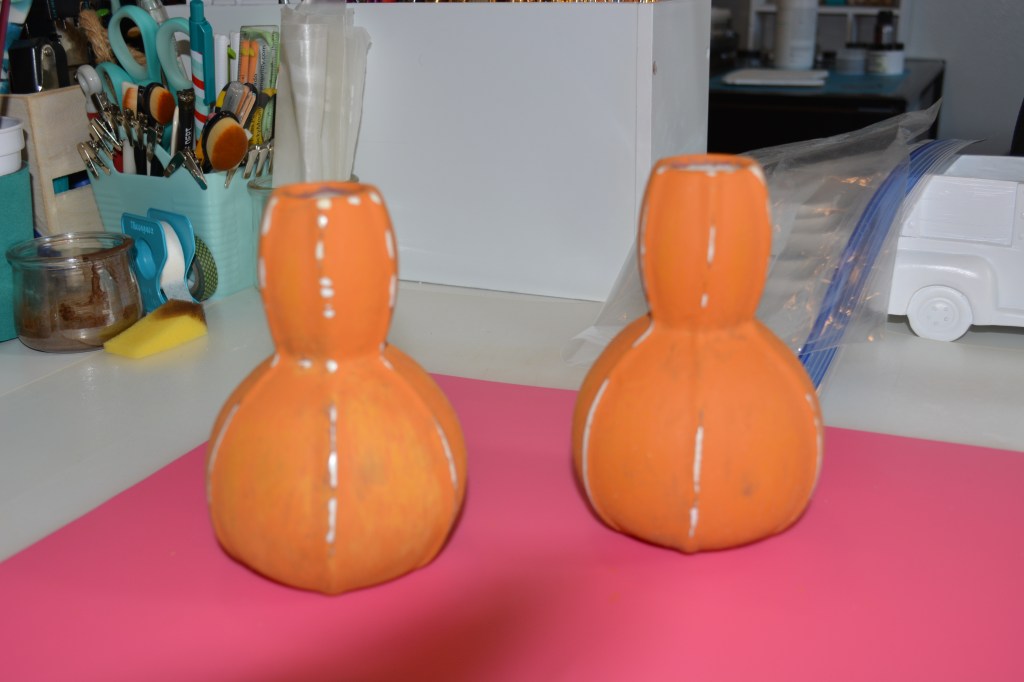
The first thing I did was to paint the vases with a mixture of a maroon paint and a copper color. It looked horrible and that is being kind. This is what I call a crafting mishap. It just did not turn our how I was hoping. So I changed gears and painted them with Waverly Chalk paint in Pumpkin. It took 2 coats of paint to cover the vases.
Next I took a sanding block and sanded down the edges of vases. This make the vases look like gourds. The white on the vase showed though great.
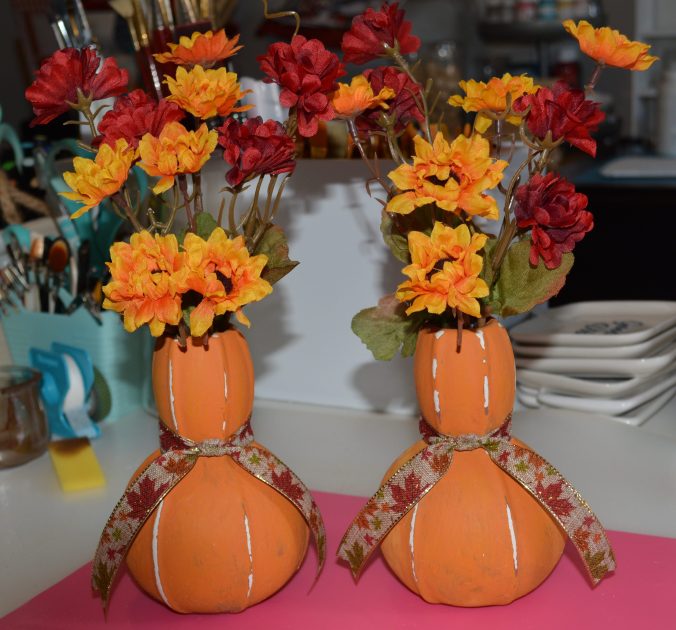
The final steps are to add ribbon if you want to and arrange your flowers and you are done!
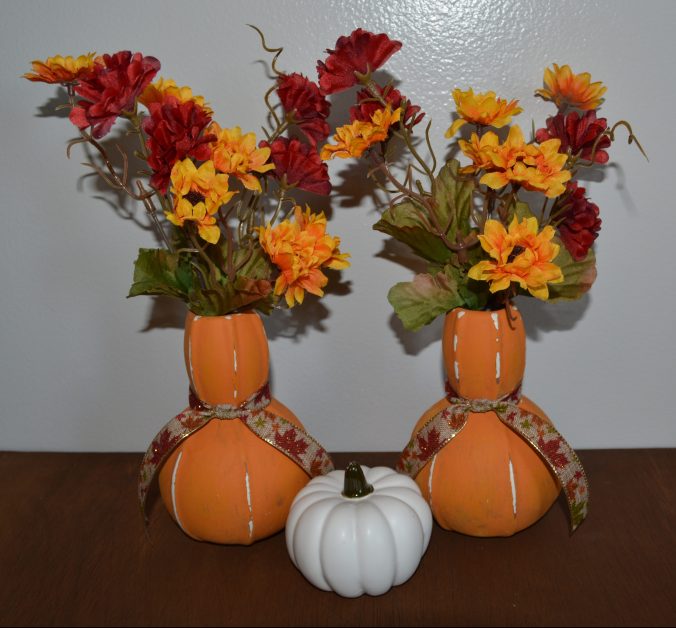
They are so perfect for fall. This project would be great as a start to a center piece for a table scape or something simple on end tables. It can round our any decor.
Project #2

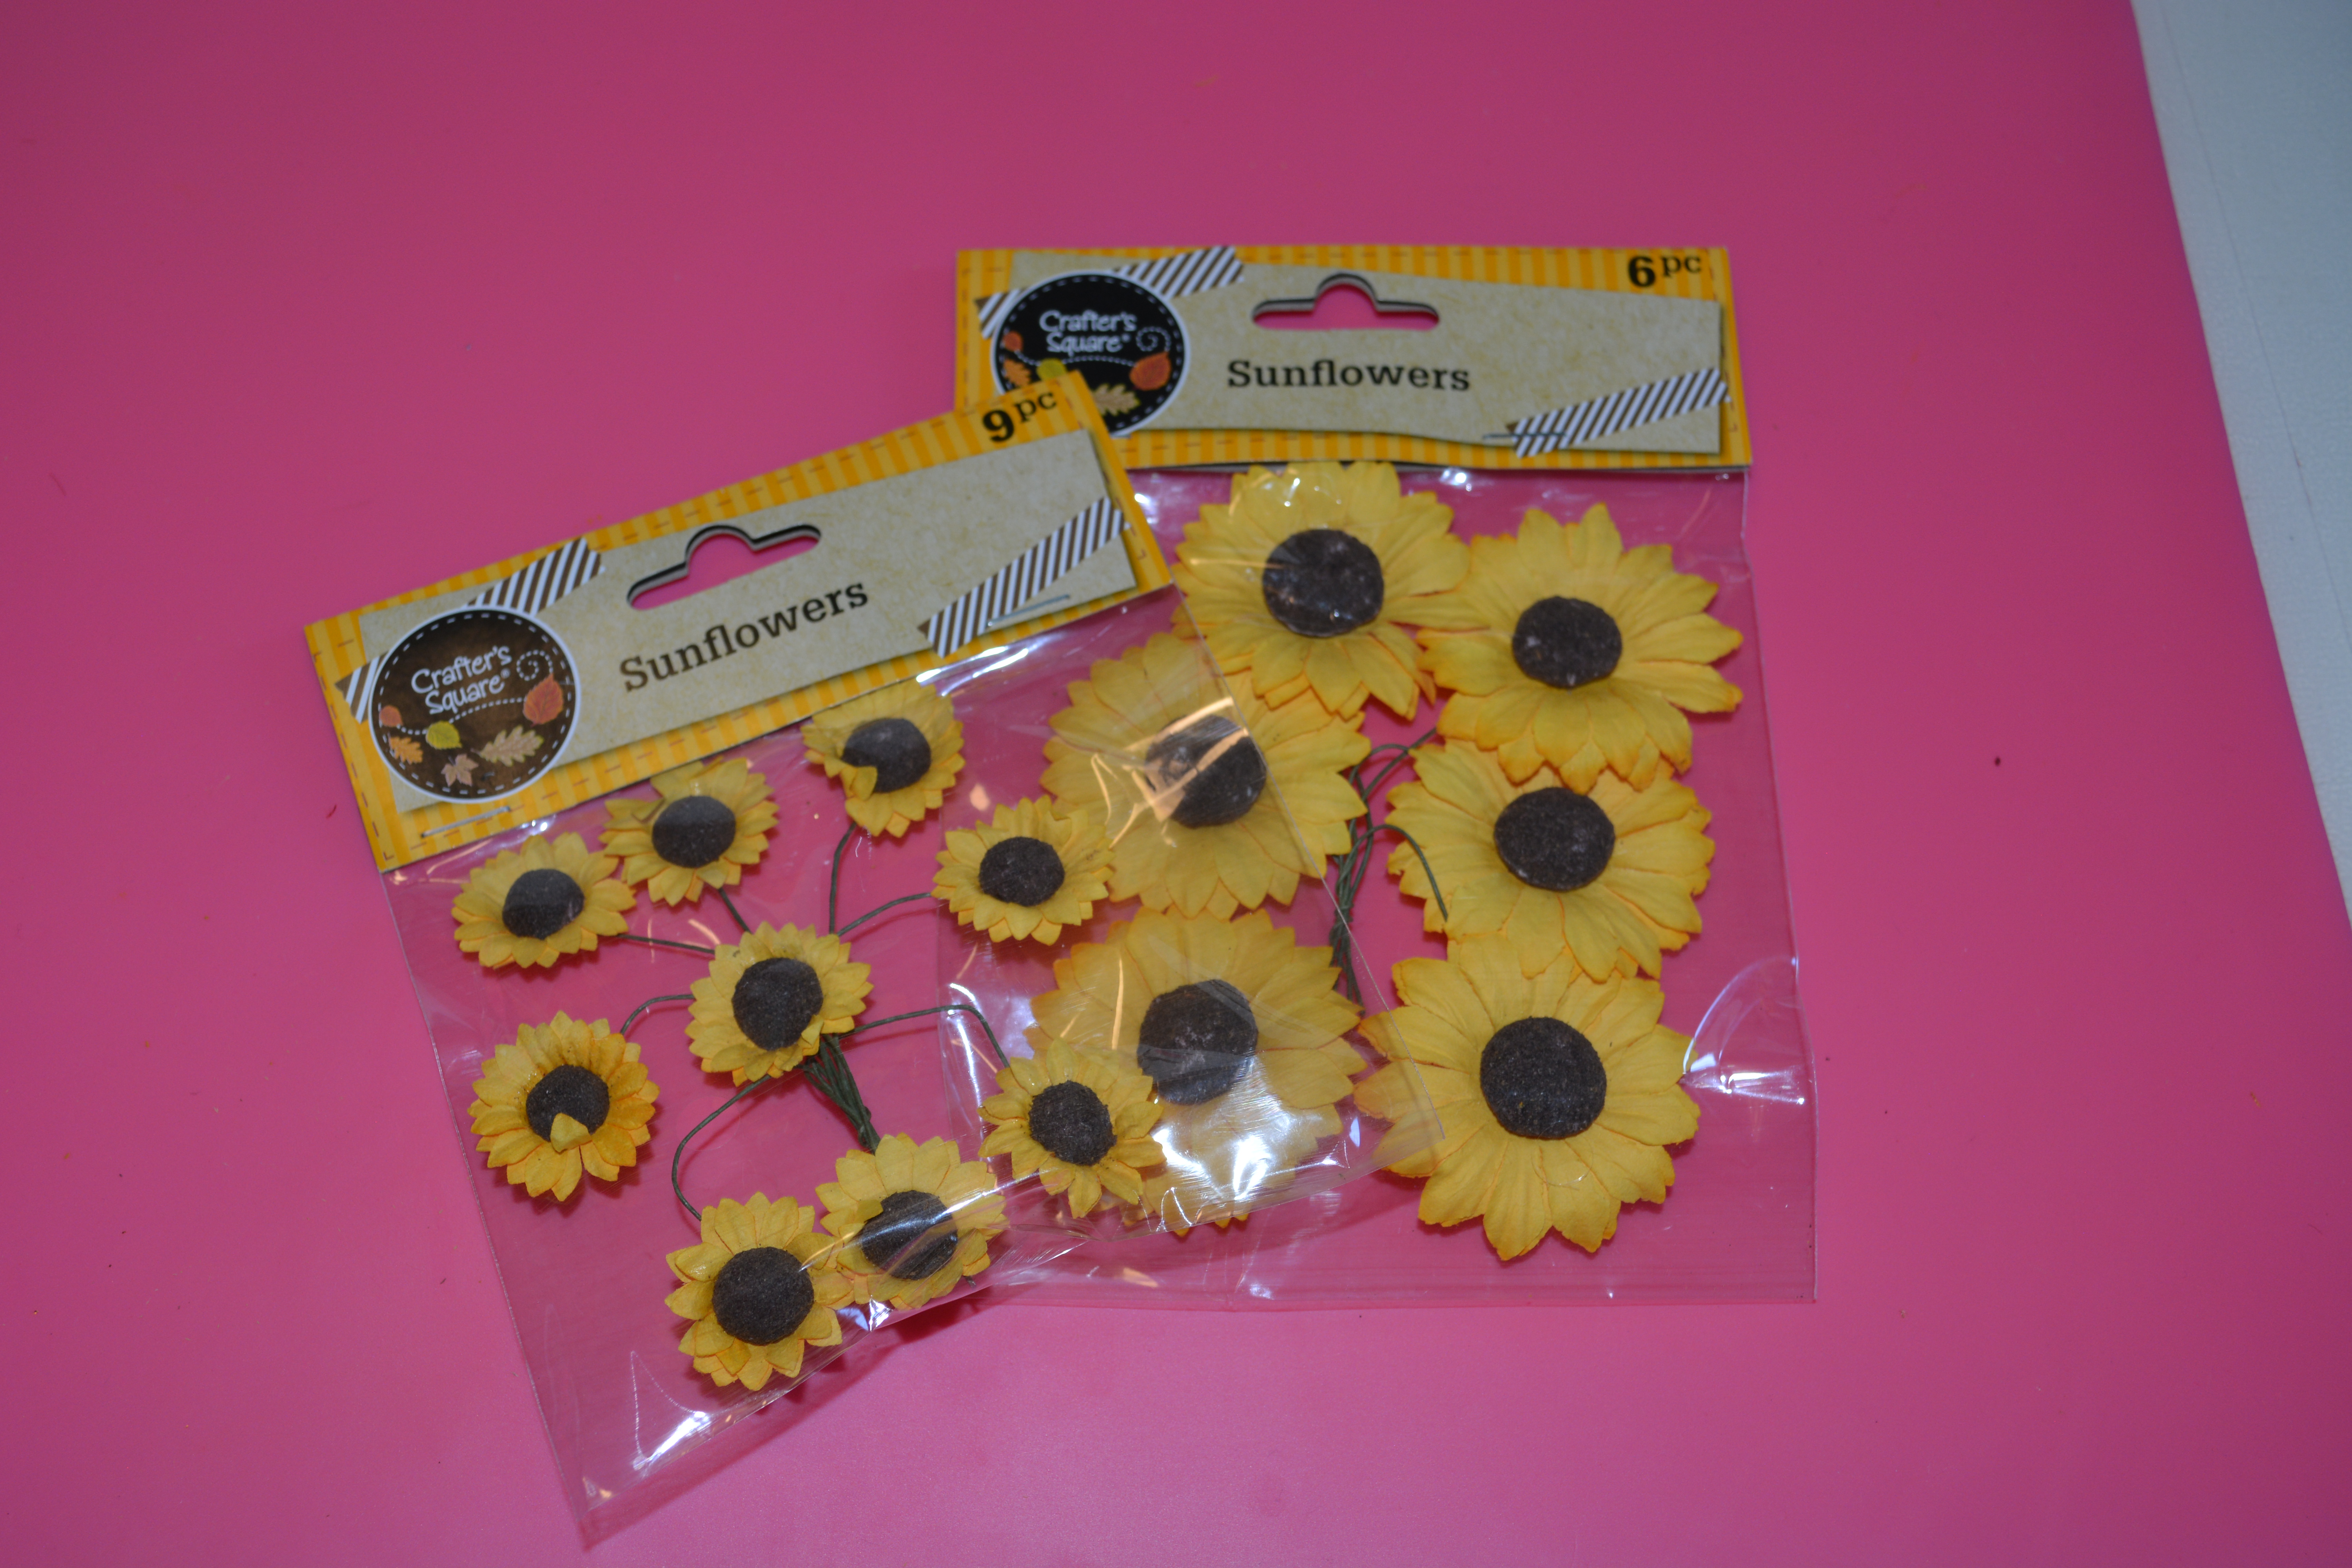


This project might look like it takes a lot but it goes fast. You will need some small pallets and sunflowers from the Dollar Tree. I found the words and pumpkins at Target in the Bullseye Playground. I used two different kinds of Waverly Chalk paint in Maize and Rhubarb and also Waverly Antique Wax.
You will also need Glue and paint brushes.

The first thing I did to start this project was put some Waverly Antique Wax in a cup and put a few table spoons of water in it and mixed it together. This thins the paint out and makes it more like a stain instead of thick paint. I brushed the stain all over both pallets and let them dry.
While that was drying, some of my pumpkins and words were not the colors I was looking so I painted them with chalk paint. Another option for painting the items is to use paint pens. This actually works really well and something I will do from now on because it is easier.

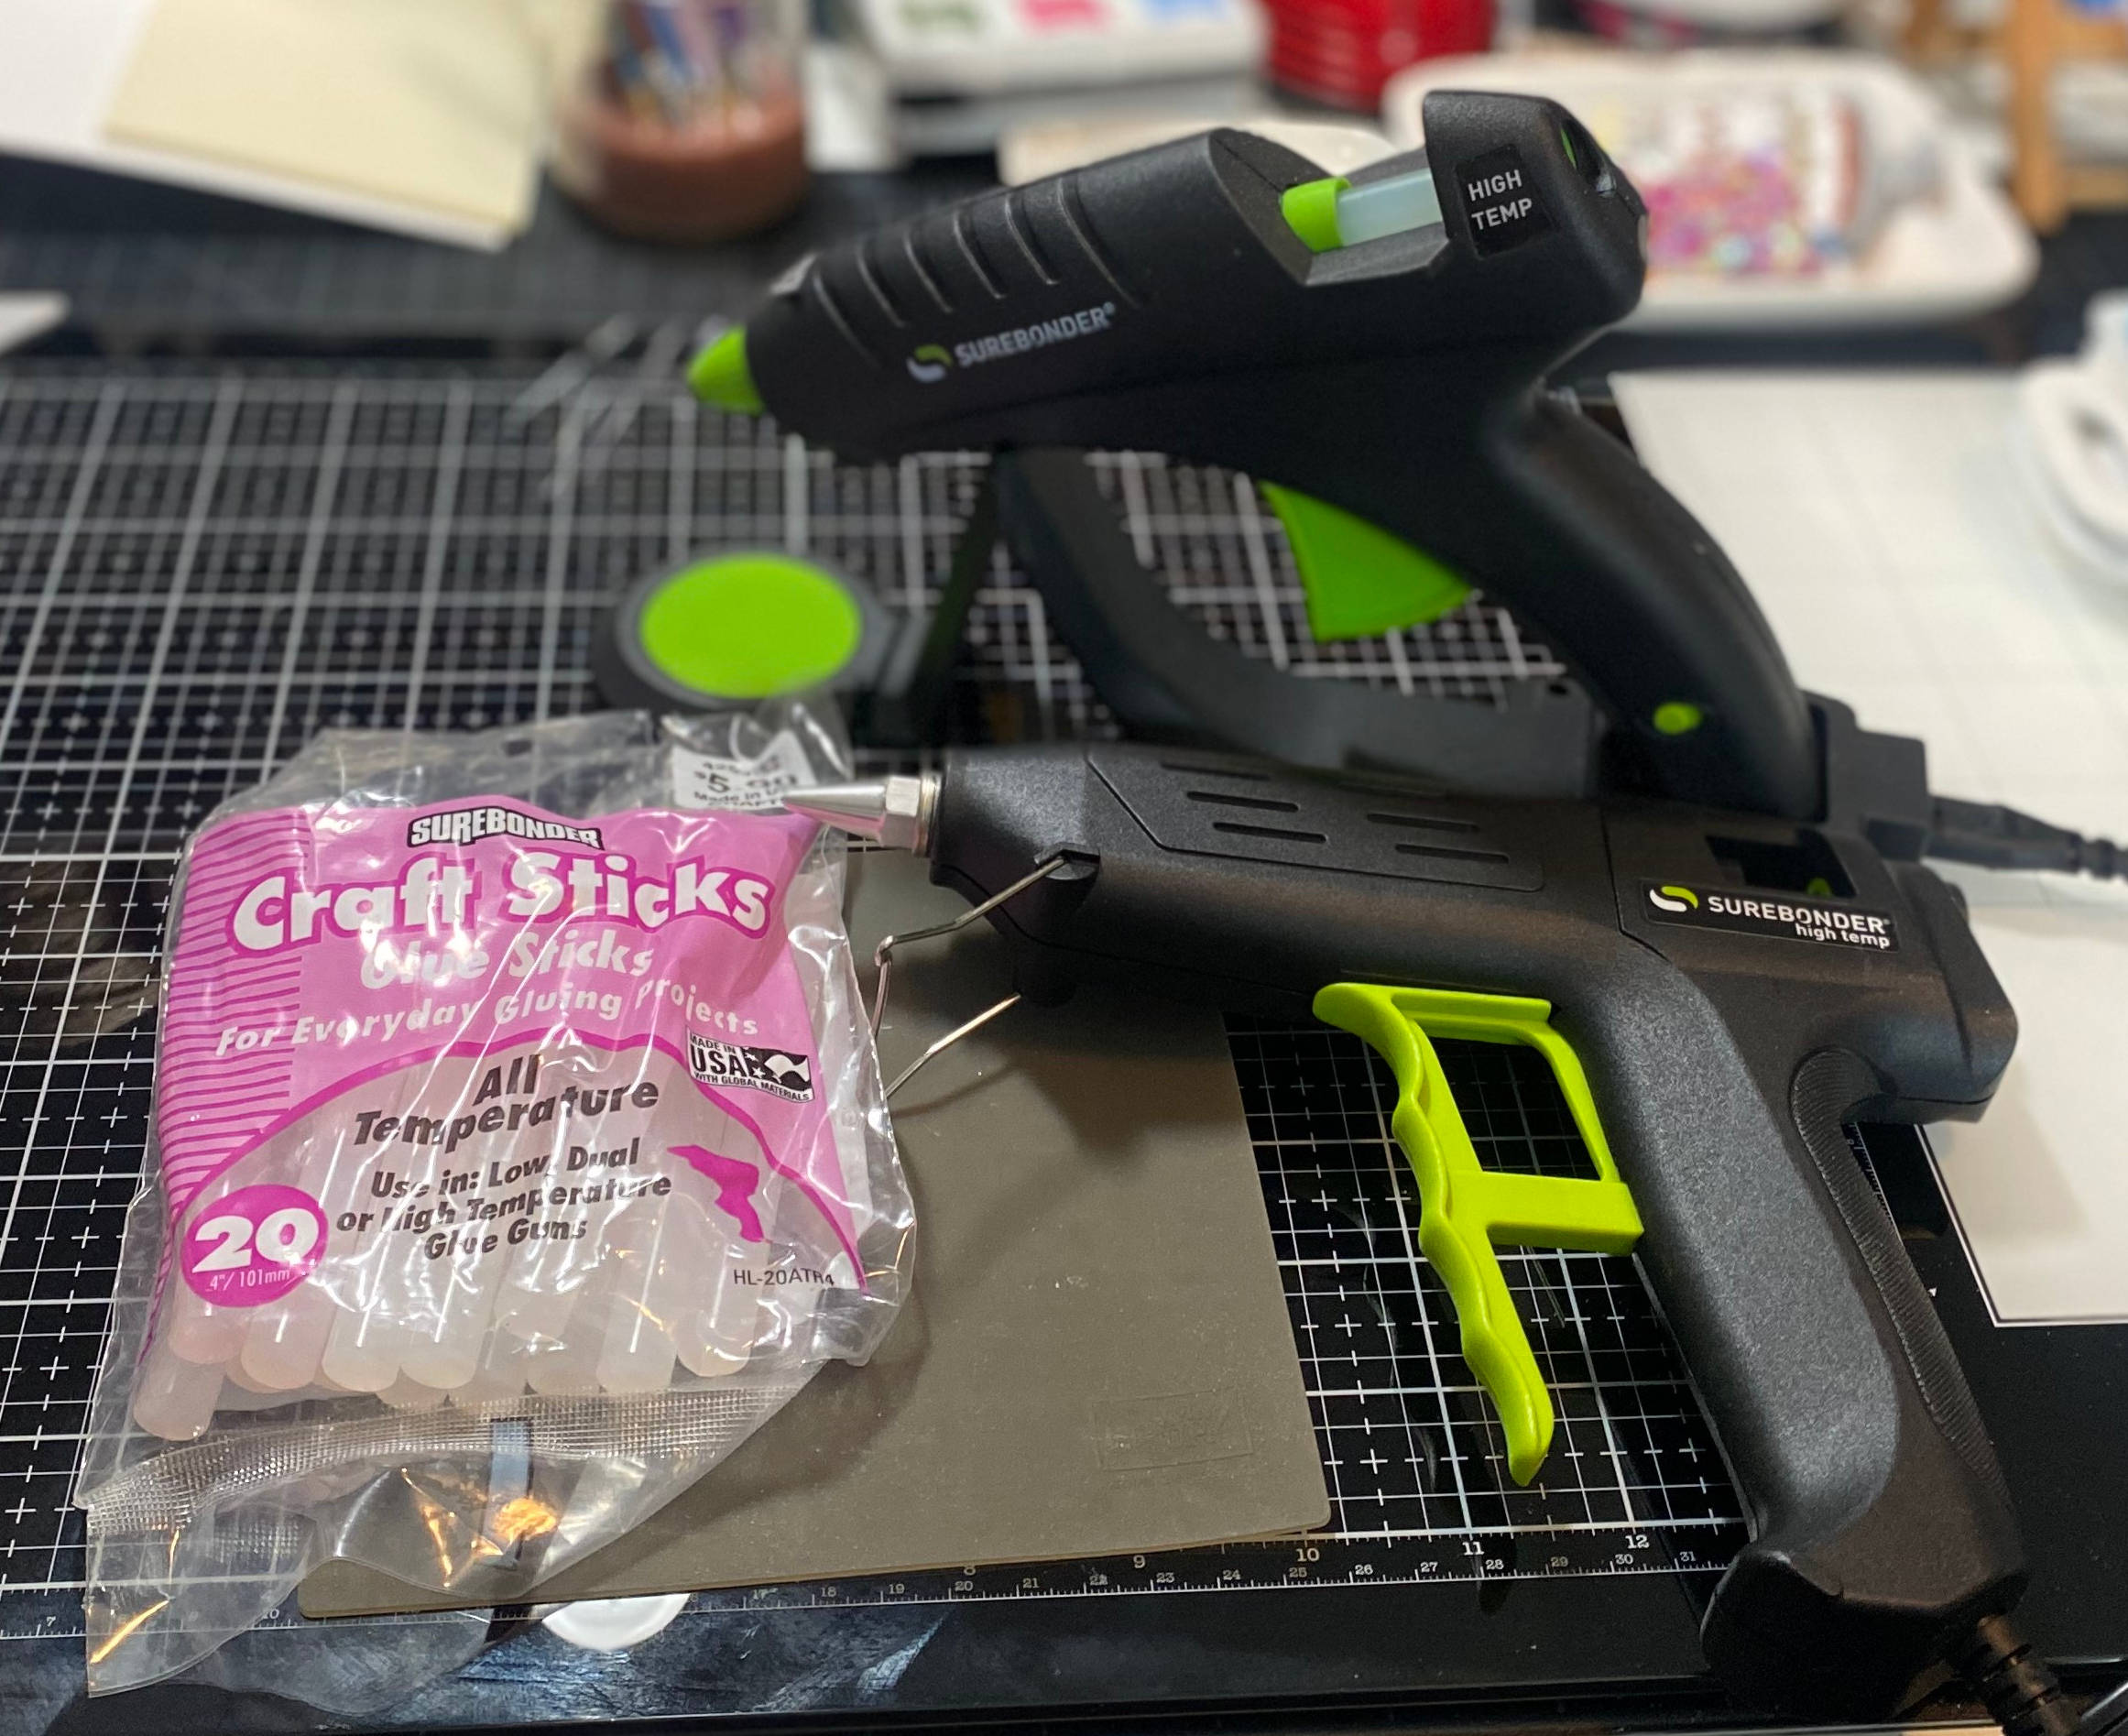
From there I started placing the words, pumpkins and flowers on the pallets to see how I wanted to arrange them. I also painted leaves on the pumpkins to give them a face lift. Once arranged, I glued them on. I used hot glue for the pumpkins and flowers and a liquid glue for the words. I am not real good at using hot glue on thin words like this without making a big mess.
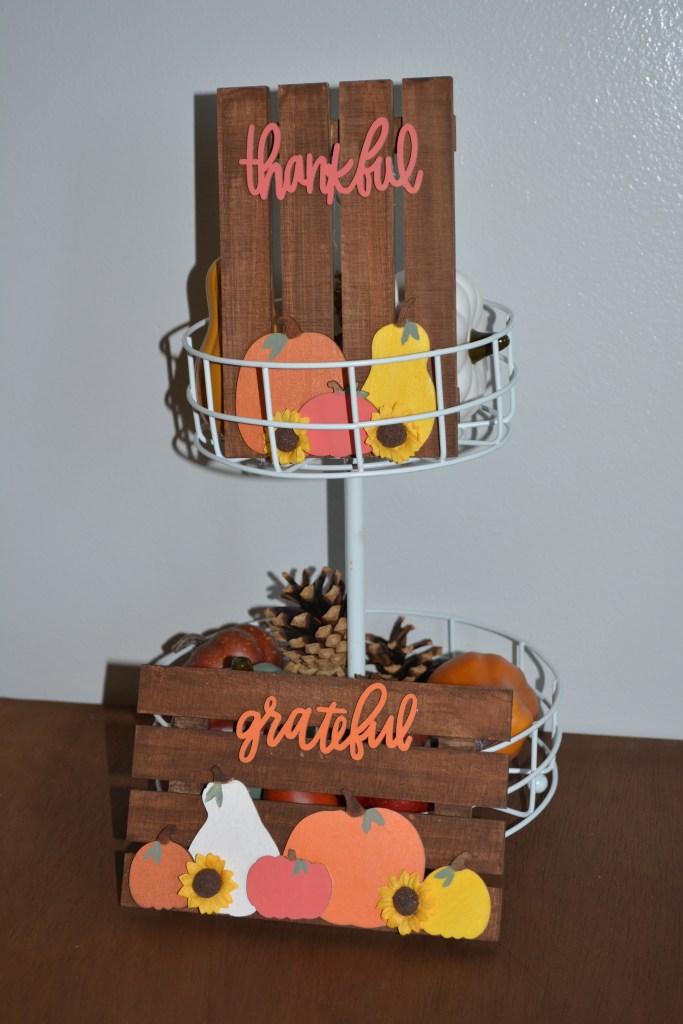
These look really great on their own or in 3 tiered trays. They make the perfect focal point.
Project #3
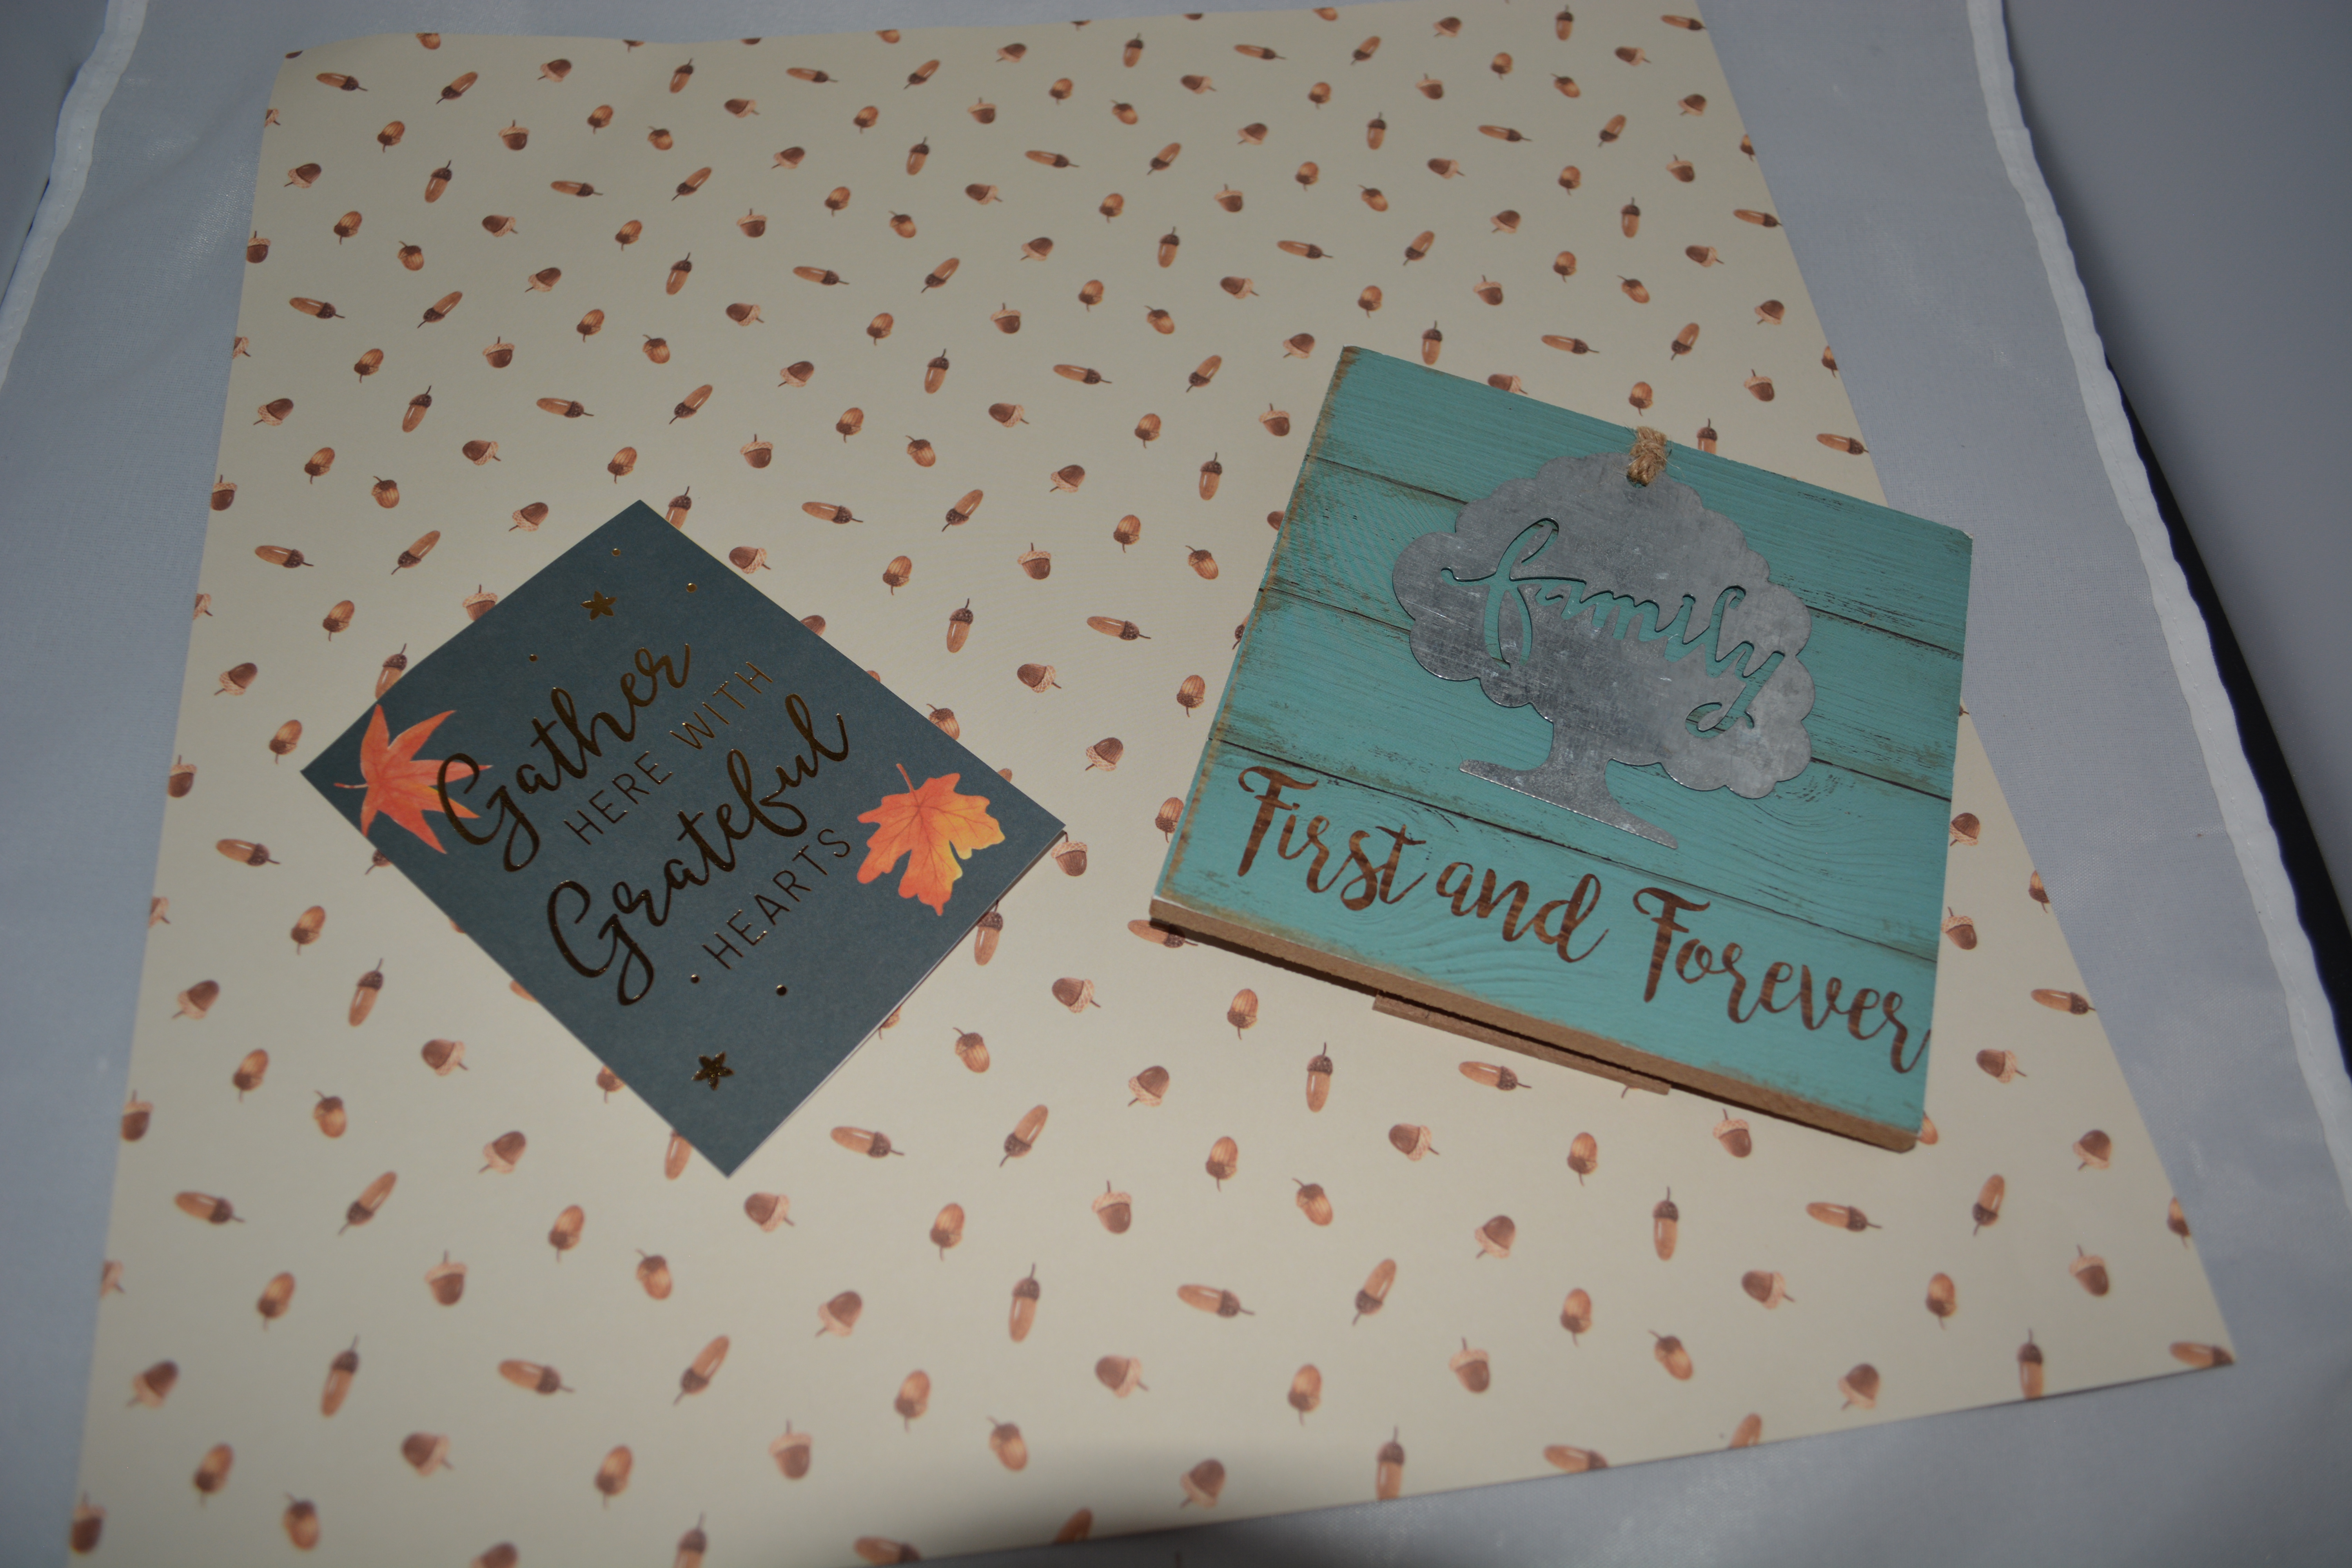

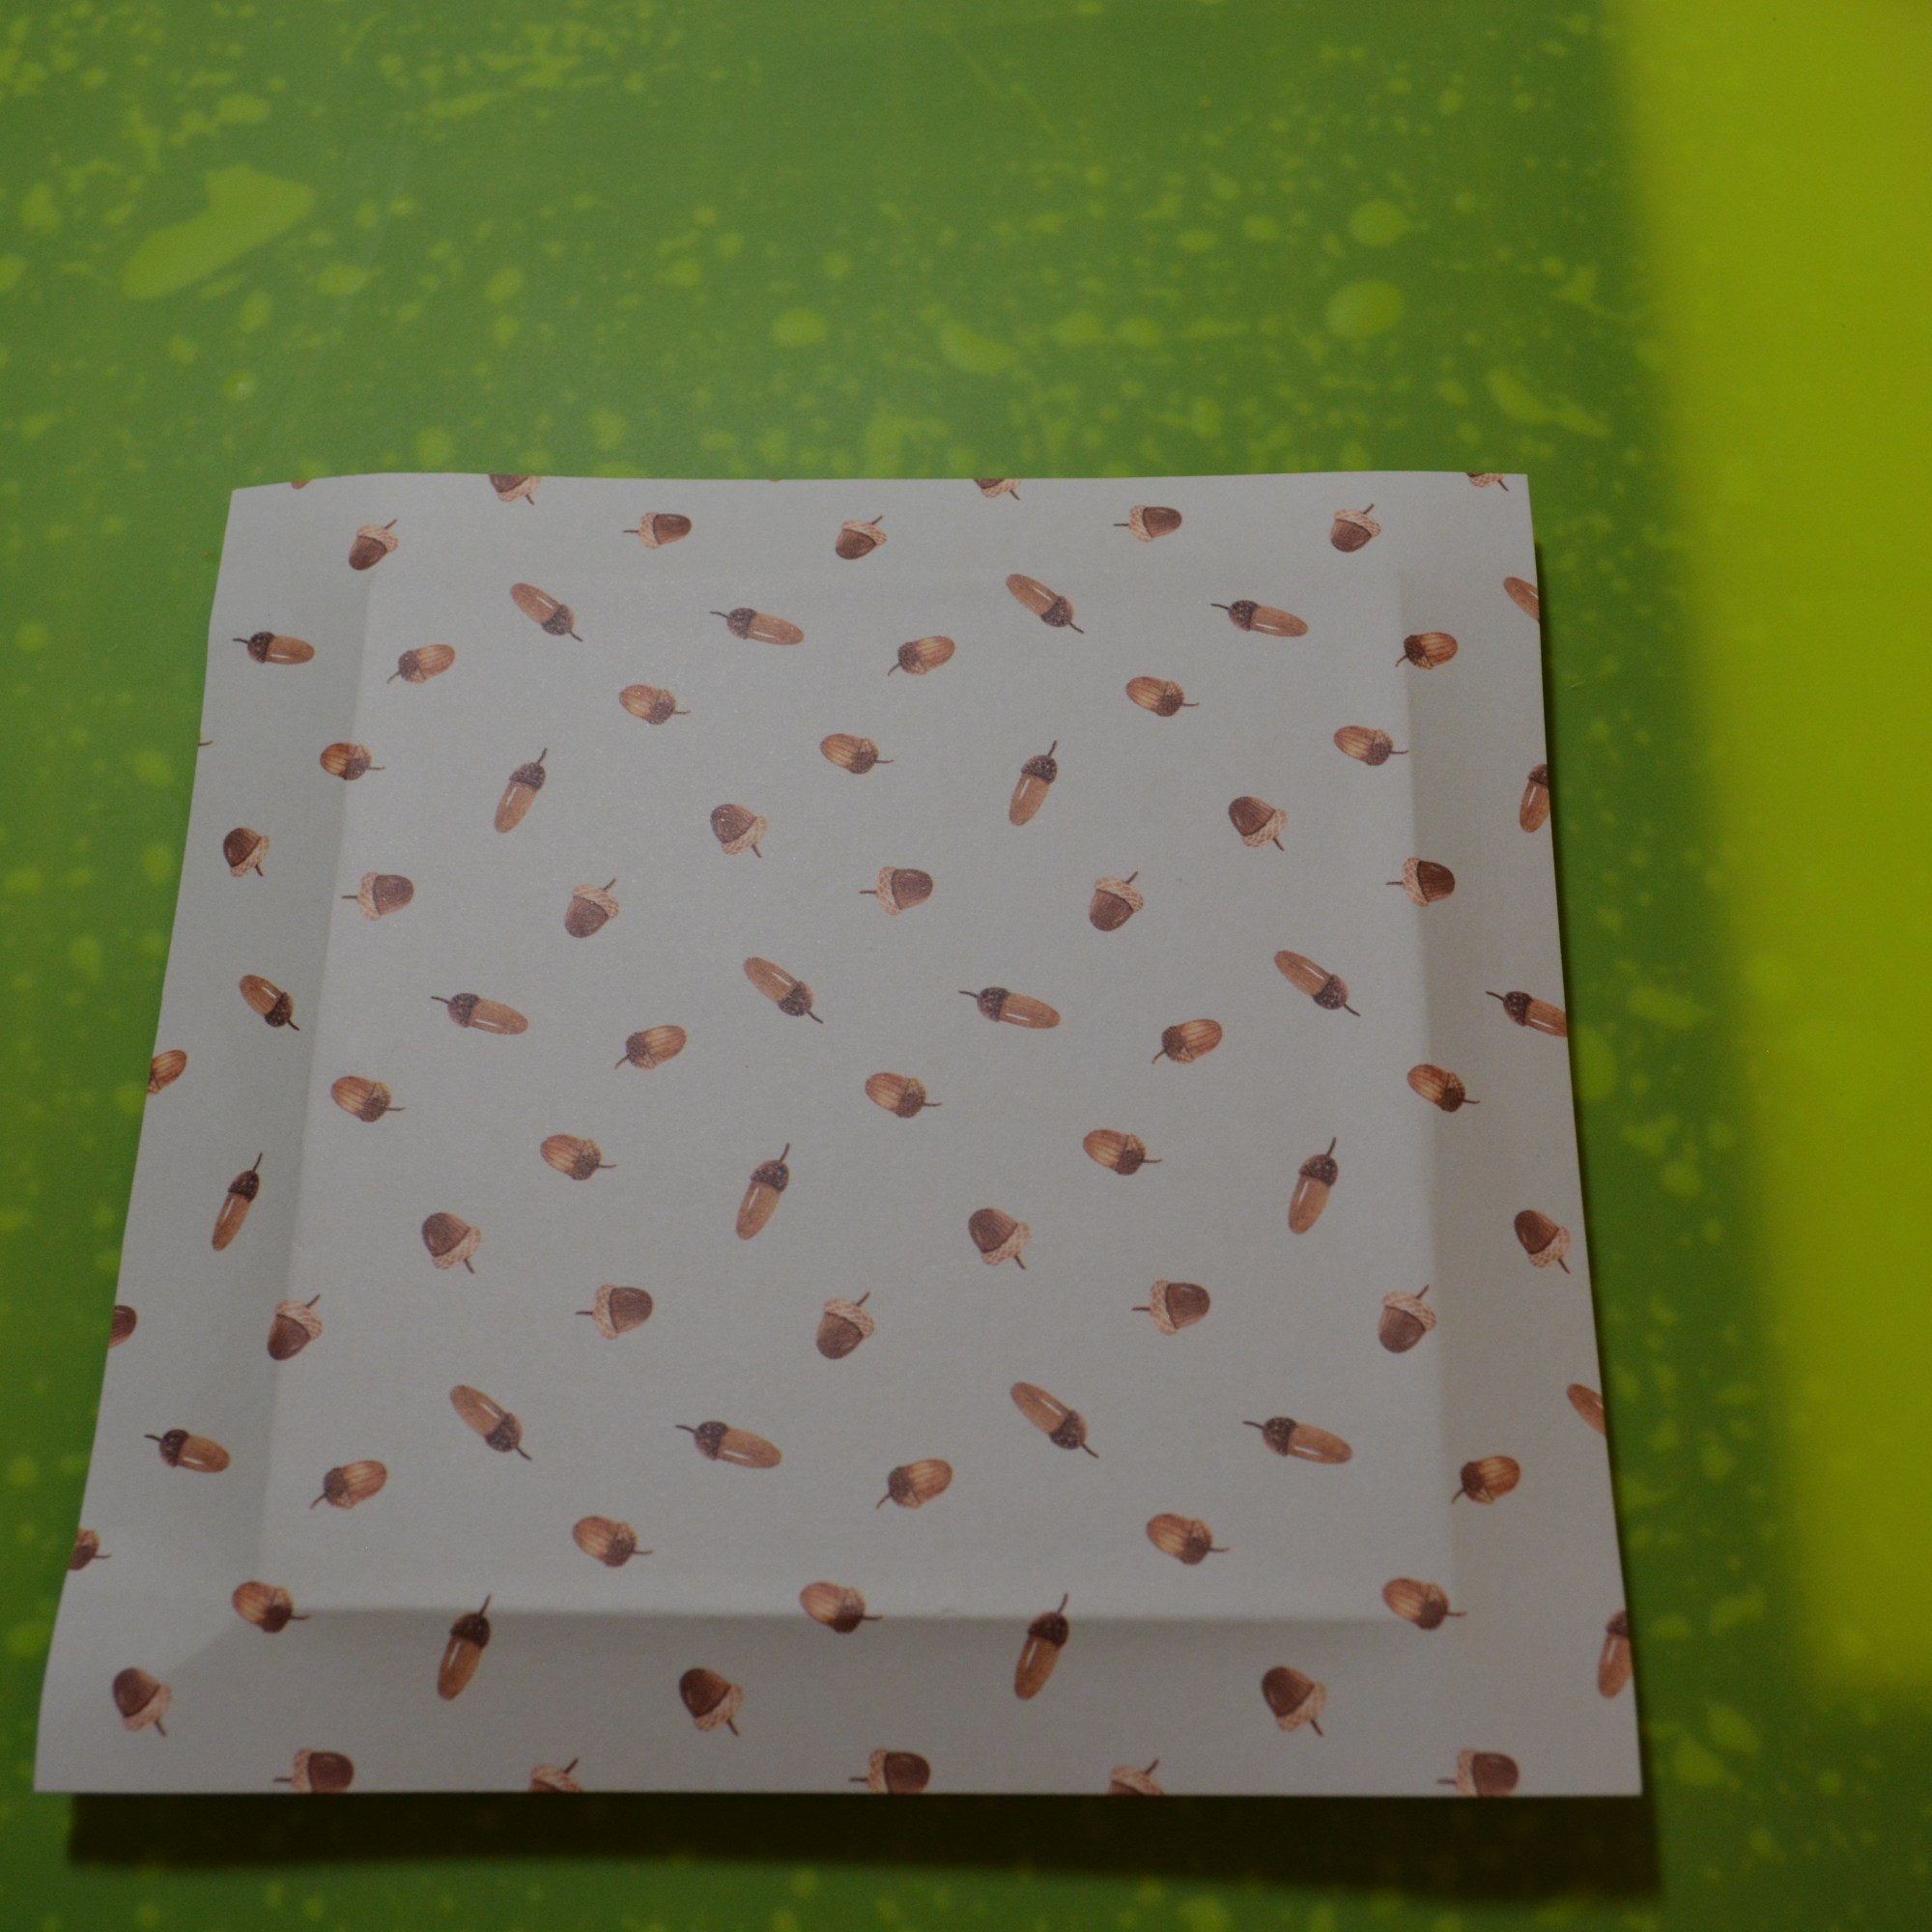
For the third project you will need a standing plaque and flowers from Dollar Tree, scrapbook paper from Hobby Lobby, Mod Podge, and hot glue gun. The paper with the words on it came from a large paper pack from Michael’s Craft store. You will also need a sanding block or sand paper and a paint brush.


To start off this project, I put Mod Podge all over the plaque in a thin layer and placed the scrapbook paper on the top of it, smoothed out the bubbles, and then let it dry. That is important. It is easier to do the next step if the Mod Podge is dry. Once dry, take a sanding block and in a downward motion and run it along the the edge of the plaque. This will scrape the extra paper off of the plaque and you are left with a perfect edge. To me this is better than cutting the paper to fit the plaque.
Now lets move onto the paper with the words. I did not want the words in the center or straight on the plaque. So I put it at an angle on the left side. Do what ever is pleasing to your eye. To glue it down I used more Mod Podge. I covered the plaque in Mod Podge and placed the words down and put Mod Podge over the top of it too. This will seal everything in.
Once this was done, I thought it looked plain and needed some distressing. This is optional but I took some Tim Holtz Destress ink and ran it along the edge of the plaque. It was an orange rust color. You could use paint to do this too. Just make sure you have a very light hand. The good thing is if you get to much paint on it, you can wipe it off because the Mod Podge is protecting it.

Finally I hot glues the sunflowers on and some extra leaves I cut to size and glued those on too.

This is the final project. This plaque is about a 3×3 size but you are not limited by size on this one. You can use what ever size you want and decorate it as you see fit.
I hope you enjoyed these three simple fall decor projects. I truly enjoyed making them and I have them all up in my home.
Thank you for joining me, I am doing a full week of Halloween projects next week! Please join me. Also please Like, Share, Comment and Subscribe!
Please stay safe and healthy
Melissa McGuire
Supplies
Project #1
Flowers- Dollar Tree
Vases- Dollar Tree
Pumpkin Waverly Chalk Paint- Walmart
Ribbon- Michael’s Craft Store
Paint Brushes- Anywhere
Sanding Block or Sand Paper- Anywhere
Project #2
Mini Pallets- Dollar Tree
Sunflowers- Dollar Tree
Fall Words- Target
Small Pumpkins- Target
Rhubarb Waverly Chalk Paint- Walmart
Maize Waverly Chalk Paint- Walmart
Waverly Antique Wax- Walmart
Surebonder Hot Glue Gun and Glue Sticks- Hobby Lobby
Liquid Glue- Any Craft Store
Paint Brushes- Anywhere
Project #3
Plaque- Dollar Tree
Scrapbook Paper- Hobby Lobby
Sun Flowers- Dollar Tree
Mod Podge- Any Craft Store
Sanding Block or Sand Paper- Anywhere
Surebonder Hot Glue Gun and Glue Sticks- Hobby Lobby
Paint Brushes- Anywhere
