
Welcome to day 2 of the 5 days of Halloween! I wanted to come up with some projects that were a outside of the box using items that are not normally thought of for Halloween crafting. There are three different projects that we are going to look at and three different outside of the box items I used to craft with.
Lets Get Started
Project #1
Supplies
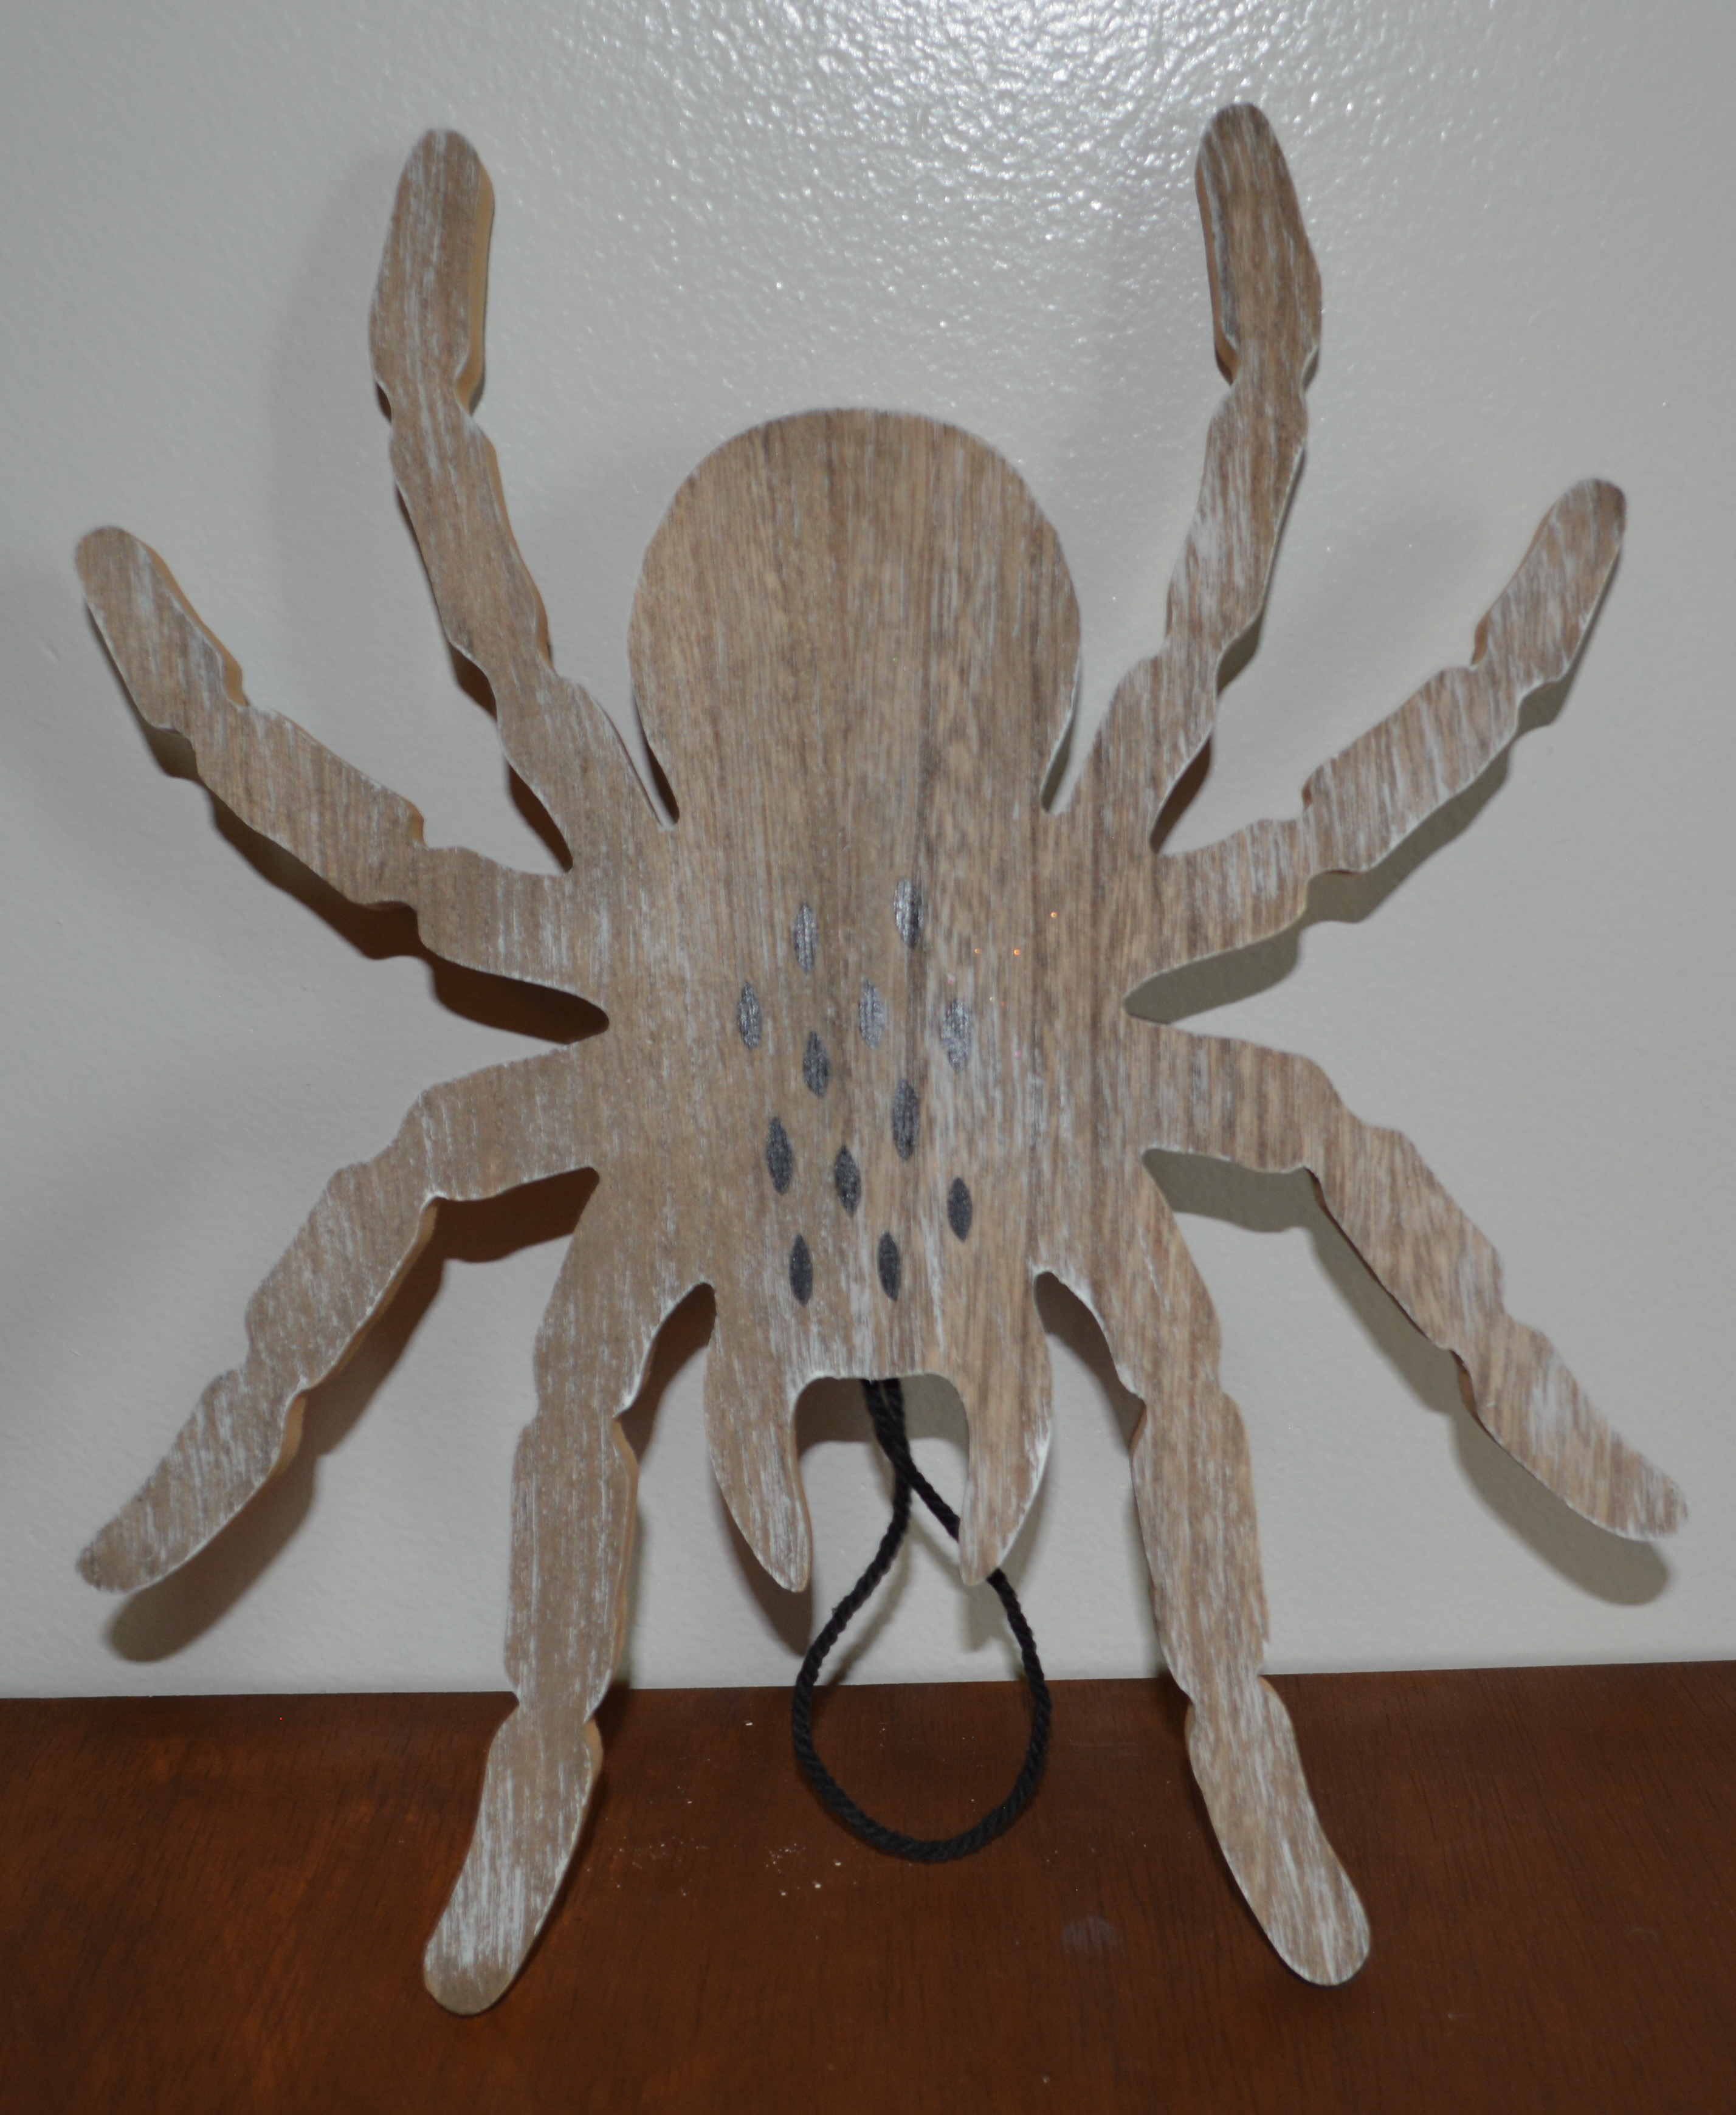
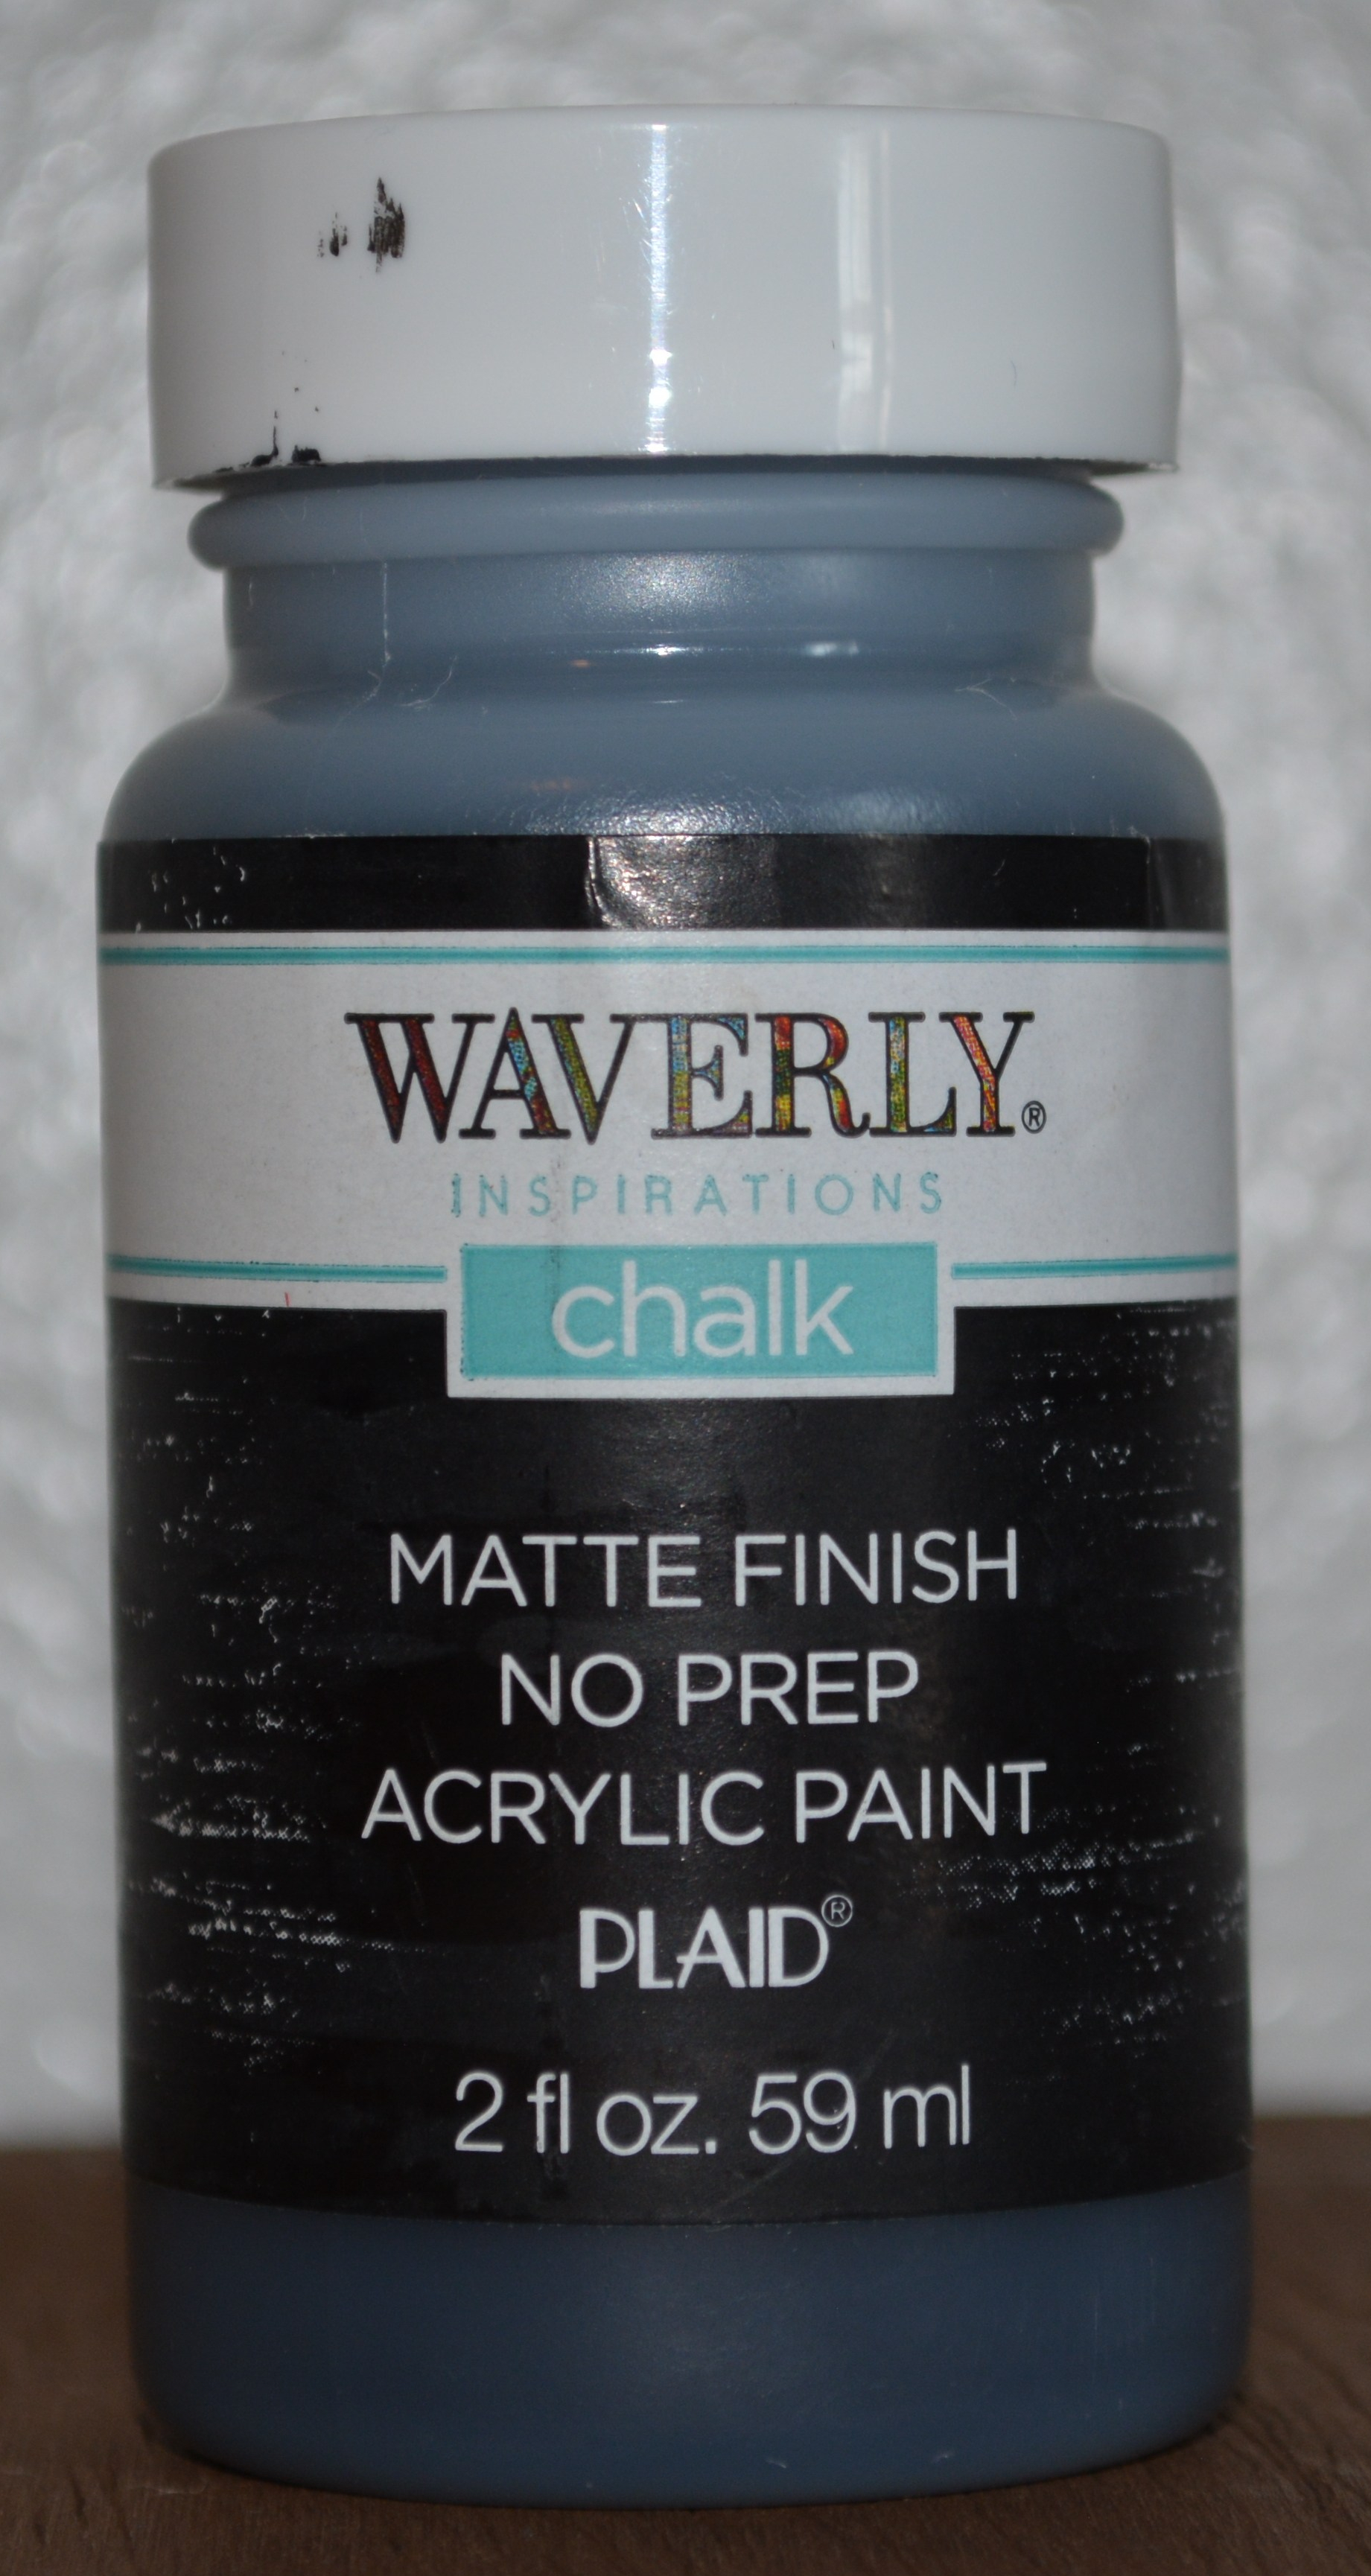

I found this wooden spider at Target. It is a heavy and solid piece but he was plain. I could have just stained him but I went a different direction. The paint I used was Waverly Chalk Paint in Ink. My outside of the box item for this spider is pompoms. I chose teal and black colored pompoms to add some texture to the spider.
A few other supplies I used was a paint brush, hot glue and googly eyes.

I started by painting the top of the spider with Waverly Chalk Paint in Ink. With this being such a thick piece and I wanted to keep the sides the natural color so I only painted the top. Then let it dry. It only needed one coat.


Next I went in with the pompoms. I suggest looking up some pictures to give you some ideas on what the back of spiders look like. My son found a spider outside of our house and it had babies all over the back of it. It was gross!! It was also my inspiration. I added the black pompoms first by laying them out on the spider to map out where I wanted to glue them. Once I was happy with how it looked I glued them down with hot glue. Now the black was pretty bland. It needed some serious color. Teal and white pompoms were the only two other colors I had on hand. I went with the teal and added them in a pattern on top of the black pompoms.
The last step was adding the googly eyes. I might have went a bit overboard with the eyes but at least he can see.

Here is the final project! He is a cute and spooky spider. I love the color pop of the teal on the black. The raw edge adds some personality to this spider too.
Project #2
Supplies
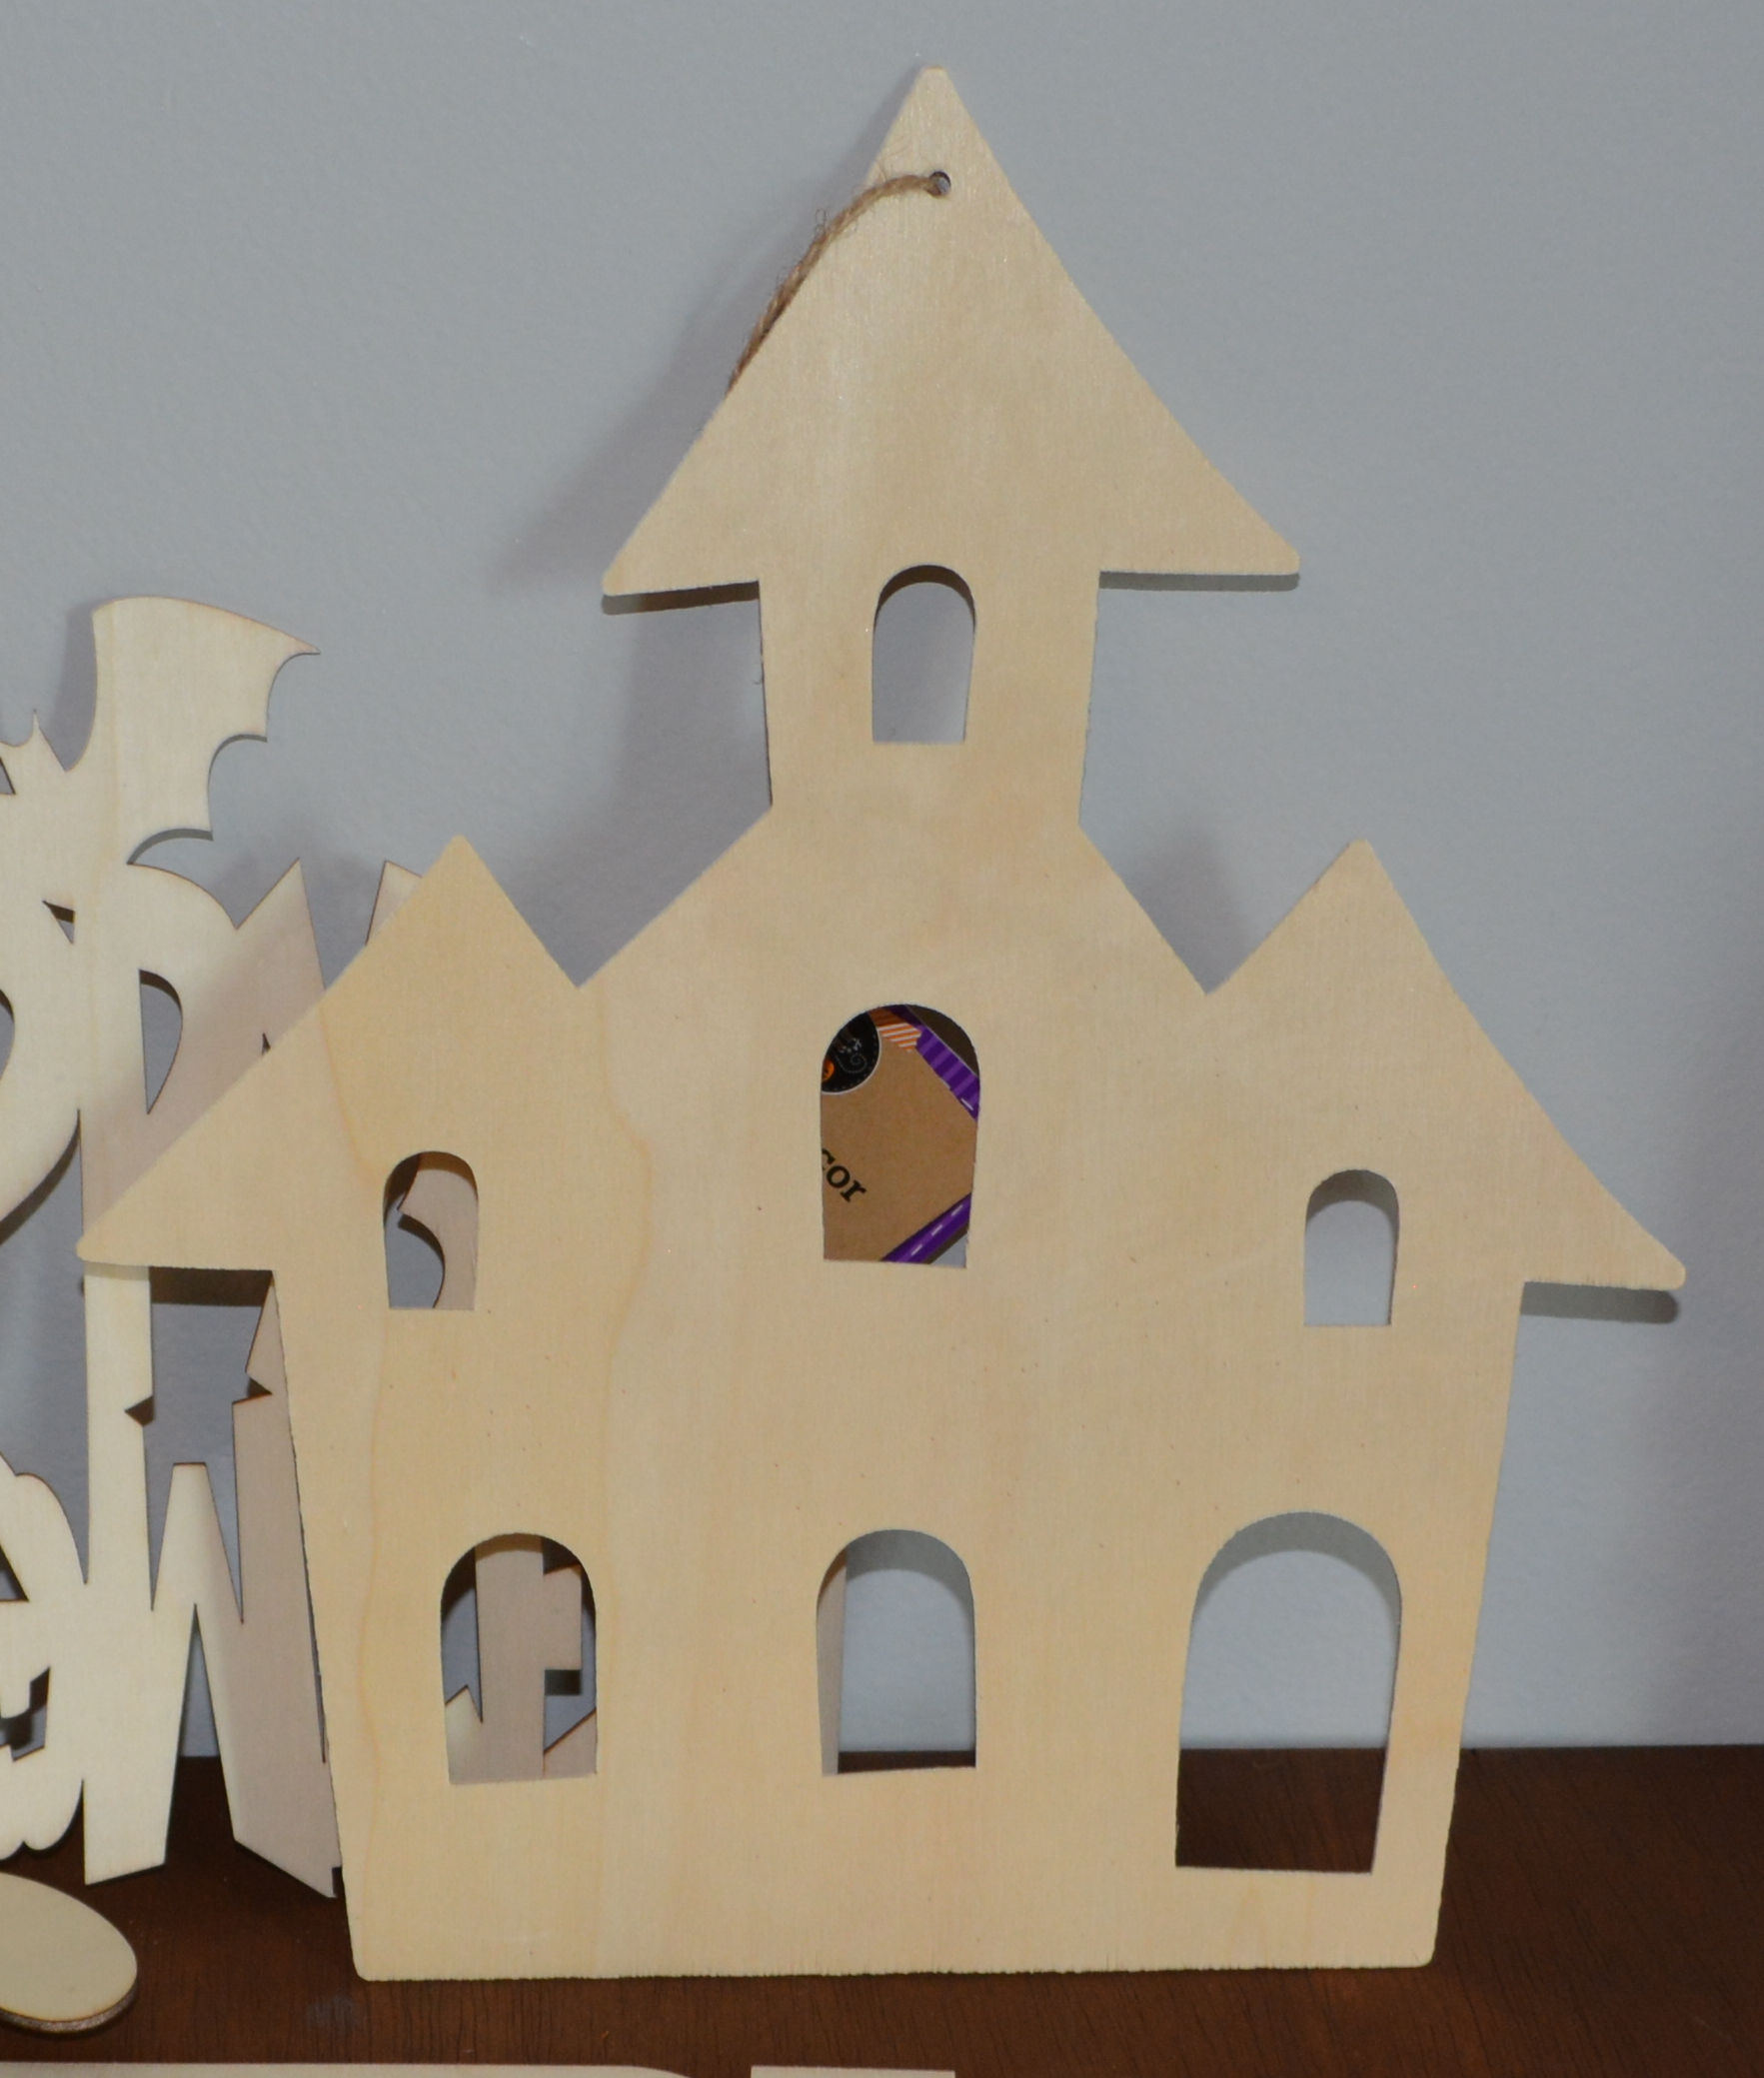


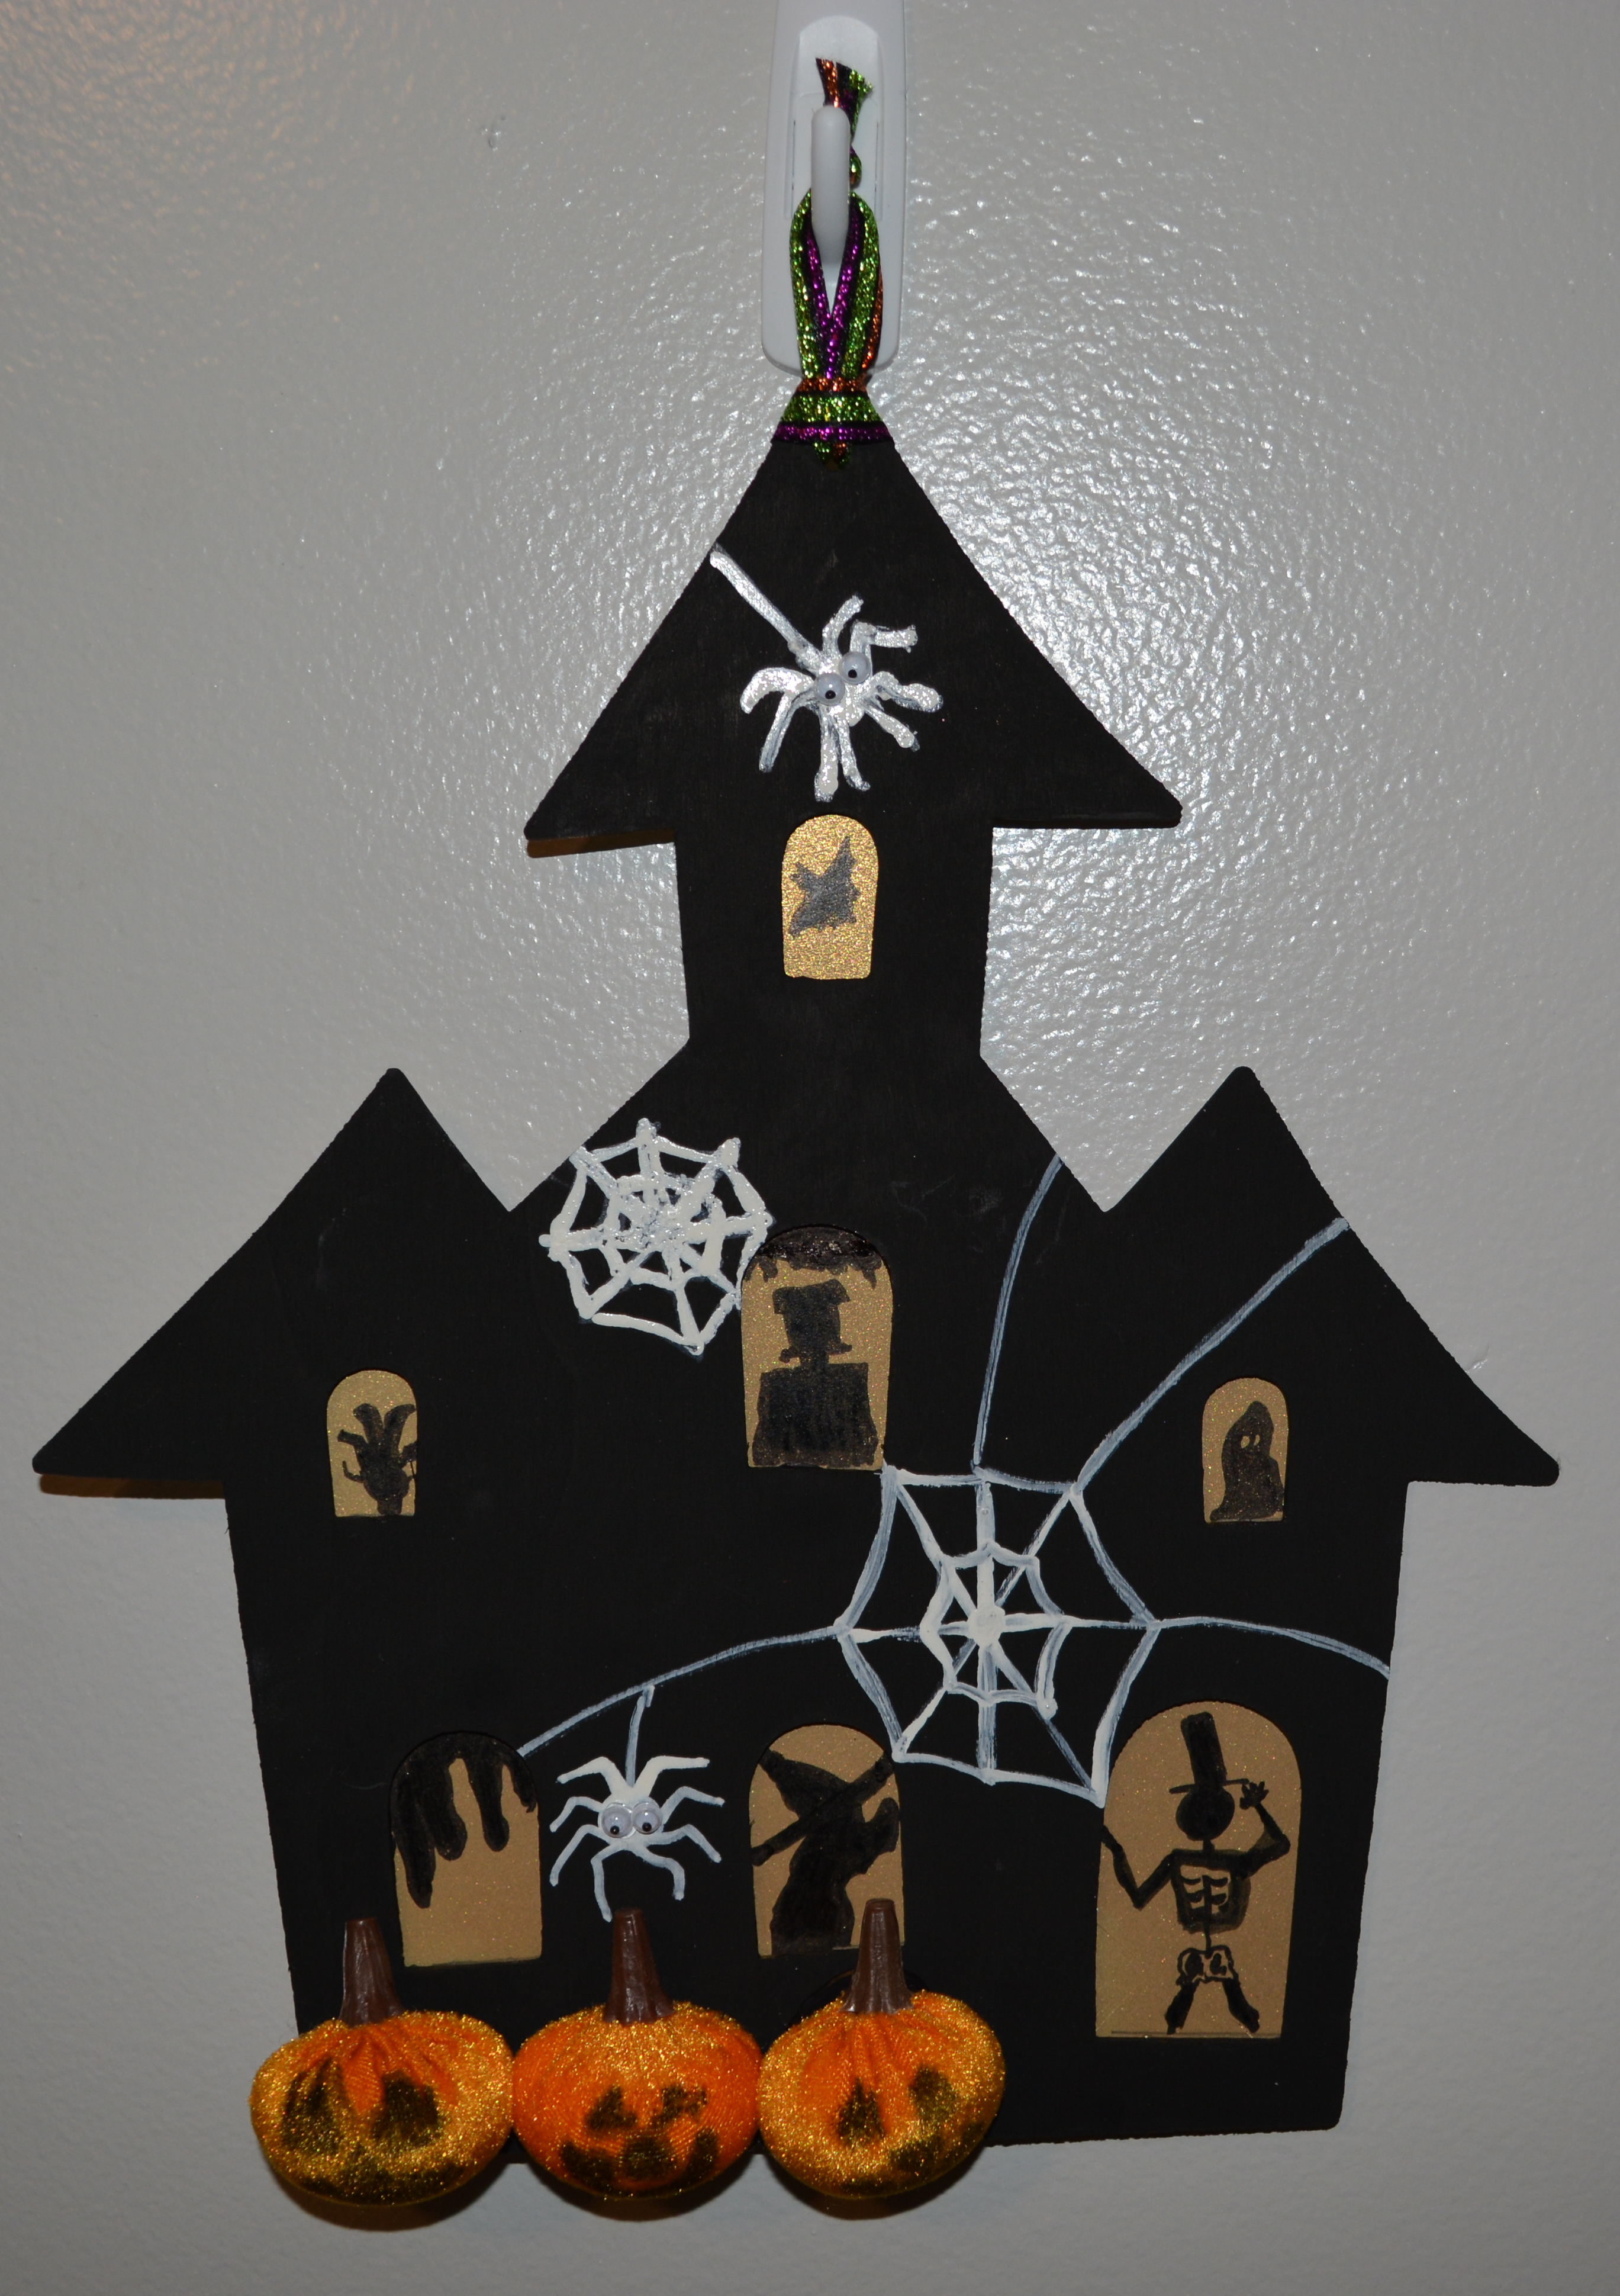
The next project is a wooden haunted house from Dollar Tree. Scrapbook paper from Hobby Lobby and these little mini pumpkins are the outside of the box items. Not unusual but they did add some interest to this house. Other supplies I used were Waverly Chalk Paint in Ink, a white paint pen and a black sharpie marker. Also a hot glue gun and paint brush.

So I got a little carried away working on this project and forgot to take pictures as I was working. It happens. This is also not my best or Favorite project but I think it is important to show that I do things I love and things I am not so fond of.
The first thing I did was paint the house black with the Waverly Chalk Paint in Ink. Next I glued the goldish color scrapbook paper to the back of the house. The house needed something in the windows but a true yellow was just to bright. So I went with gold.
Once that was all glued down and dry, I knew the windows needed something in them. They are small windows and did not have a ton of room to add much. Now my drawing skills are not great at all but it seemed that was the only way to add stuff to the windows. I used a black Sharpie marker to add different figures into the windows like a witch that looked more like a dog and a skeleton. I had to go over them a few times till I could not see the sparkle of the paper any more.

The house was black and the figures in the windows were black. There needed to be some contrast colors on the house. What better way to spook up a haunted house than by adding cobwebs and spiders. I used a white paint pen to draw on the webs and spiders in several places around the house. Then I added googly eyes to the spiders.
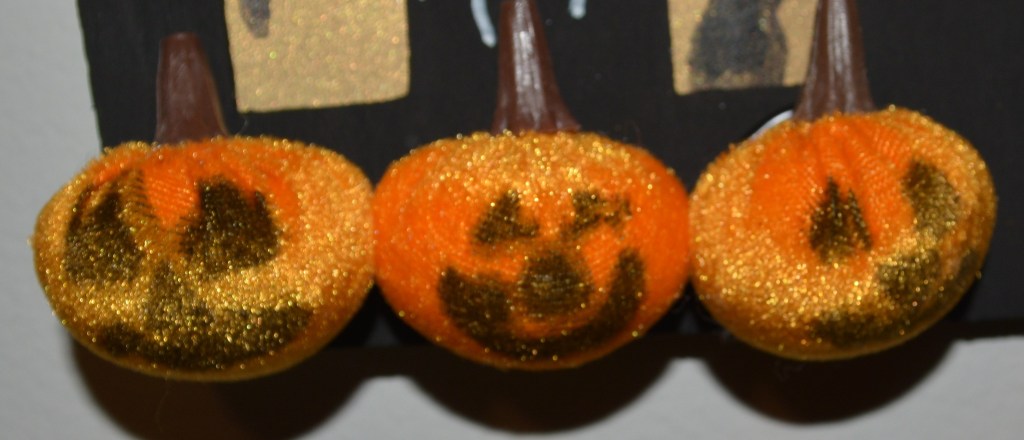
The final step was to add these mini pumpkins. They are so cute but this is where I probably should have left them alone. Instead I took the Sharpie marker and drew faces on the pumpkins. The marker ink spread to far so their faces are bigger than I wanted. Once they were dry I glued them to the bottom of the haunted house bad faces and all.

Project #2 is finished. Like I said it is not my best work but I feel I should show not only the good ones but the ones that do not work out so well. Not everything I create comes out all the time. I do think this haunted house is cute though and I will add it to my decor!
Project #3
Supplies

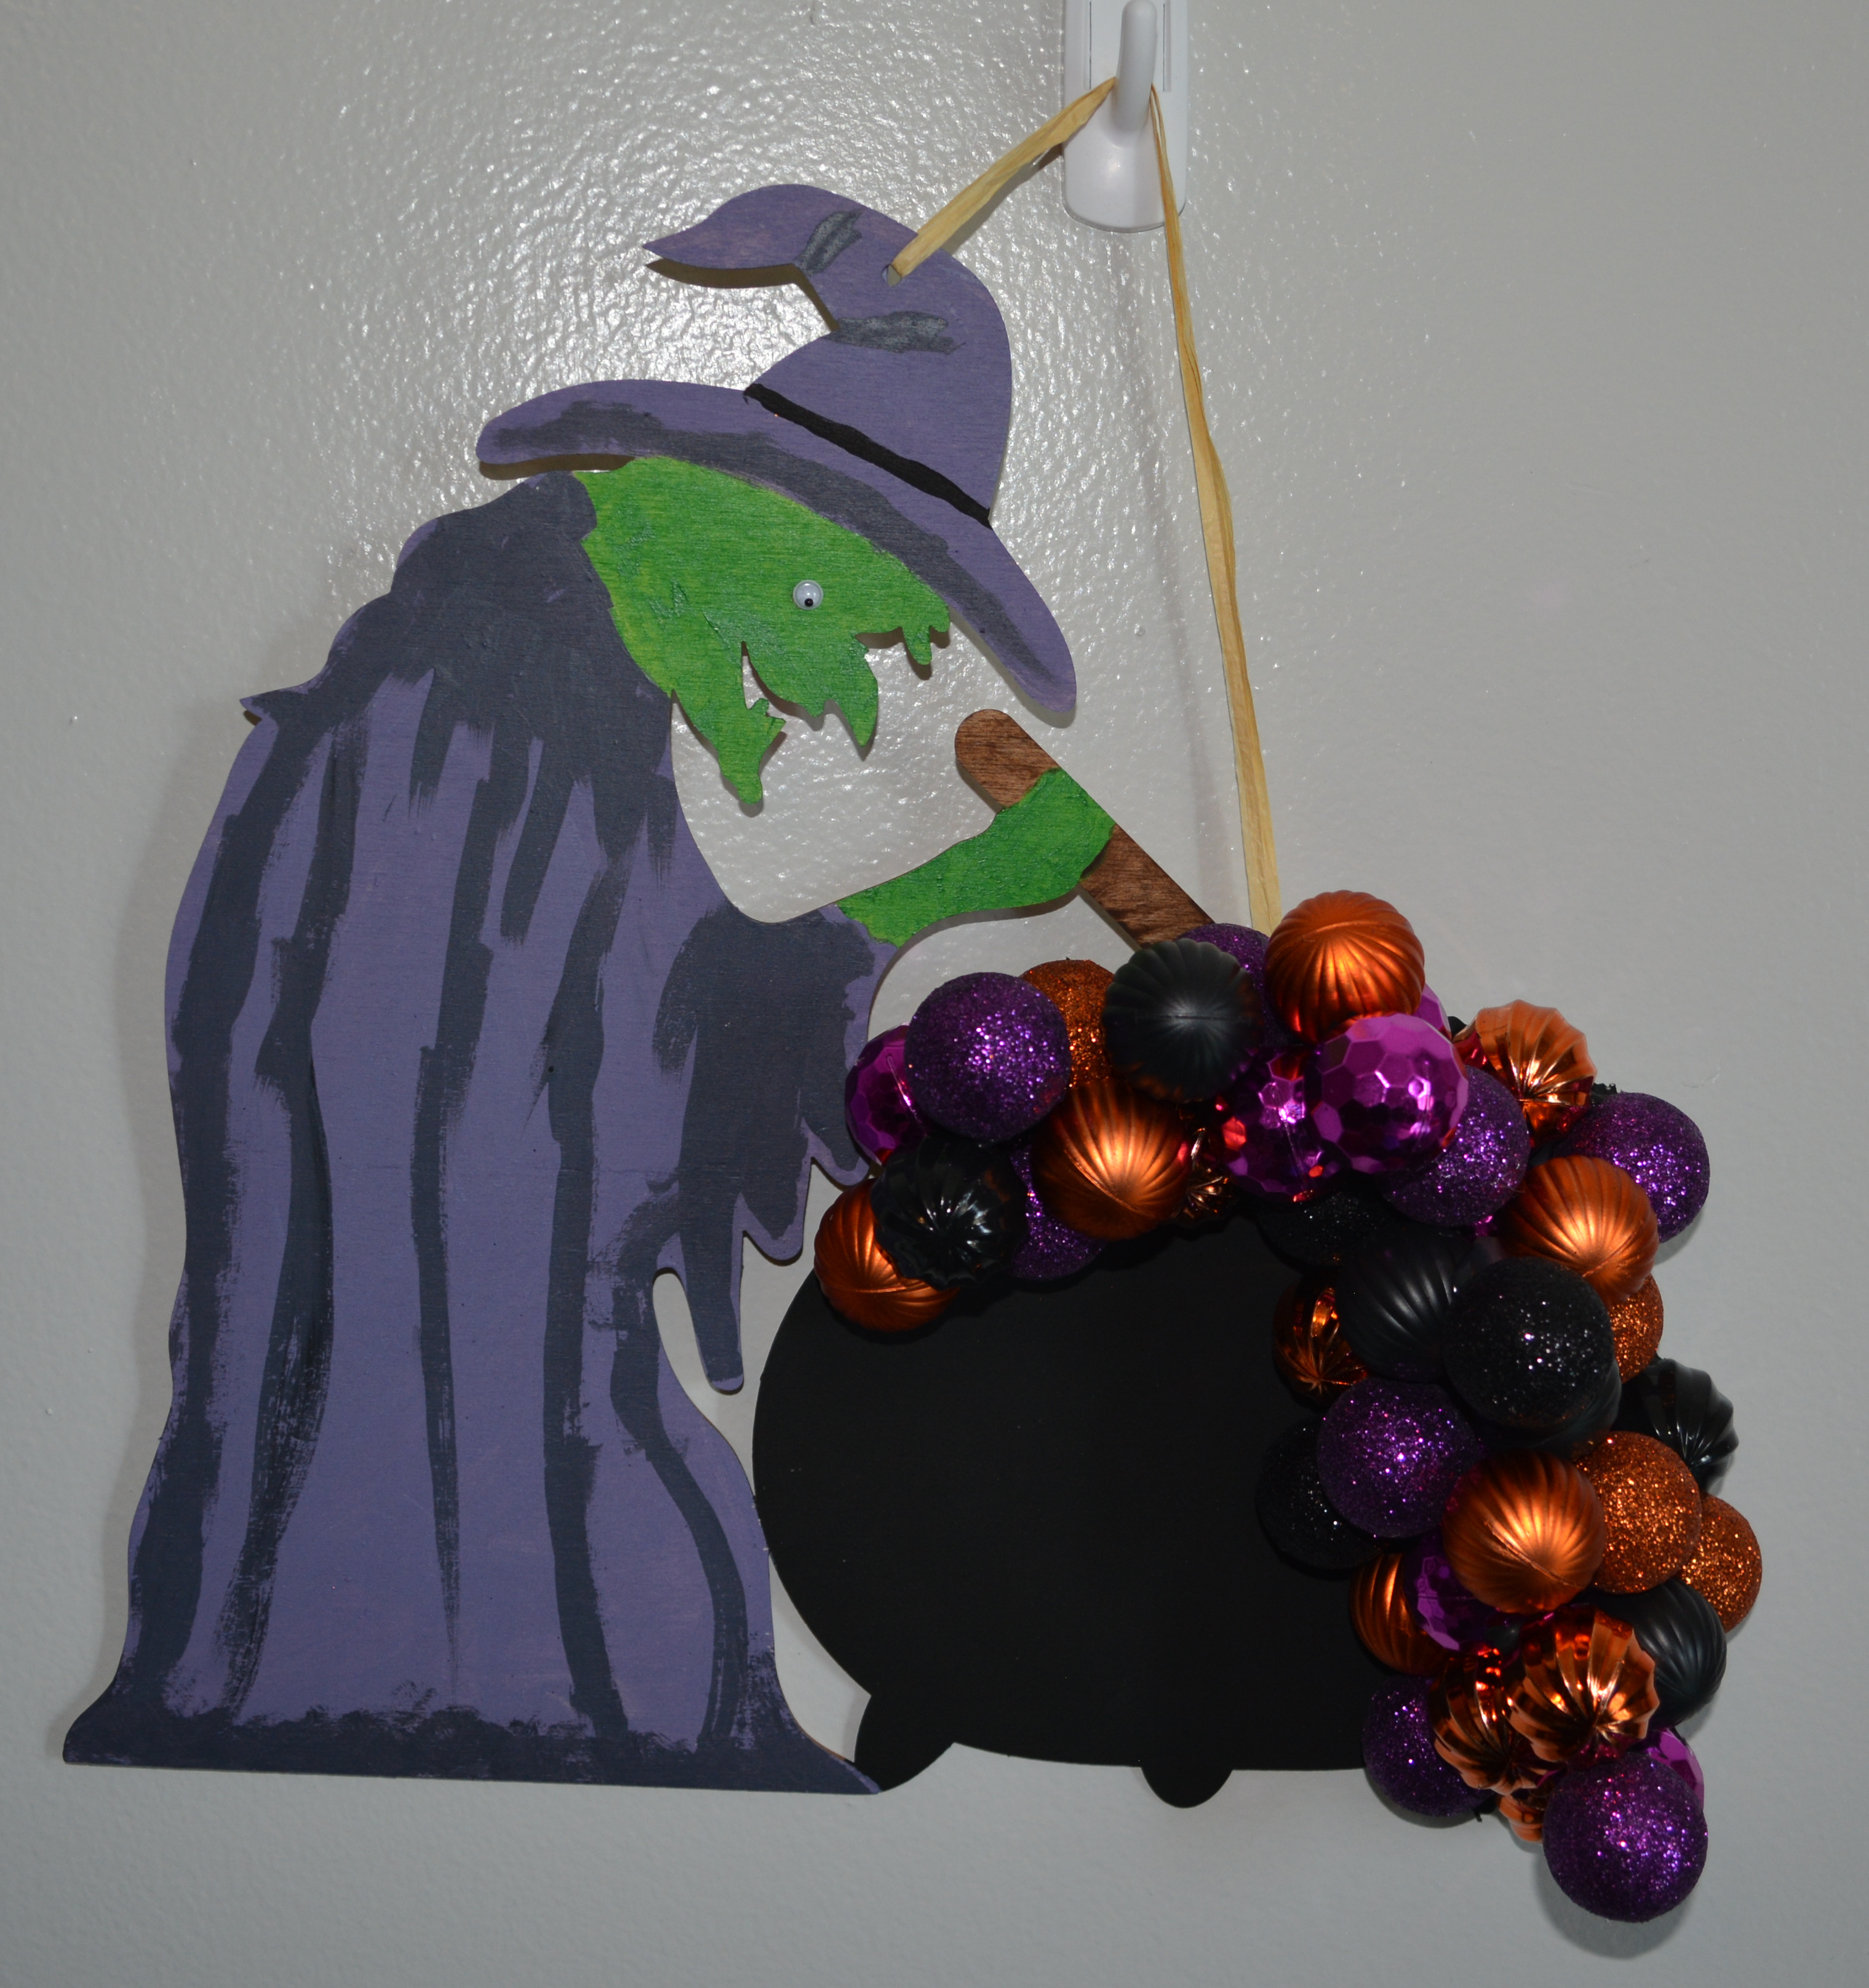
For this third and final project you will need this witch from Dollar Tree and a few different colors of mini ornaments. I got the ornaments at Dollar Tree too and they are my outside of the box item for this craft. As far as paint, I used colors I had on hand. Along with paint brushes and hot glue.
This is yet another project that I did not take pictures of while I was creating. So what I did not show you was me painting the cauldron black with Waverly Chalk Paint in Ink. I did not have a dark purple on hand so I mixed some black paint with a lavender purple color and painted the witch’s hat and dress with it. Her face had to be green and the spoon handle got painted brown. Now lets get the the outside of the box item!
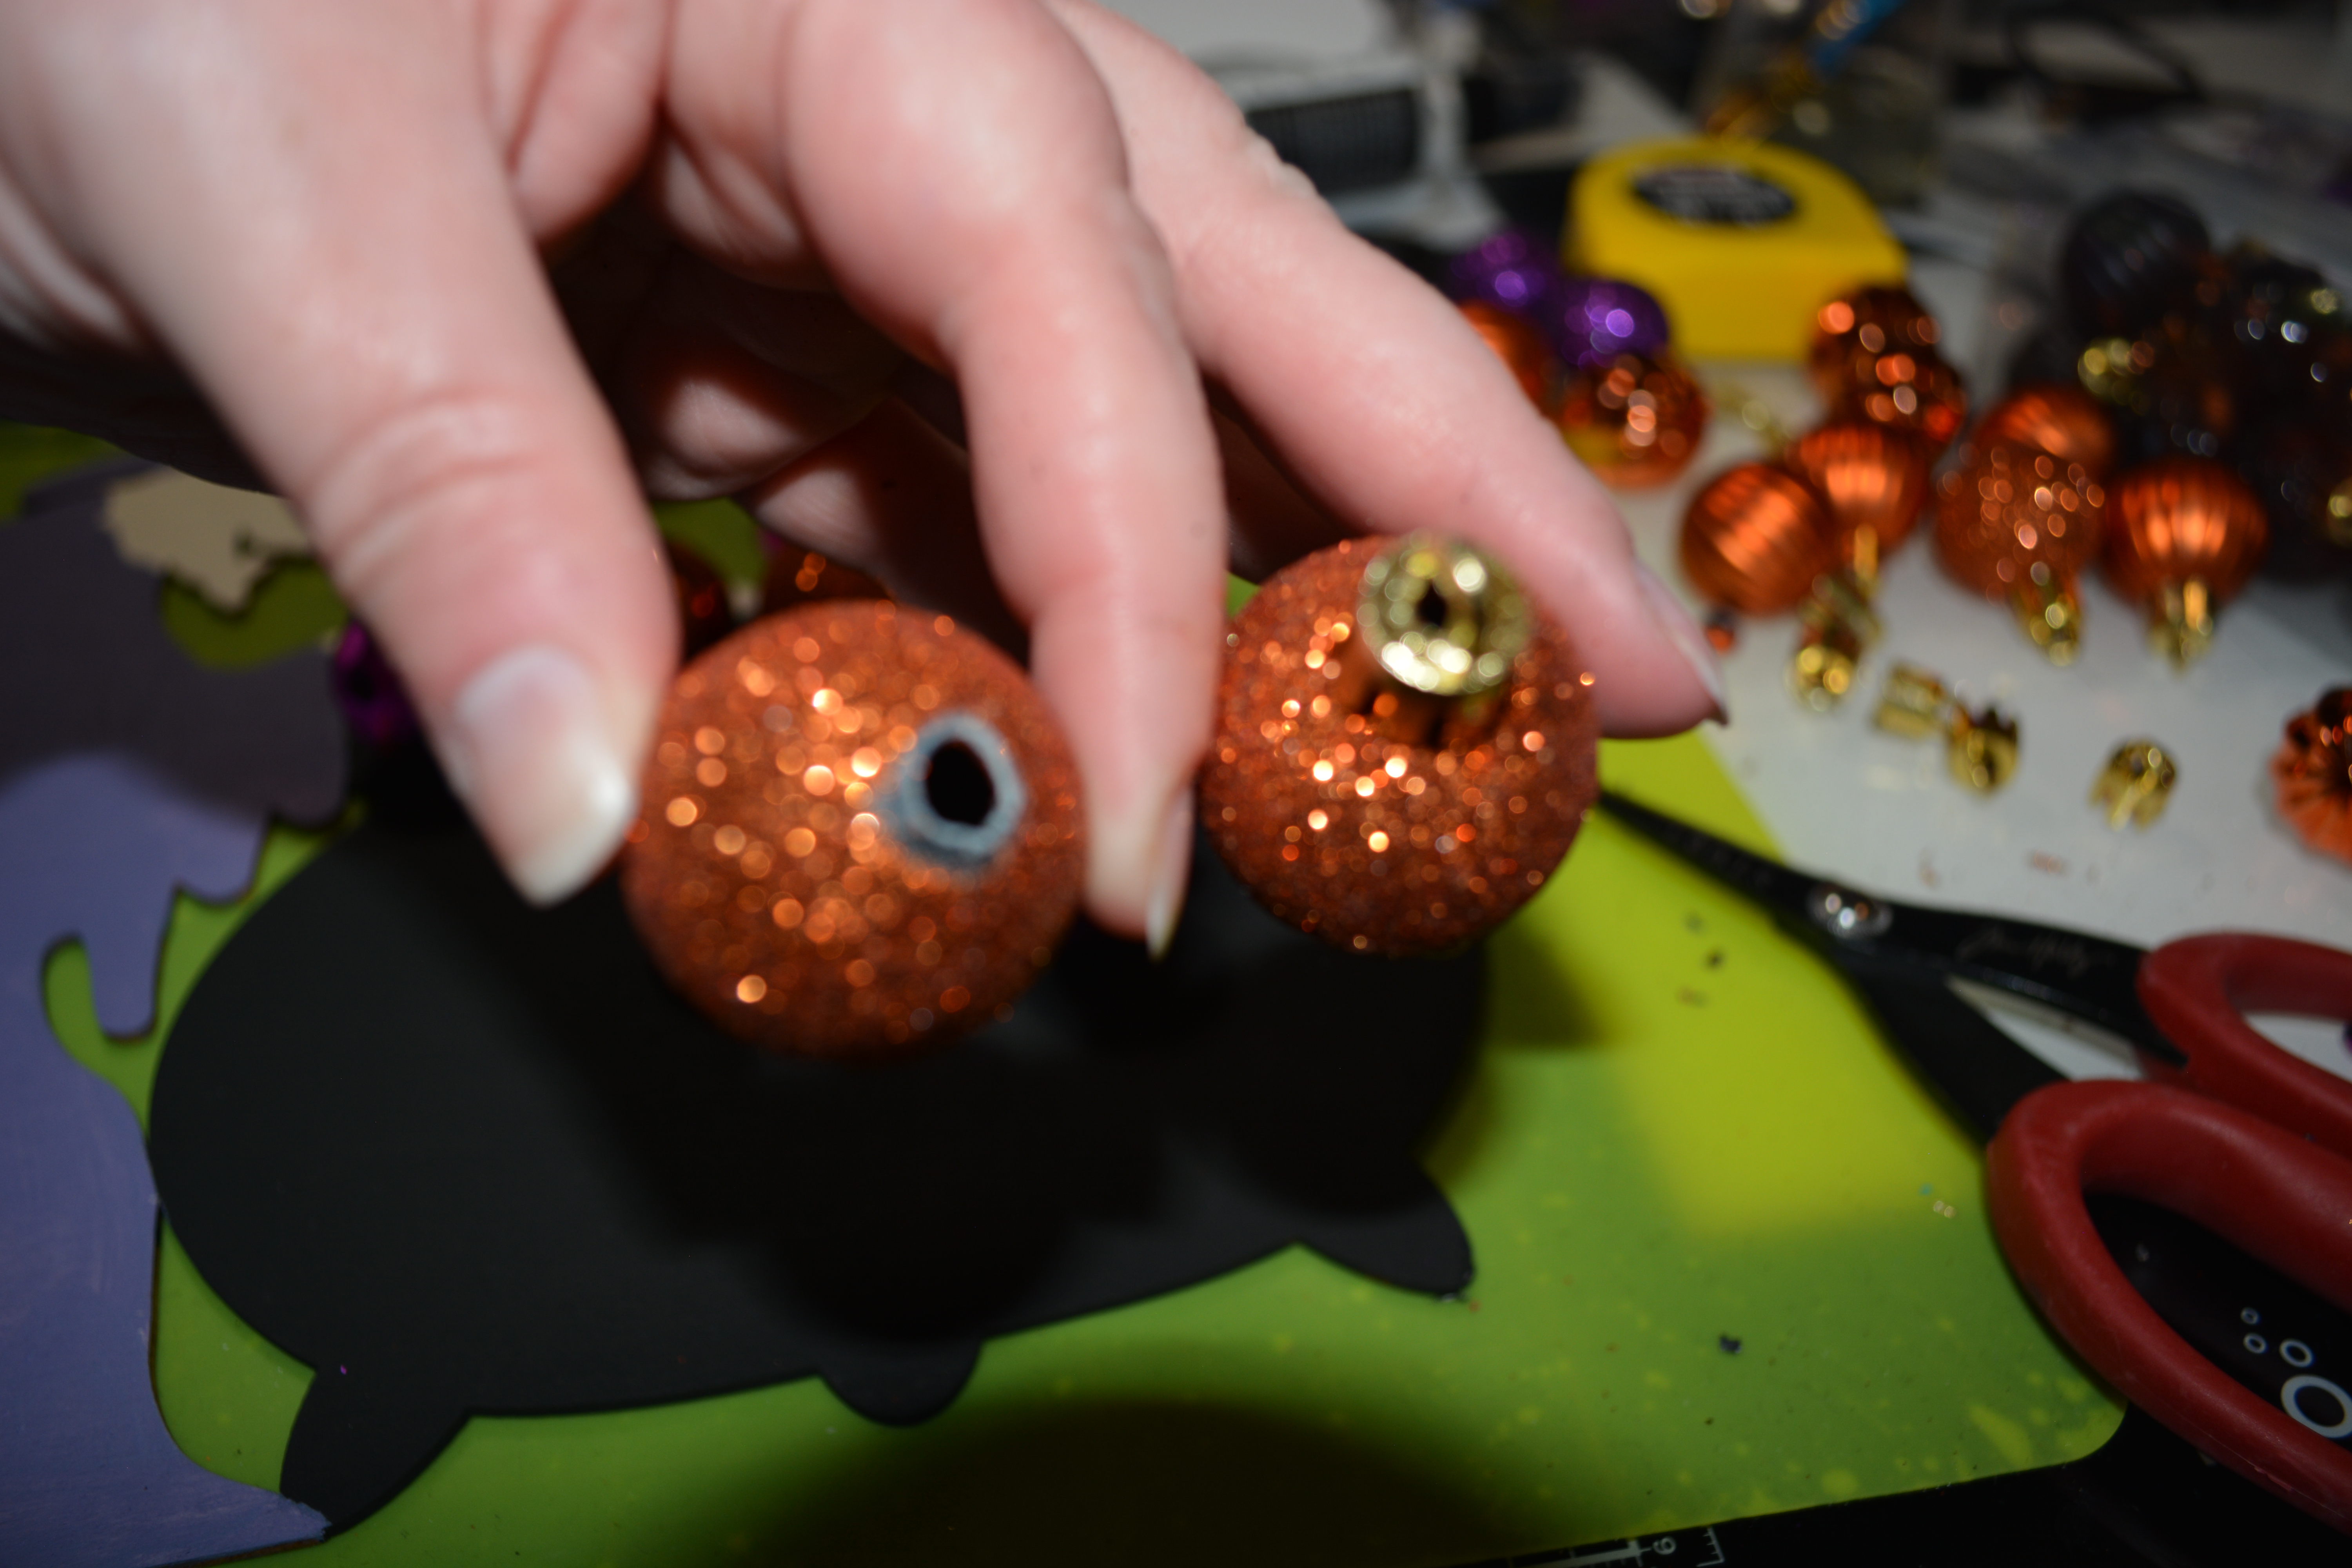

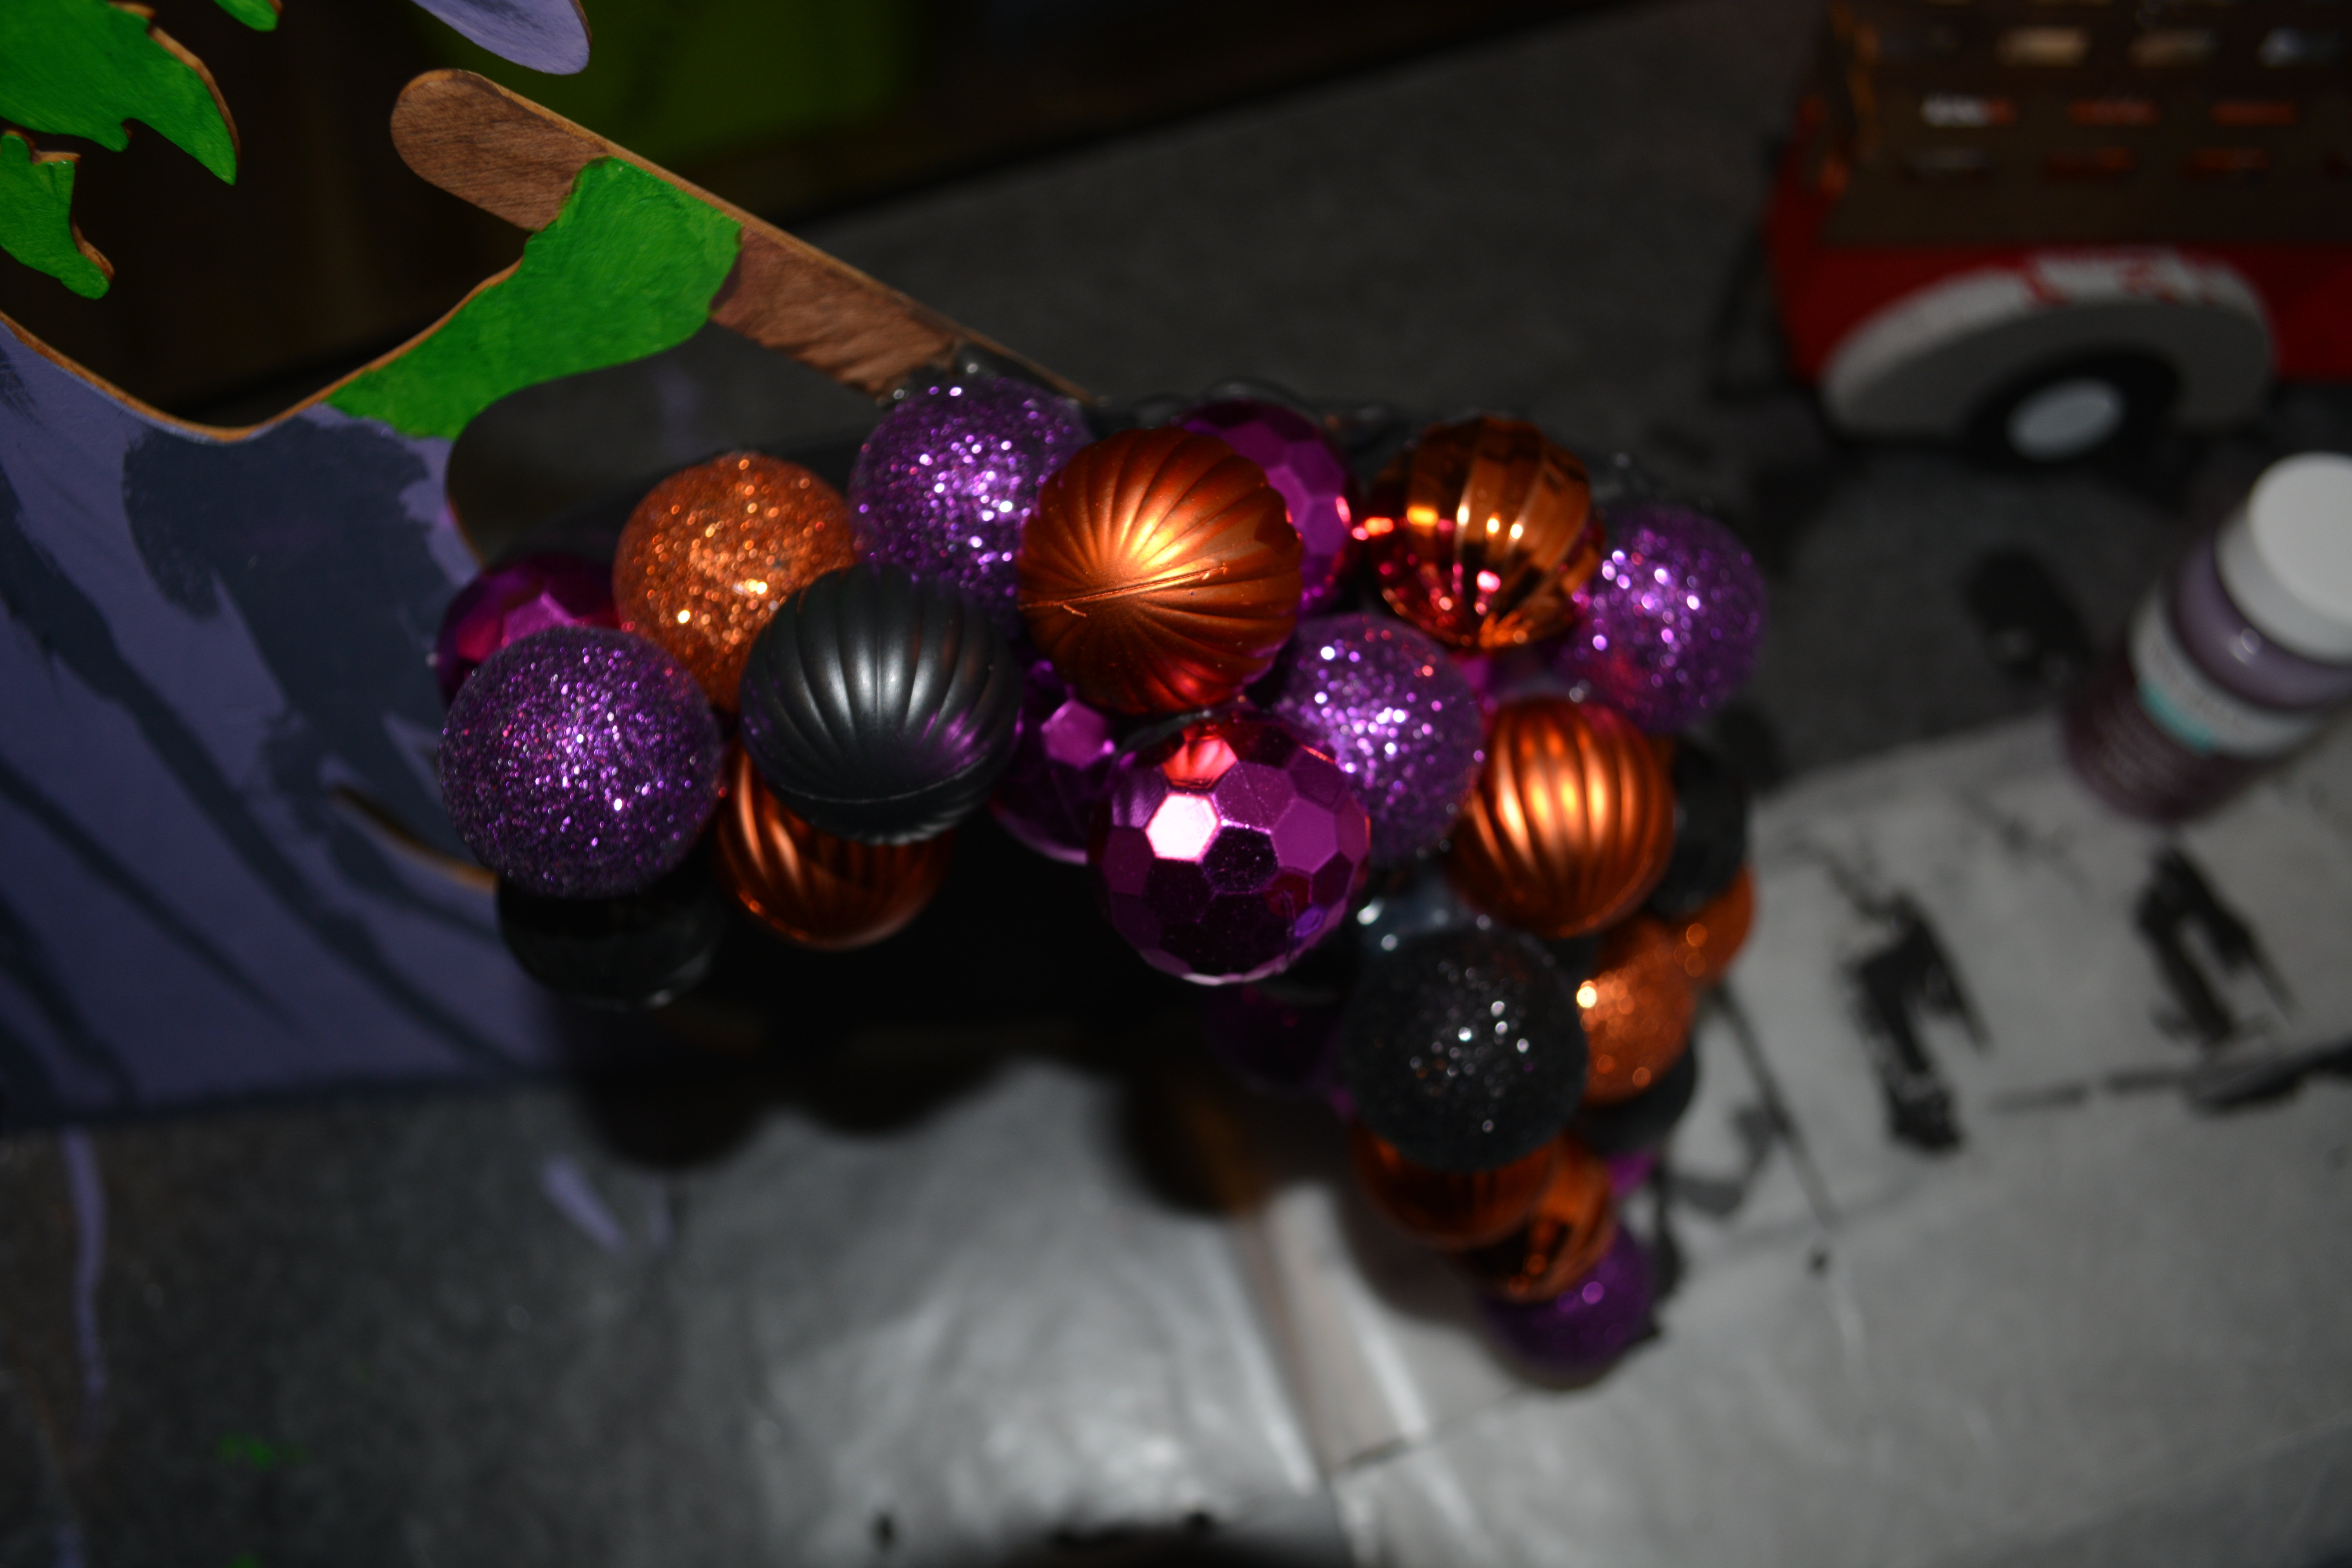

For the ornaments, I cut off the top part of the ornaments with some heavy duty scissors. From there I started hot gluing the ornaments around the top and down the right side of the cauldron. This is suppose to look like the witch’s brew is overflowing out of the cauldron and down onto the floor. Once you get the first layer of ornaments done start with the next layer on top of that. I glued three layers of ornaments and made them scattered and uneven to make them flow like liquid. If you can see the hot glue after you are done, take some black paint and paint over it. You will not be able to see it once it dried.

She is a spooky witch making a big mess. I added some details to her dress and hat. Also a little spooky eye. The bubbles are the star of the show though. They sparkle and shine!
I hope you enjoyed these three outside of the box projects. They were fun to do and use supplies in different ways than they were intended.
Thank you for joining me! Please Like, Share, Comment, and Subscribe!
Also join me on Facebook and Instagram
Stay safe and healthy!
Melissa McGuire
Supply List
Project #1
Wooden Spider- Target
Waverly Chalk Paint in Ink- Walmart
Pompoms- Hobby Lobby
Surebonder Hot Glue Gun and Hot Glue Sticks- Hobby Lobby
Paint Brushes- Anywhere
Googly Eyes- Any craft store
Project #2
Wooden Haunted House- Dollar Tree
Mini Pumpkins- Dollar Tree
Scrapbook Paper in Gold- Hobby Lobby
Sharpie- anywhere
Paint Pen- Walmart
Googly Eyes- Anywhere
Surebonder Hot Glue Gun and Hot Glue Sticks- Hobby Lobby
Project #3
Wooden Witch- Dollar Tree
Variety of Paint- Anywhere
Mini Ornaments in Different Colors- Dollar Tree
Paint Brushes- Anywhere
Googly Eyes- Anywhere
Surebonder Hot Glue Gun and Hot Glue Sticks- Hobby Lobby
