Happy Friday!! I hope this finds you well!
Today we are going to look at a different product. I made the flowers and hearts out of it. Can you guess what product I used?
Air Dry Clay and silicon molds! Yes clay! I do not use clay often. It is just not something I ever think of using. Clay is fun to use though because you can mold it into anything and it can be painted any color you want. I like being able to add things to projects that will not add a lot of weight to it. This sign was heavy enough as it was without adding more weight with the embellishments. Keep reading to see how I made this sweet sign!
Lets Get Started
Supplies


For this project you will need a wooden heart of some kind. I got this one at Dollar Tree. I wanted a word in the middle of my sign so I found the LOVE word. The LOVE came from Target. As far as the clay, I got mine from Stampin Up a few years ago, but you can get Air Dry Clay at any craft supply store. The silicon molds I have came from Michael’s Craft Supply, Dollar Tree, and Stampin up. I bet Amazon would have some amazing molds too. You will also need a powder bag or cornstarch. I also used paint, and hot glue.

To start this project, take a powder bag or cornstarch and cover your mold with it. This will help the clay come out of the molds easier. Next, take a small piece of the clay and push it into the mold. Once you have done that, carefully pop the clay out of the mold. This might take some bending of the molds. If it sticks add more powder to the mold and try it again. You could also use cookie cutters to shape the clay. I make several shapes at one time so that I have some on hand for when I need them. Let your clay dry over night.
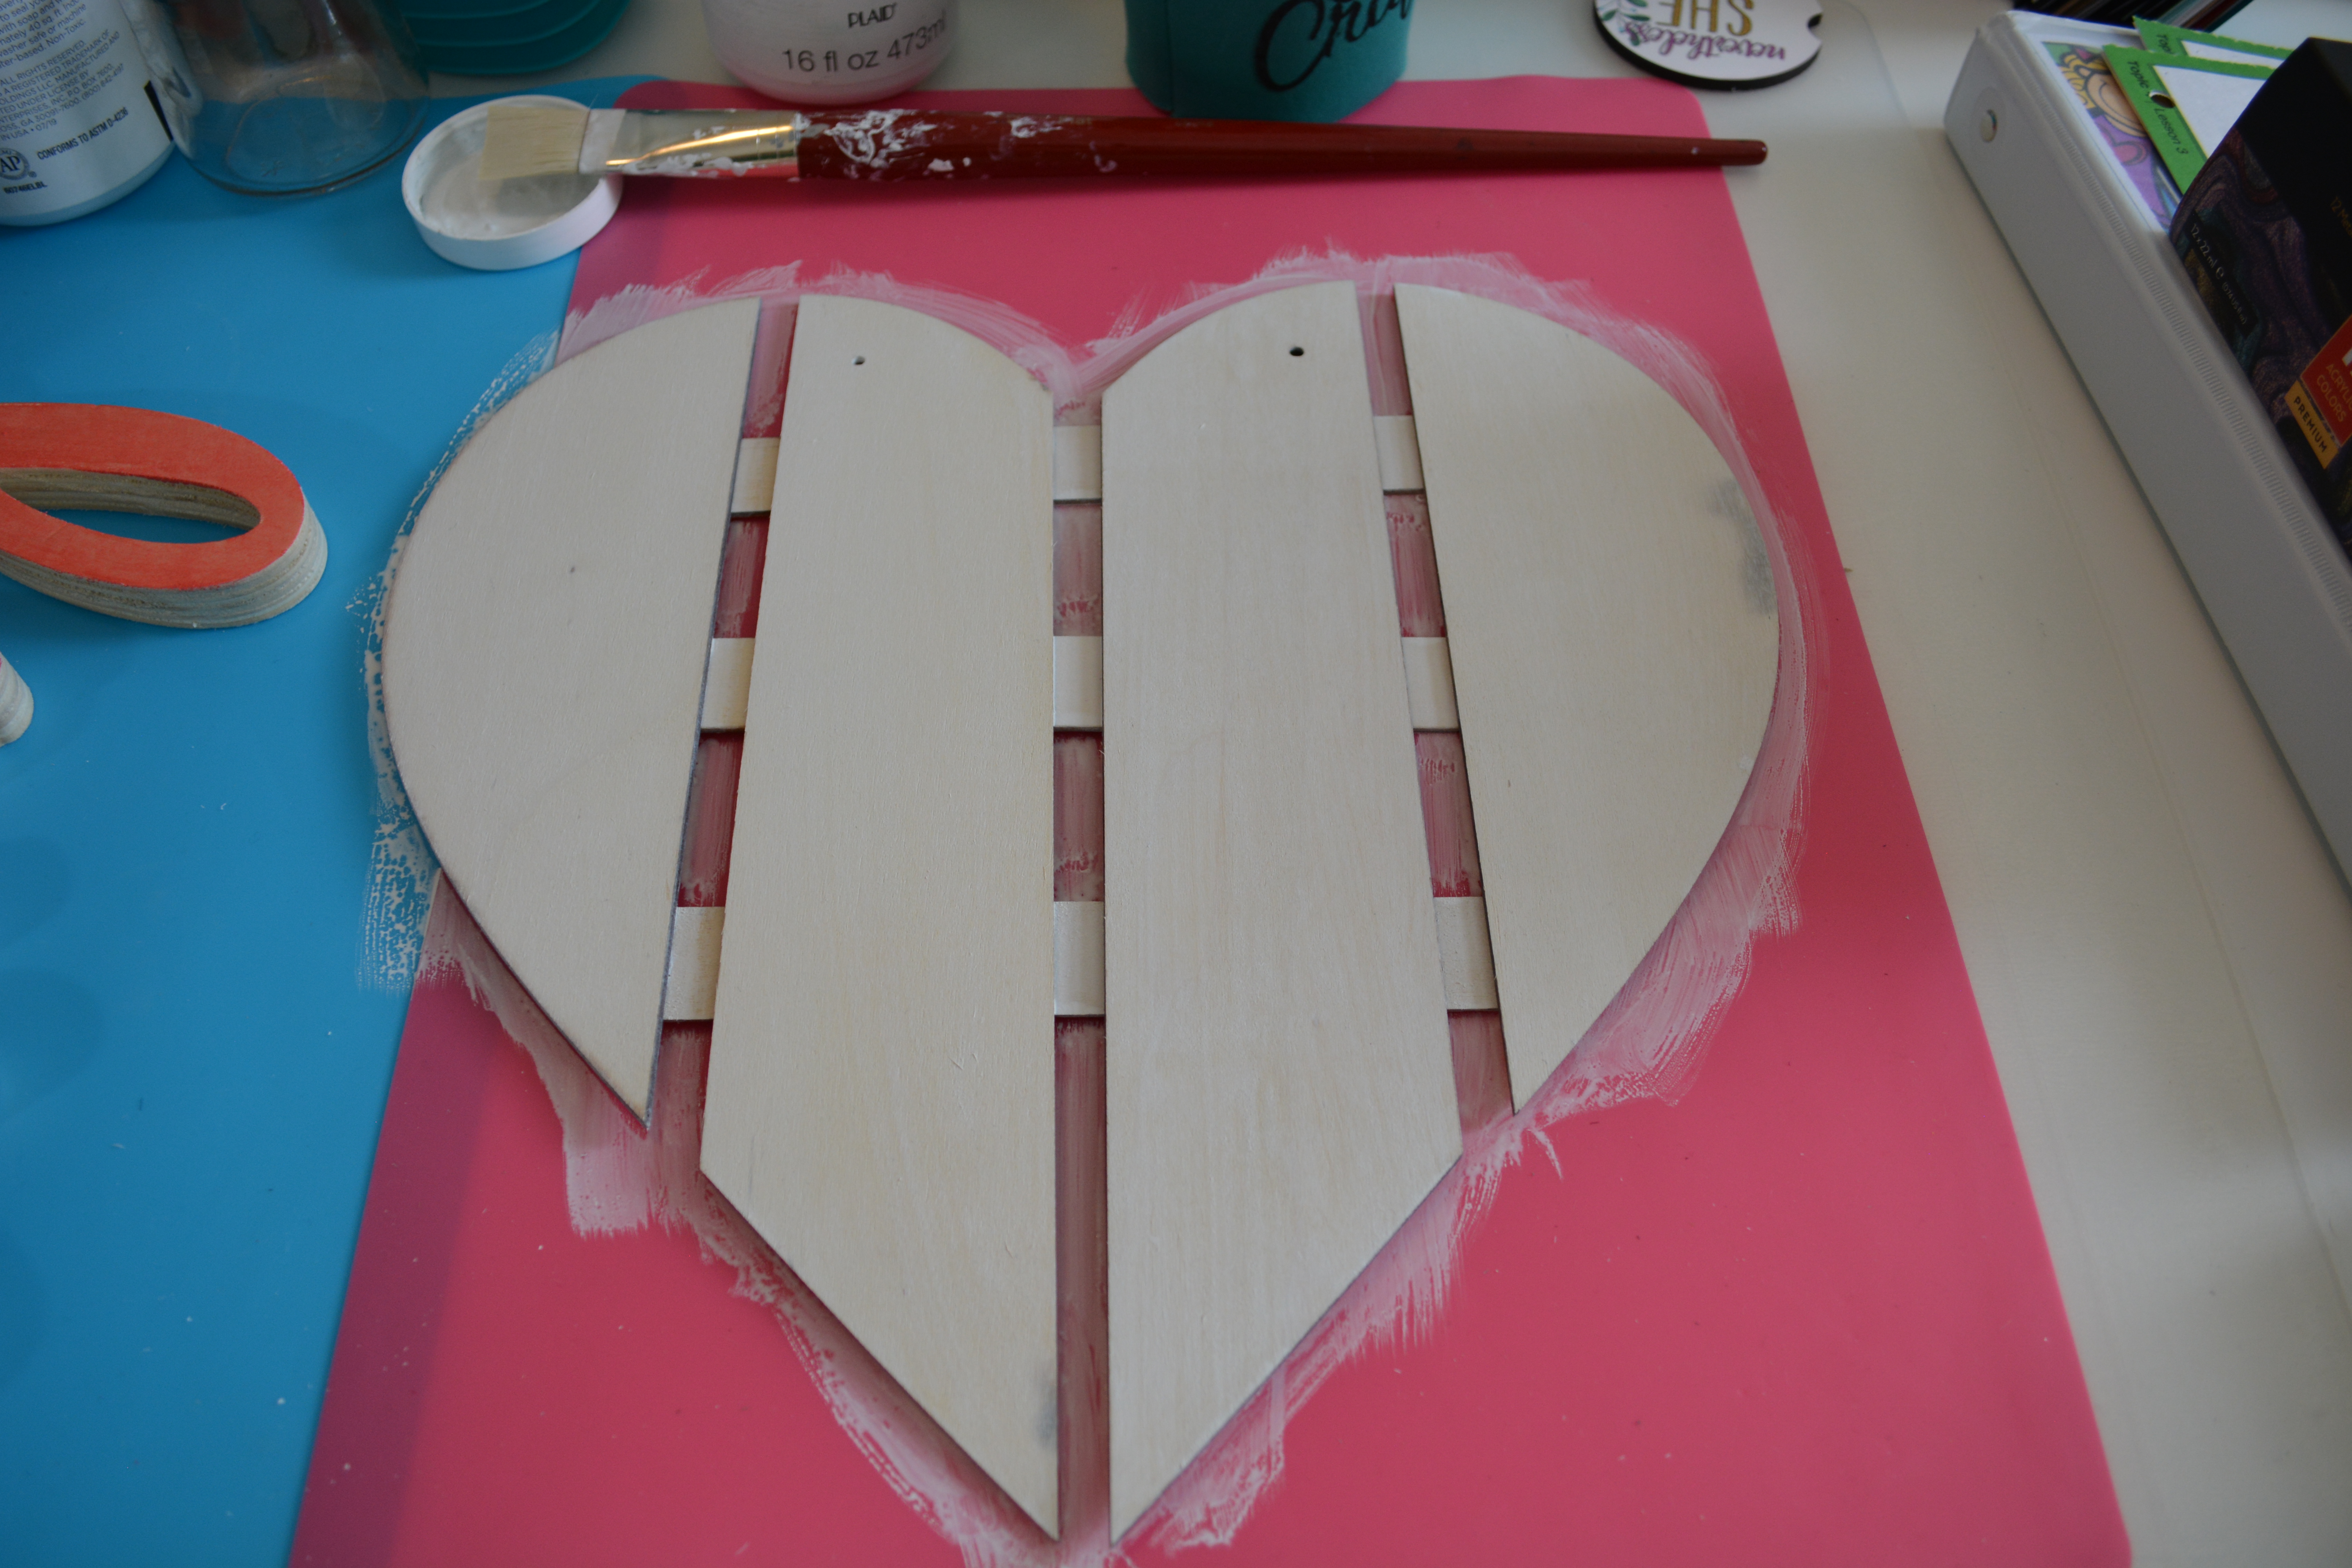

Once the clay is dry, it can be painted. The wooden heart I white washed with Waverly White Chalk Paint mixed with water. The LOVE word and the clay pieces I painted with Arteza Acrylic Metallic paint. It took 2 coats of the metallic paint to cover them. Let all of that dry.

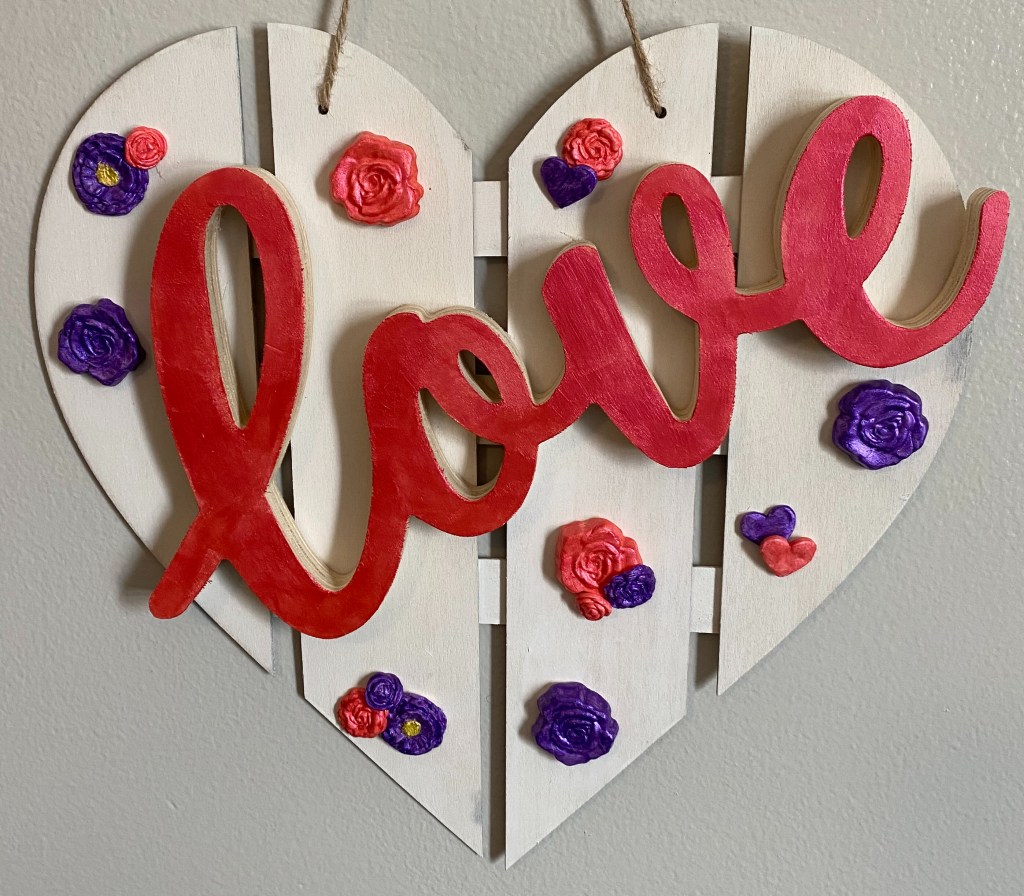
The final step is to lay the LOVE word and the clay pieces on the heart to see where they would look the best. I scattered the flowers and hearts around the LOVE word. Rule of thumb is to put things in odd numbers. It is more appealing to the eye. So most of my clusters are in sets of three and I have nine clusters around the word.
Here is the finished project. The clay pieces shine from the metallic paint. I love it because you can get so many different kinds of silicon molds to make all kinds of clay pieces. Being able to use cookie cutters too means you can make even more fun things for projects. I love this wooden heart from Dollar Tree too. It is big and I am a sucker for anything that looks like pallet wood.
I hope you enjoyed today’s project. I know it takes some time to make because you have to wait for everything to dry but sometimes that is worth it.
Please Like, Share, Comment, and Subscribe. Also find me on Instagram, and Facebook under Yellow Butterfly Card Designs.
Isaiah 64:8 But now, O LORD, thou [art] our father; we [are] the clay, and thou our potter; and we all are the work of thy hand.
Melissa McGuire
Supplies
Wooden Heart- Dollar Tree
Love Word- Target
Air Dry Clay- Art Supply Store
Silicon Molds- Dollar Tree, Art Supply Stores, Amazon
Arteza Acrylic Metallic Paint- Amazon
Waverly White Chalk Paint- Walmart
Surebonder Hot Glue Gun and Hot Glue Sticks- Hobby Lobby
