Target Vinyl Stickers

Every season Target is bringing out some really great vinyl stickers. I have had some sitting on my desk for a few months and have not gotten around to using them. Well I decided to change that. You know I am all about the fast and easy when it comes to crafting. These vinyl sticks are so easy to use. Target is really hitting the mark with them and I hope they keep bringing out new ones. Now lets see what I made with them!!

Lets Get Started

Supplies

You will need some kind of vinyl stickers. Now Target is not the only place to get these. You can also get them from Etsy and most craft stores are now carrying them. You will also need some kind of signs that you can either leave as is or paint. I used flowers too and some hot glue.

Project #1

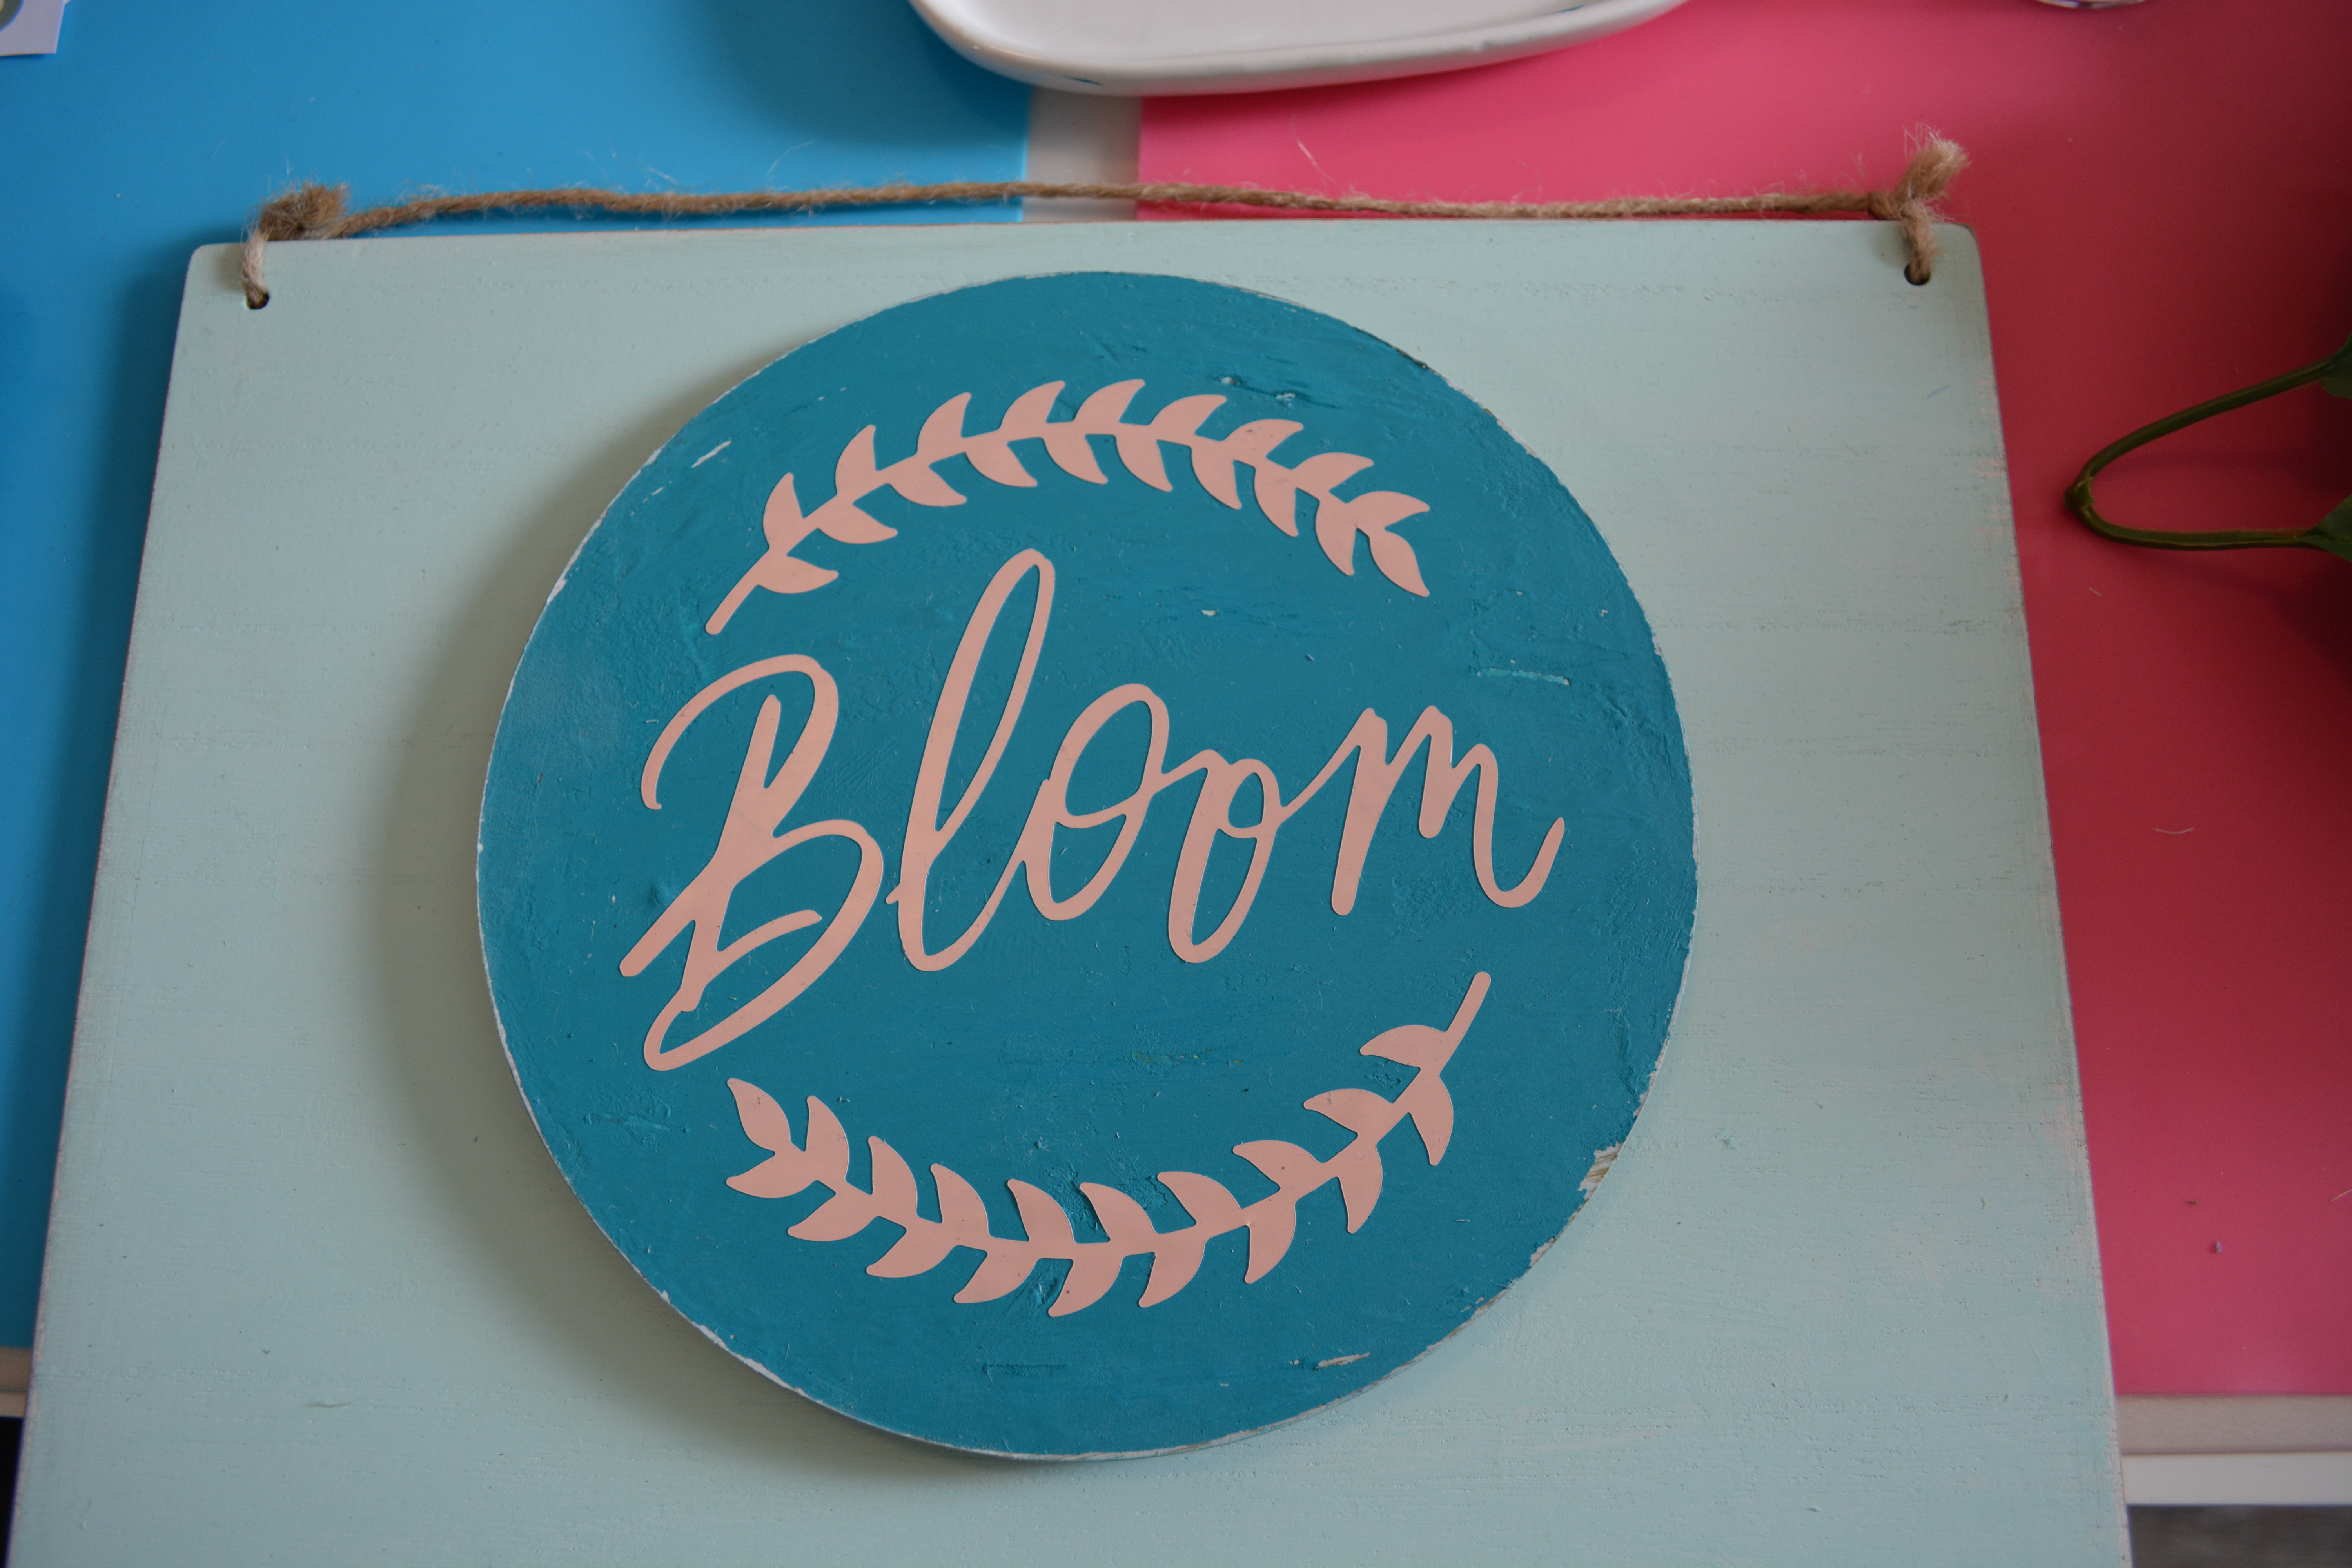
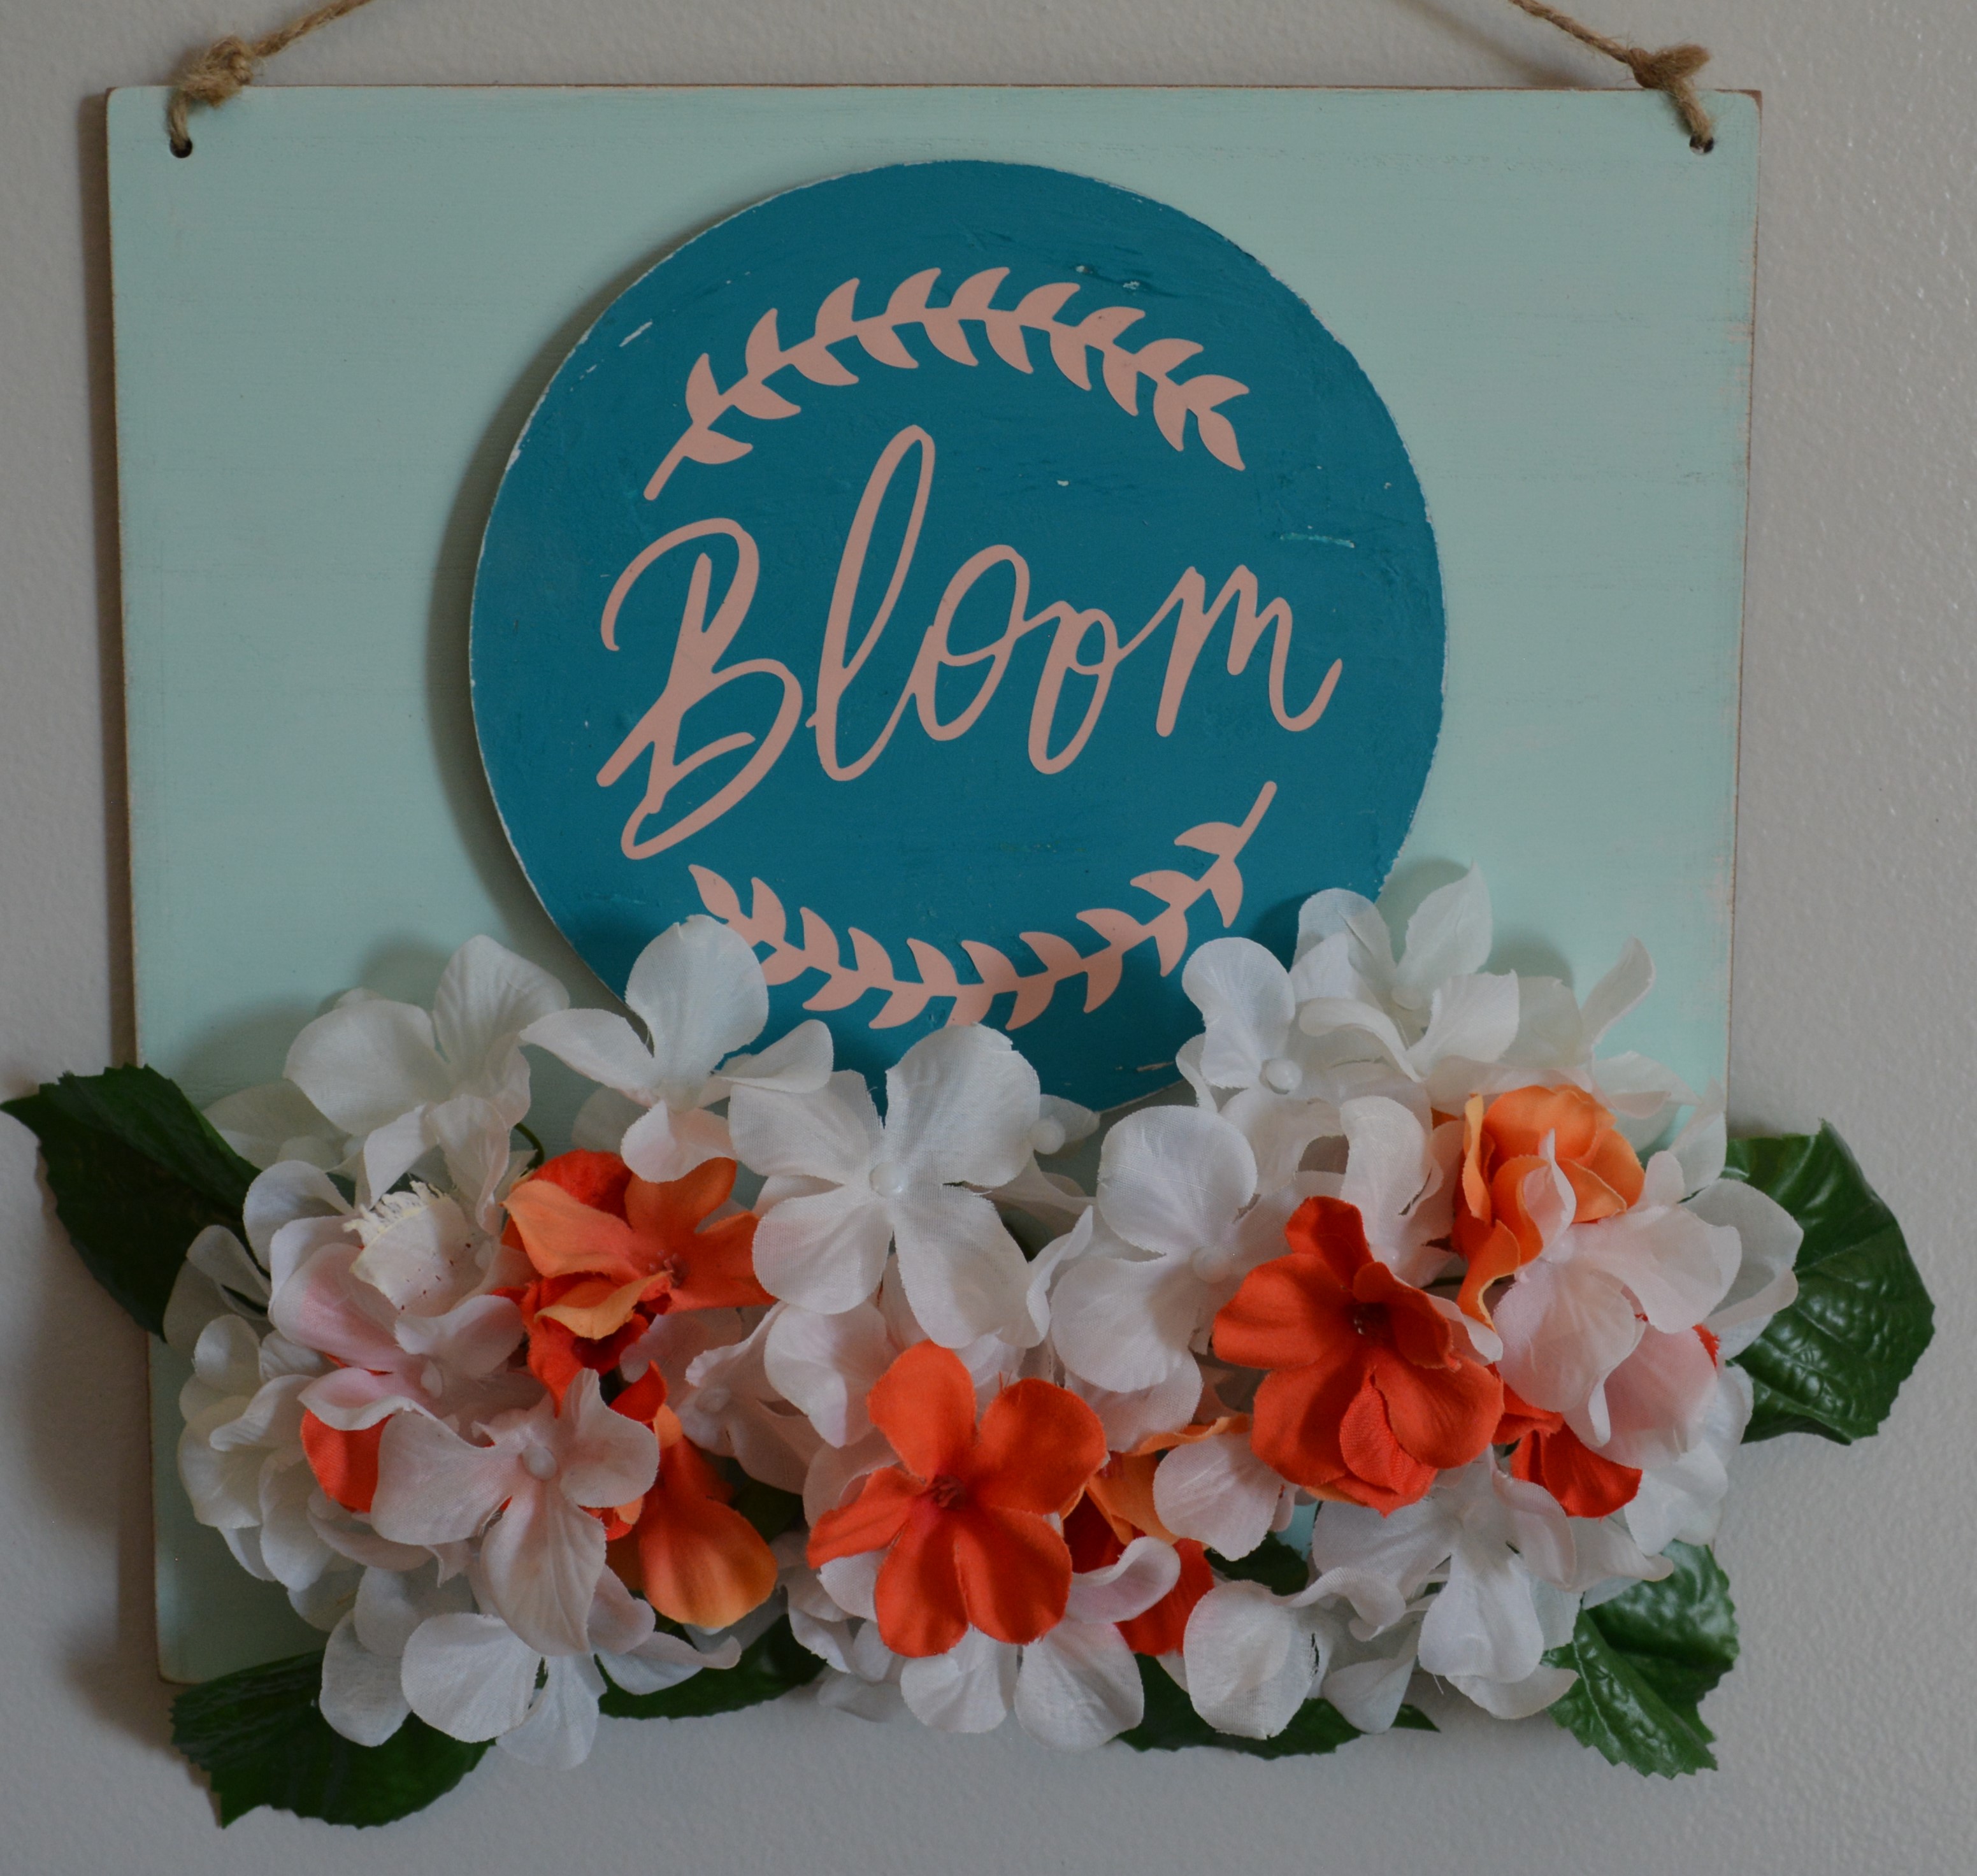
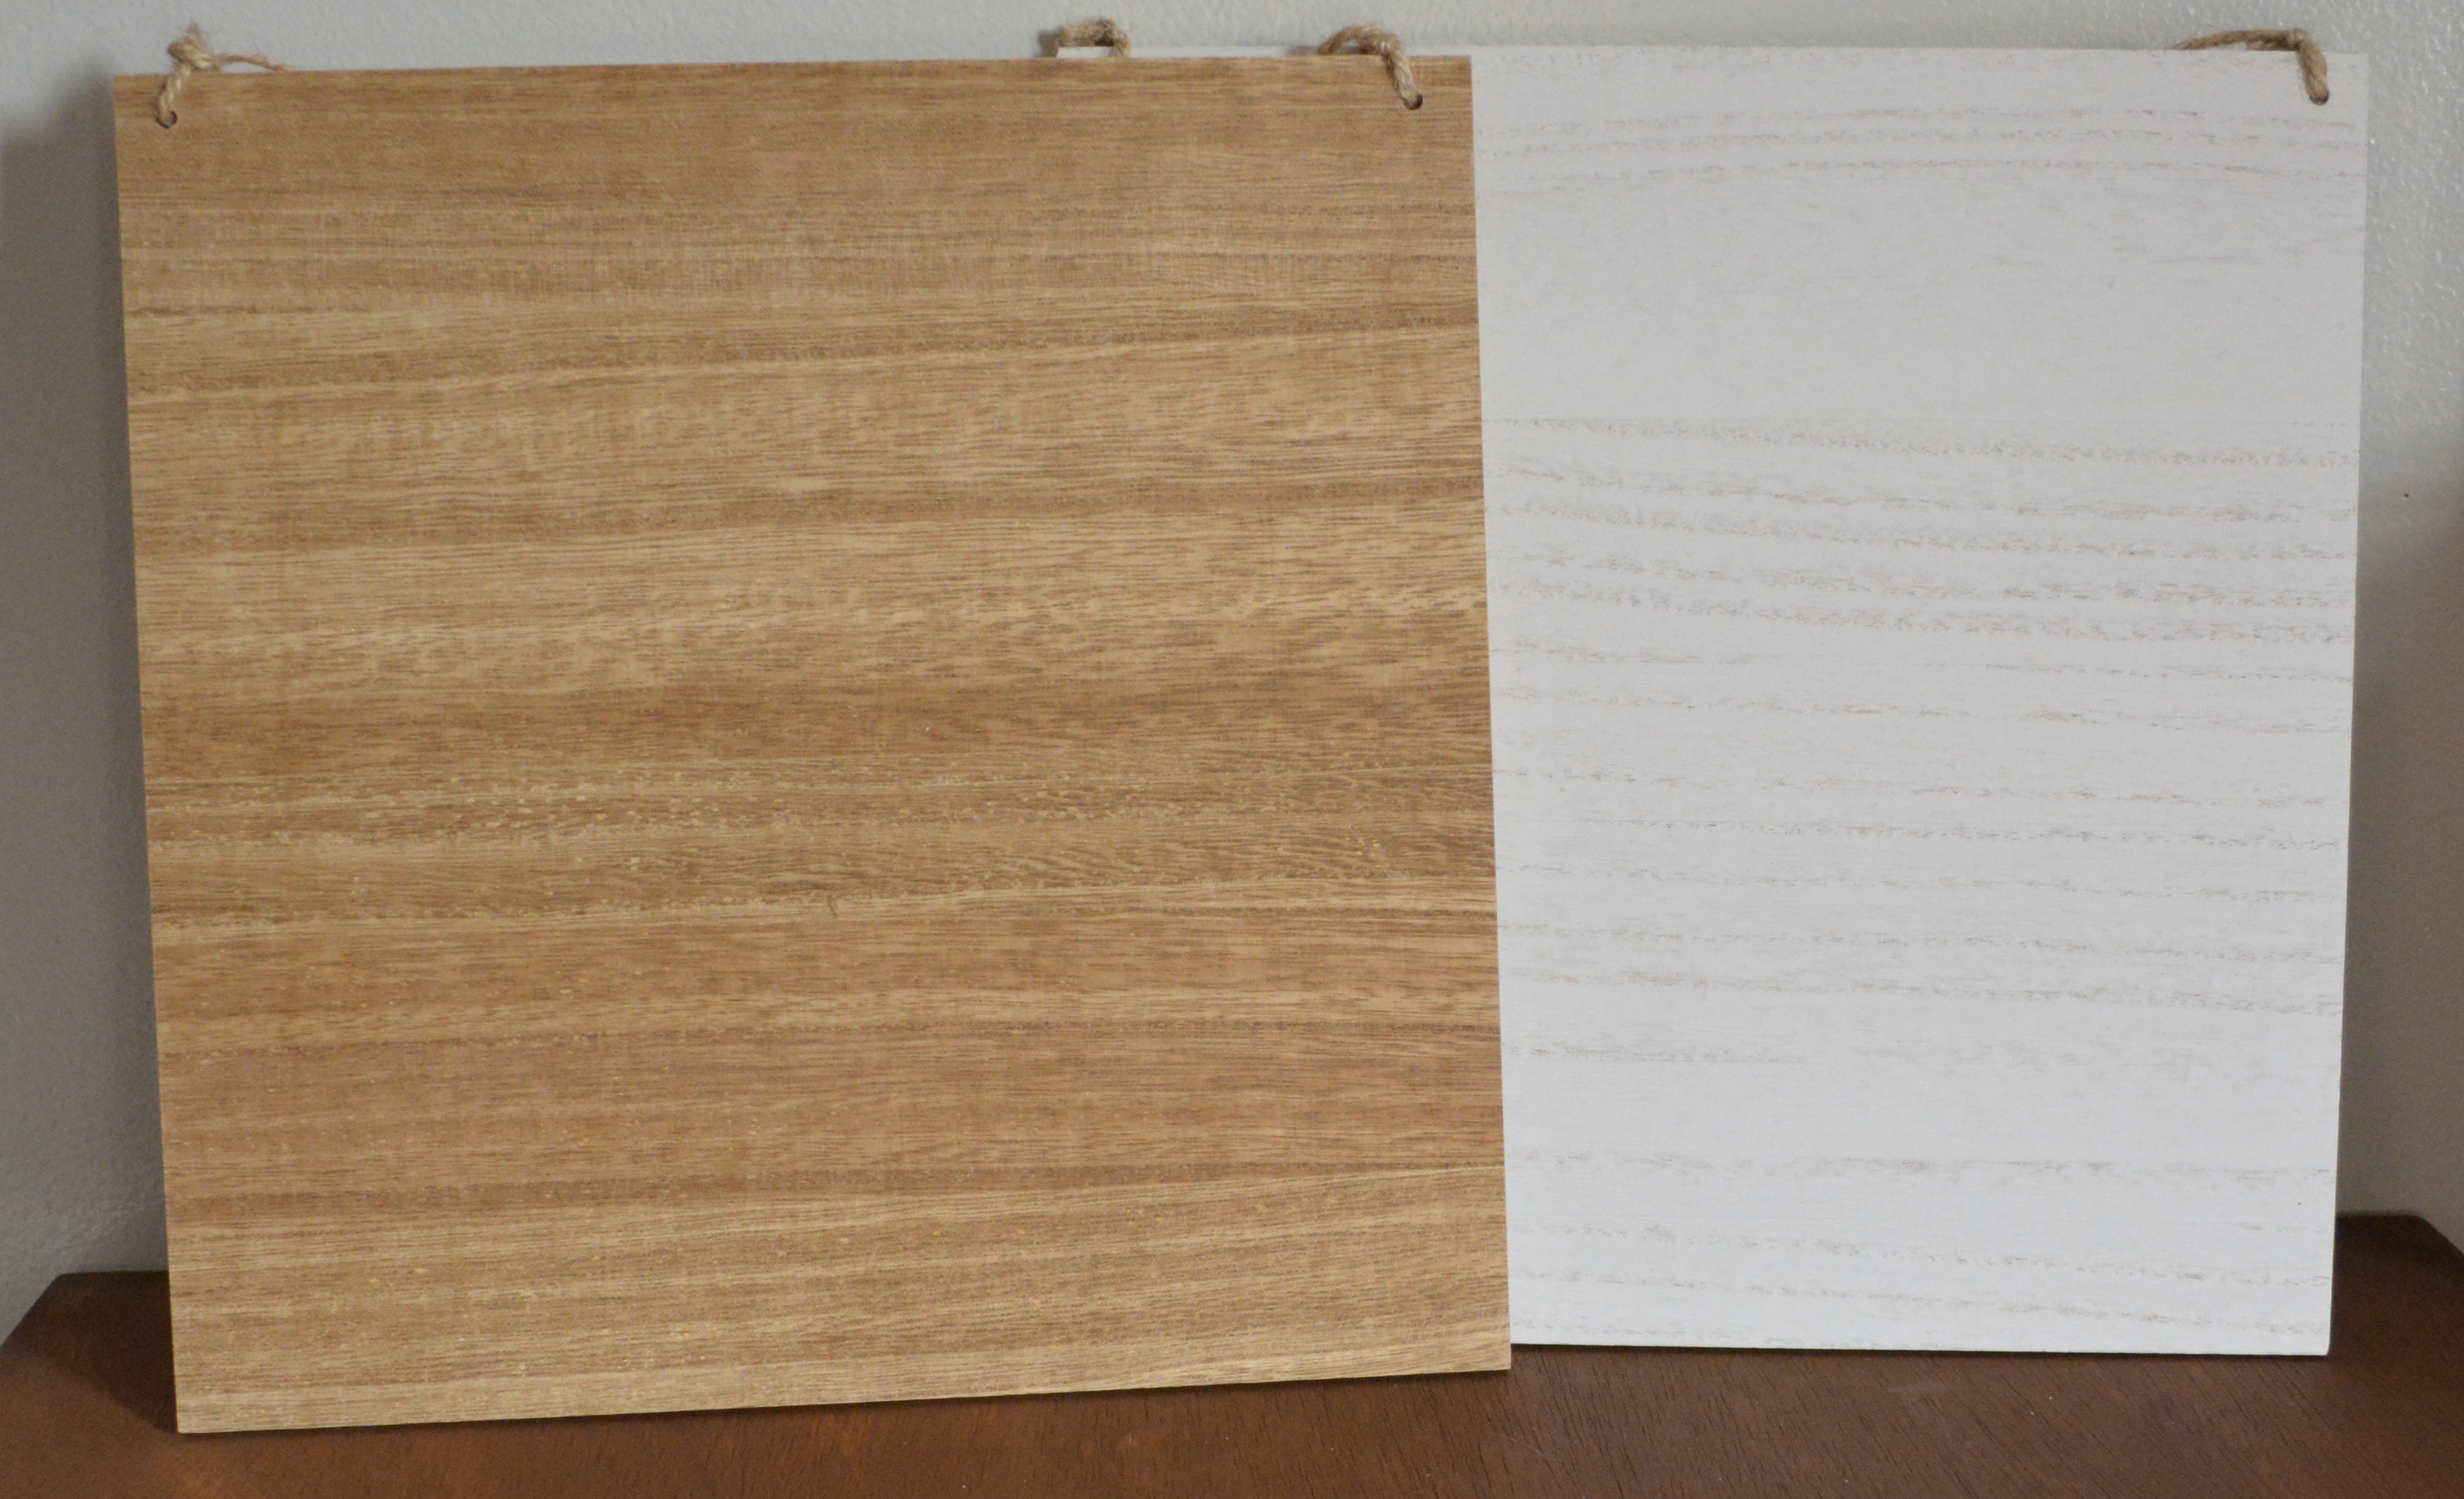
This first one took me the most time to do because I did some painting. I started with a blank square wooden panel. From there I painted it with a light blue chalk paint. Once it was dry I took the sticker and placed it with the backing on in the middle of the sign. Well it was a bit to small so I needed to add something to make the words stand out and not get lost in this big sign.

Dollar Tree is currently selling round ground stake signs. The circle was the perfect size for the words so I broke the stake off of it and painted it with Waverly Chalk Paint in Peacock. Once it had two coats of paint and was dry, I added the vinyl stickers.

You can do this one of three ways. 1.)You can peel the top part of the sticker to get it started and then put it on the board. From there you can roll the backing down leaving the vinyl to stick to the board. 2.)You could peel the sticker off the backing piece by piece and add it like a regular sticker. 3.)Or you can use transfer tape or contact paper to add the vinyl to the sign. Do what ever works best for you.

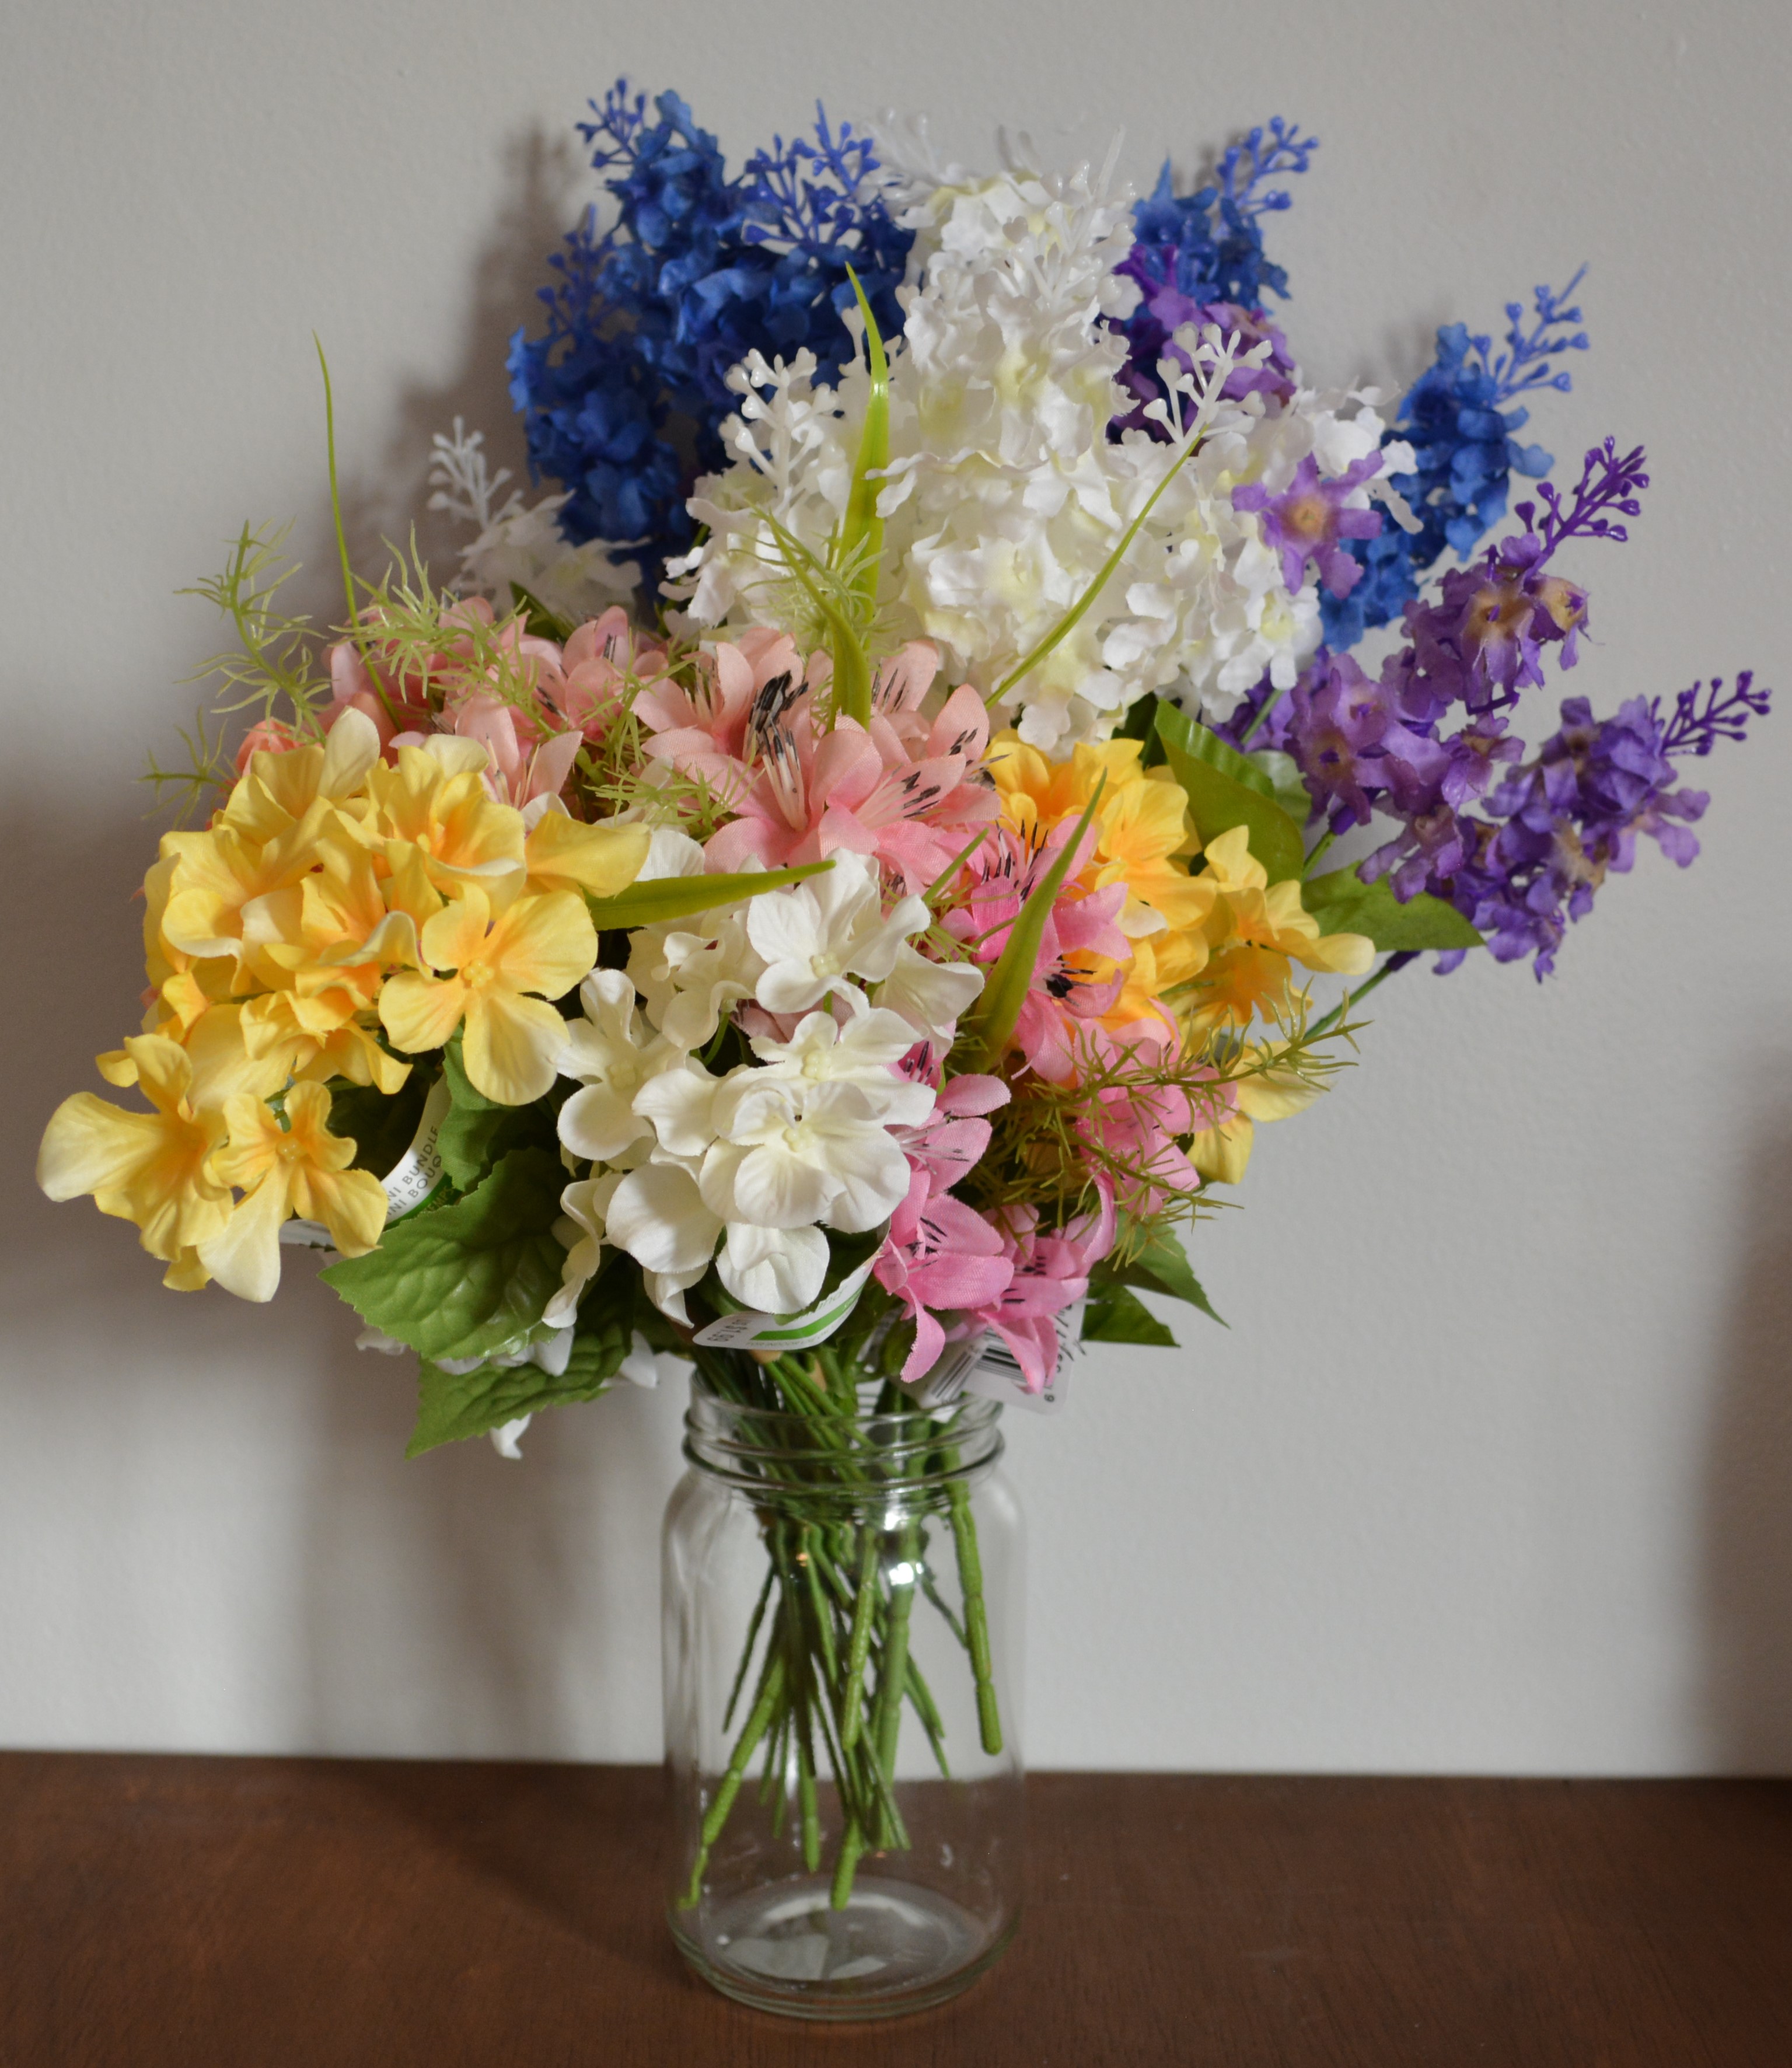
Once I had the circle done, the square board still looked odd and plain. So then I took some hydrangea flowers that I had on hand and put them at the bottom of the square sign. I used hot glue to attached them and the round sign to the square one. First project done!! Lets keep going!!

Project #2

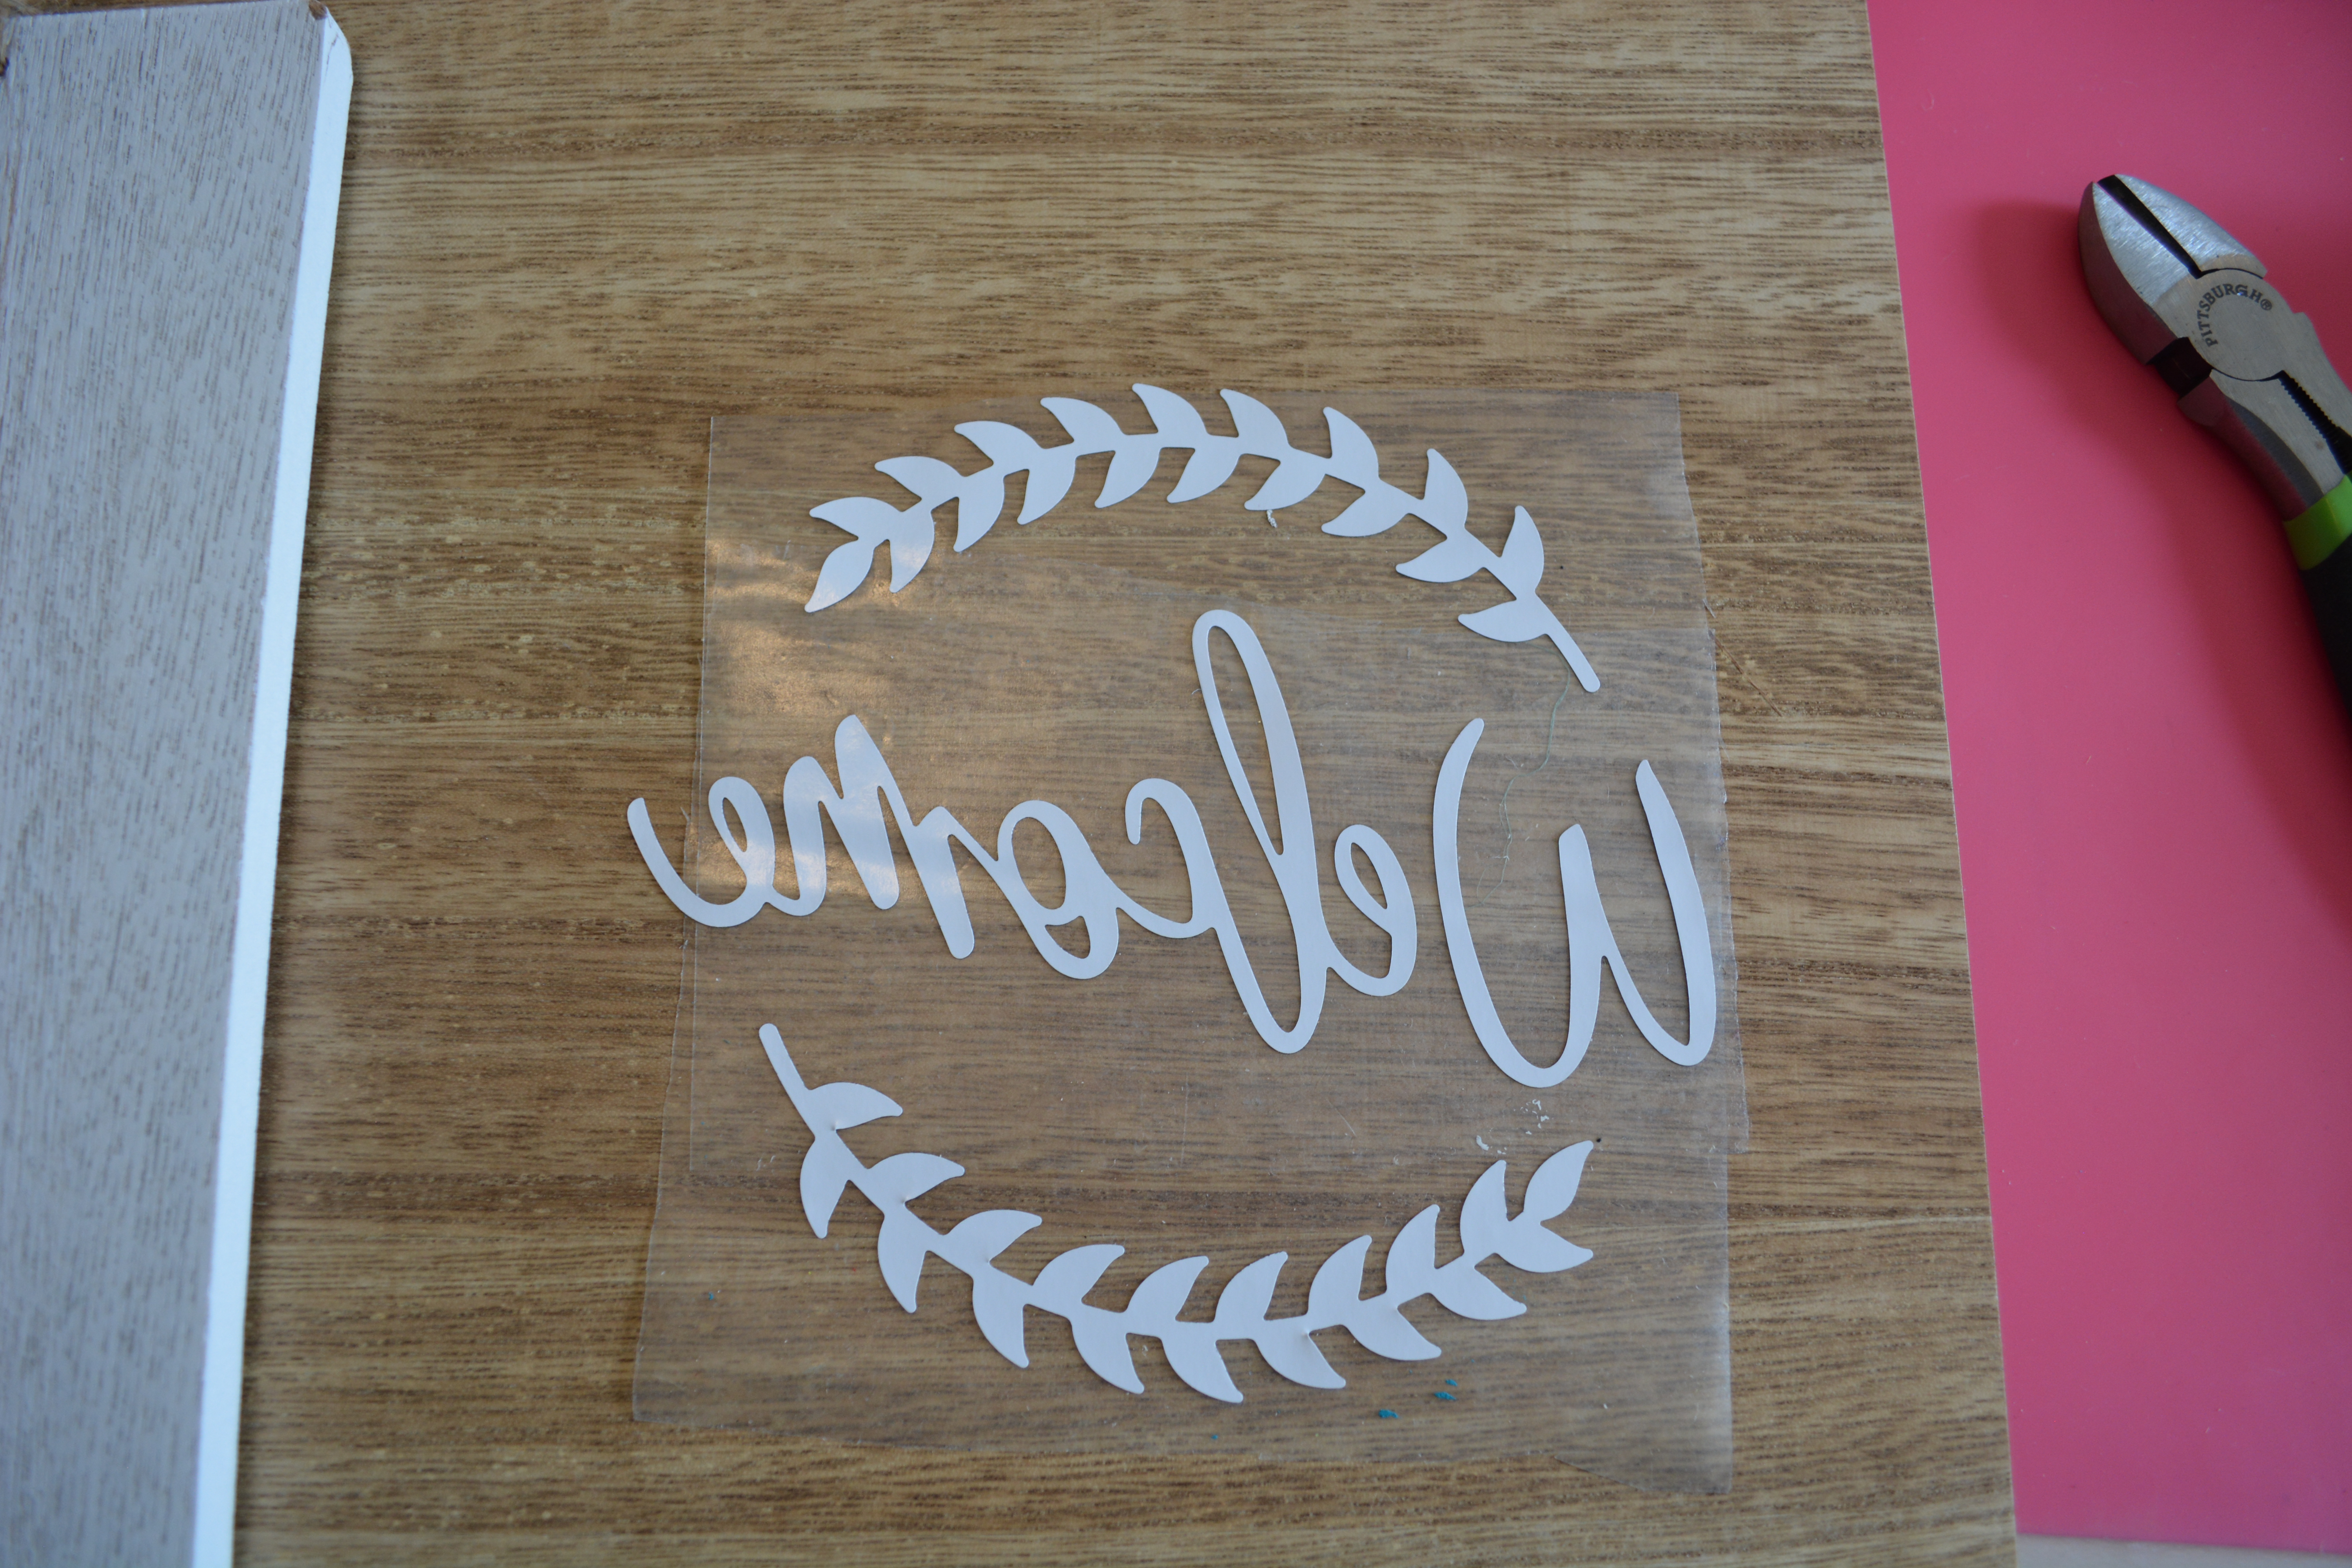
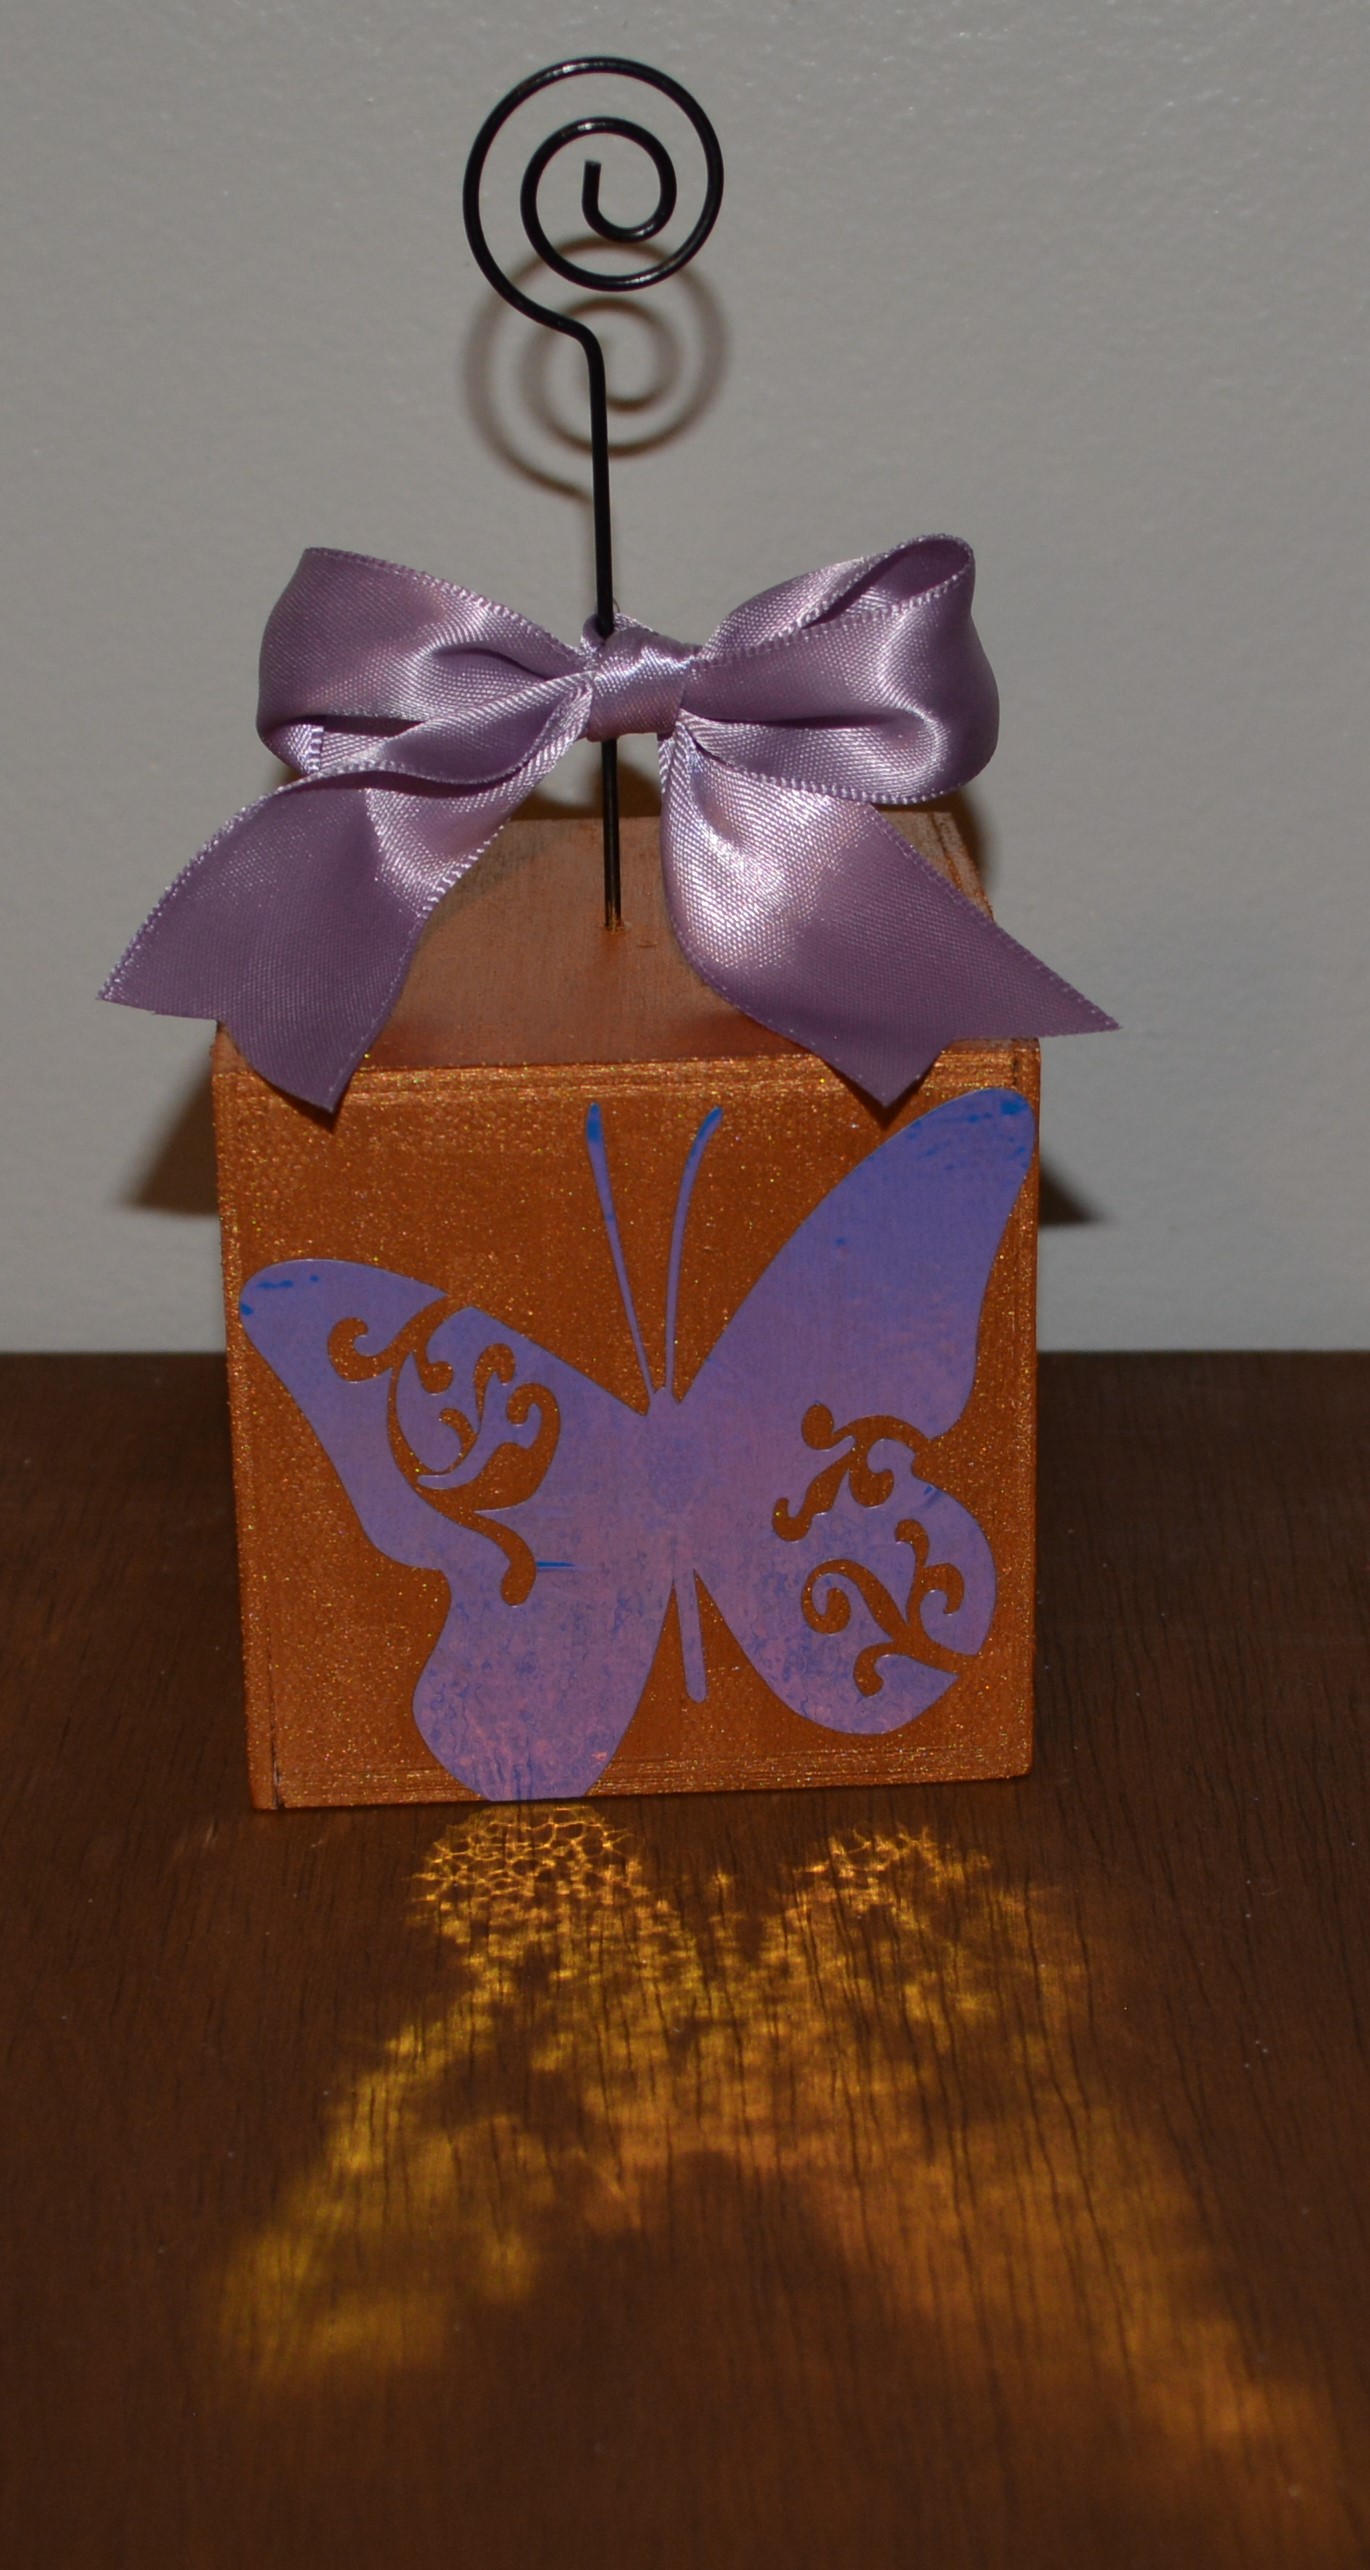
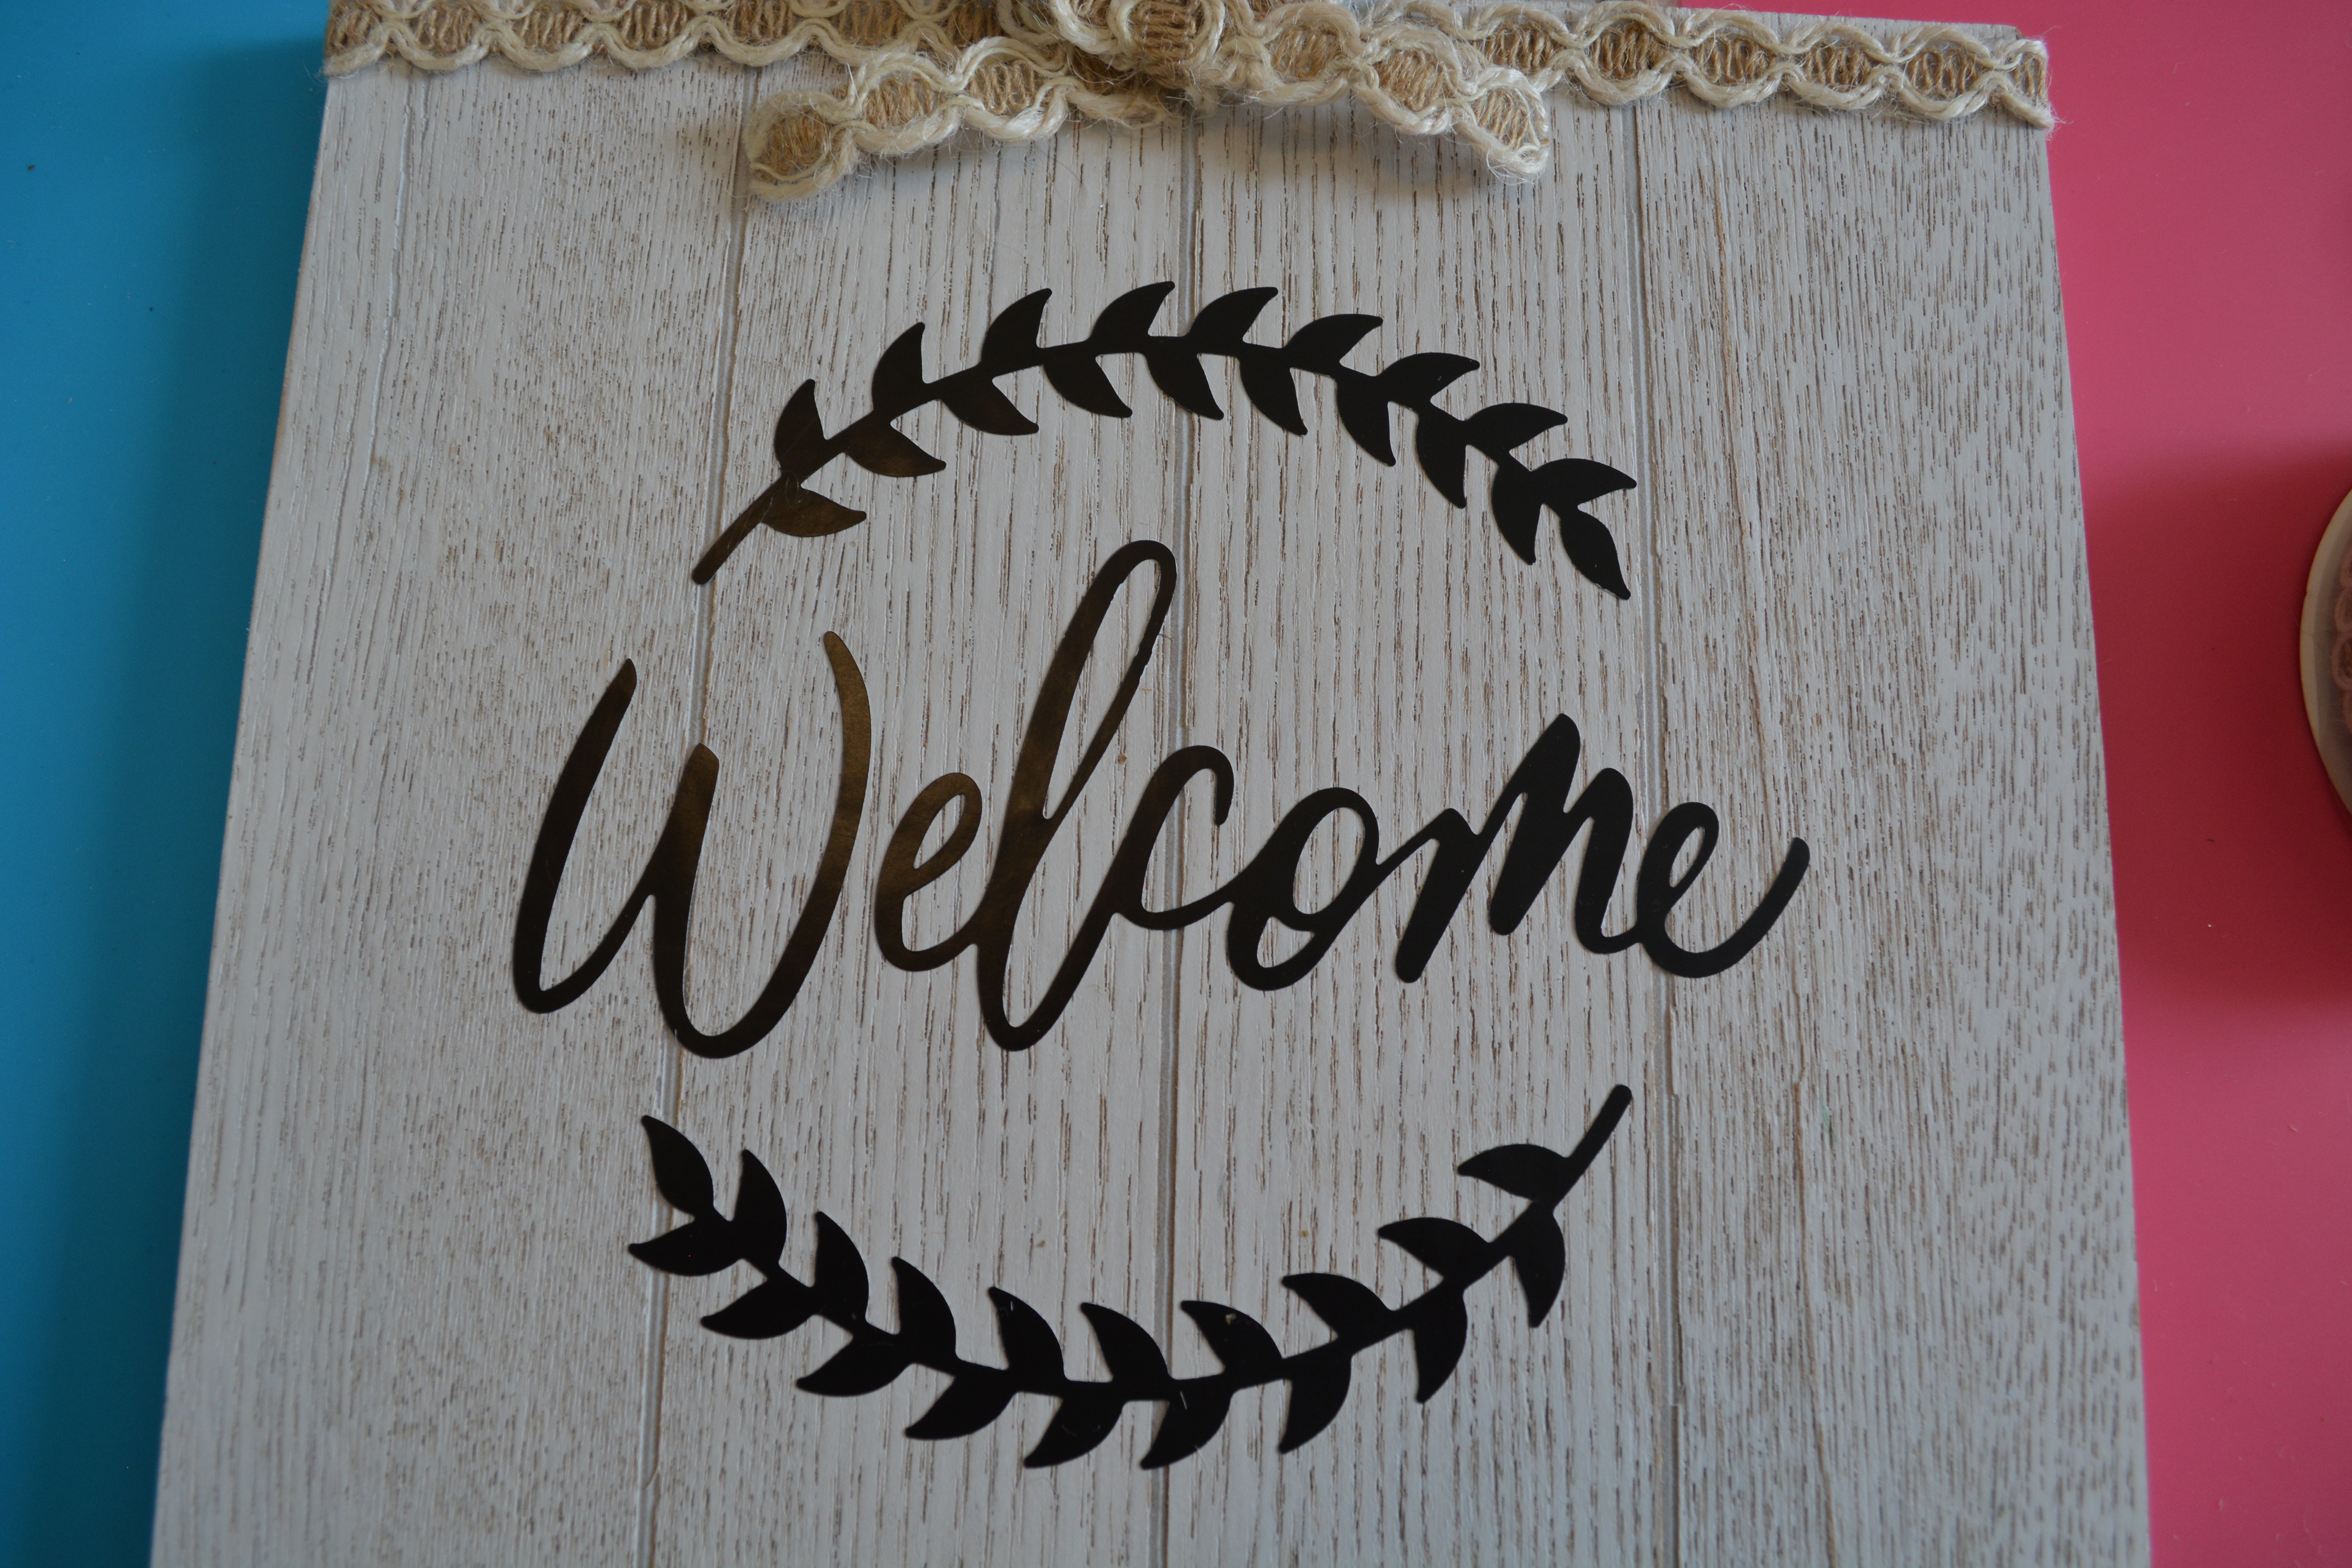
For this next one, I used a smaller wooden sign. I used contact paper to serve as a carrier sheet and placed the vinyl in the middle of the sign.

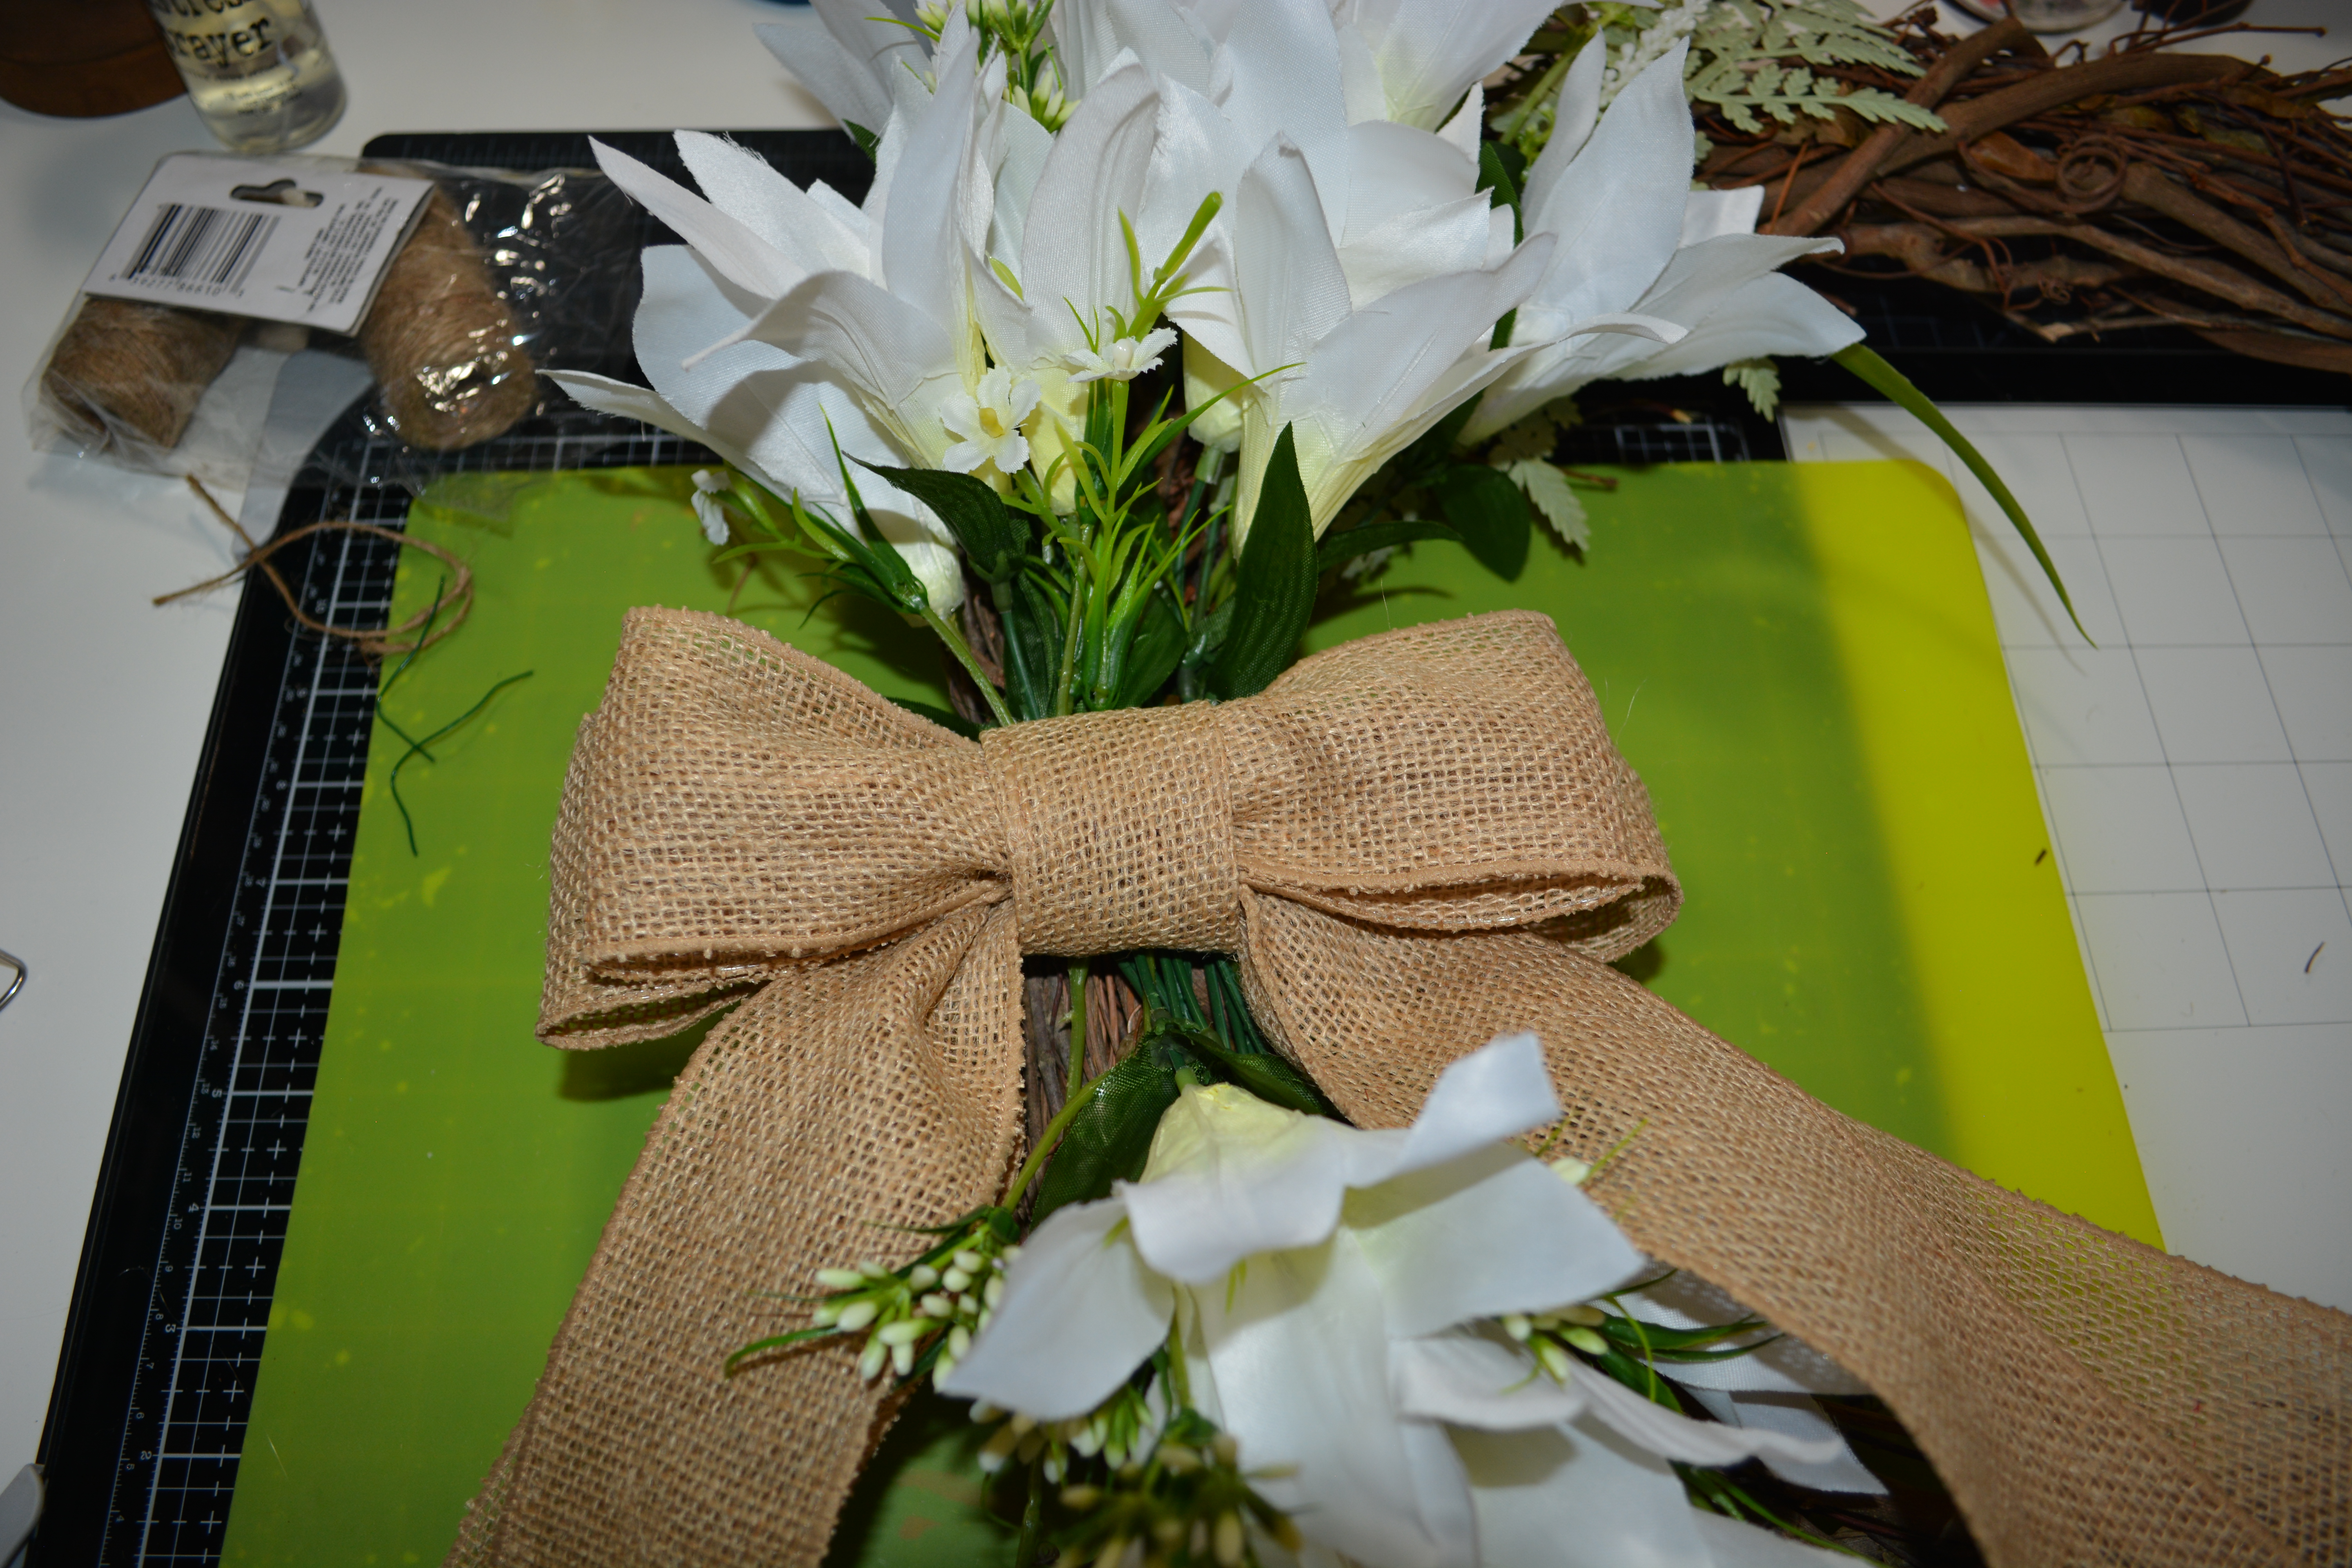
Next I took some ribbon from Dollar Tree and added it to the top and bottom of the sign with hot glue. Finally I hot glued a bow to the top of the sign. And that was it for this project.

Project #3

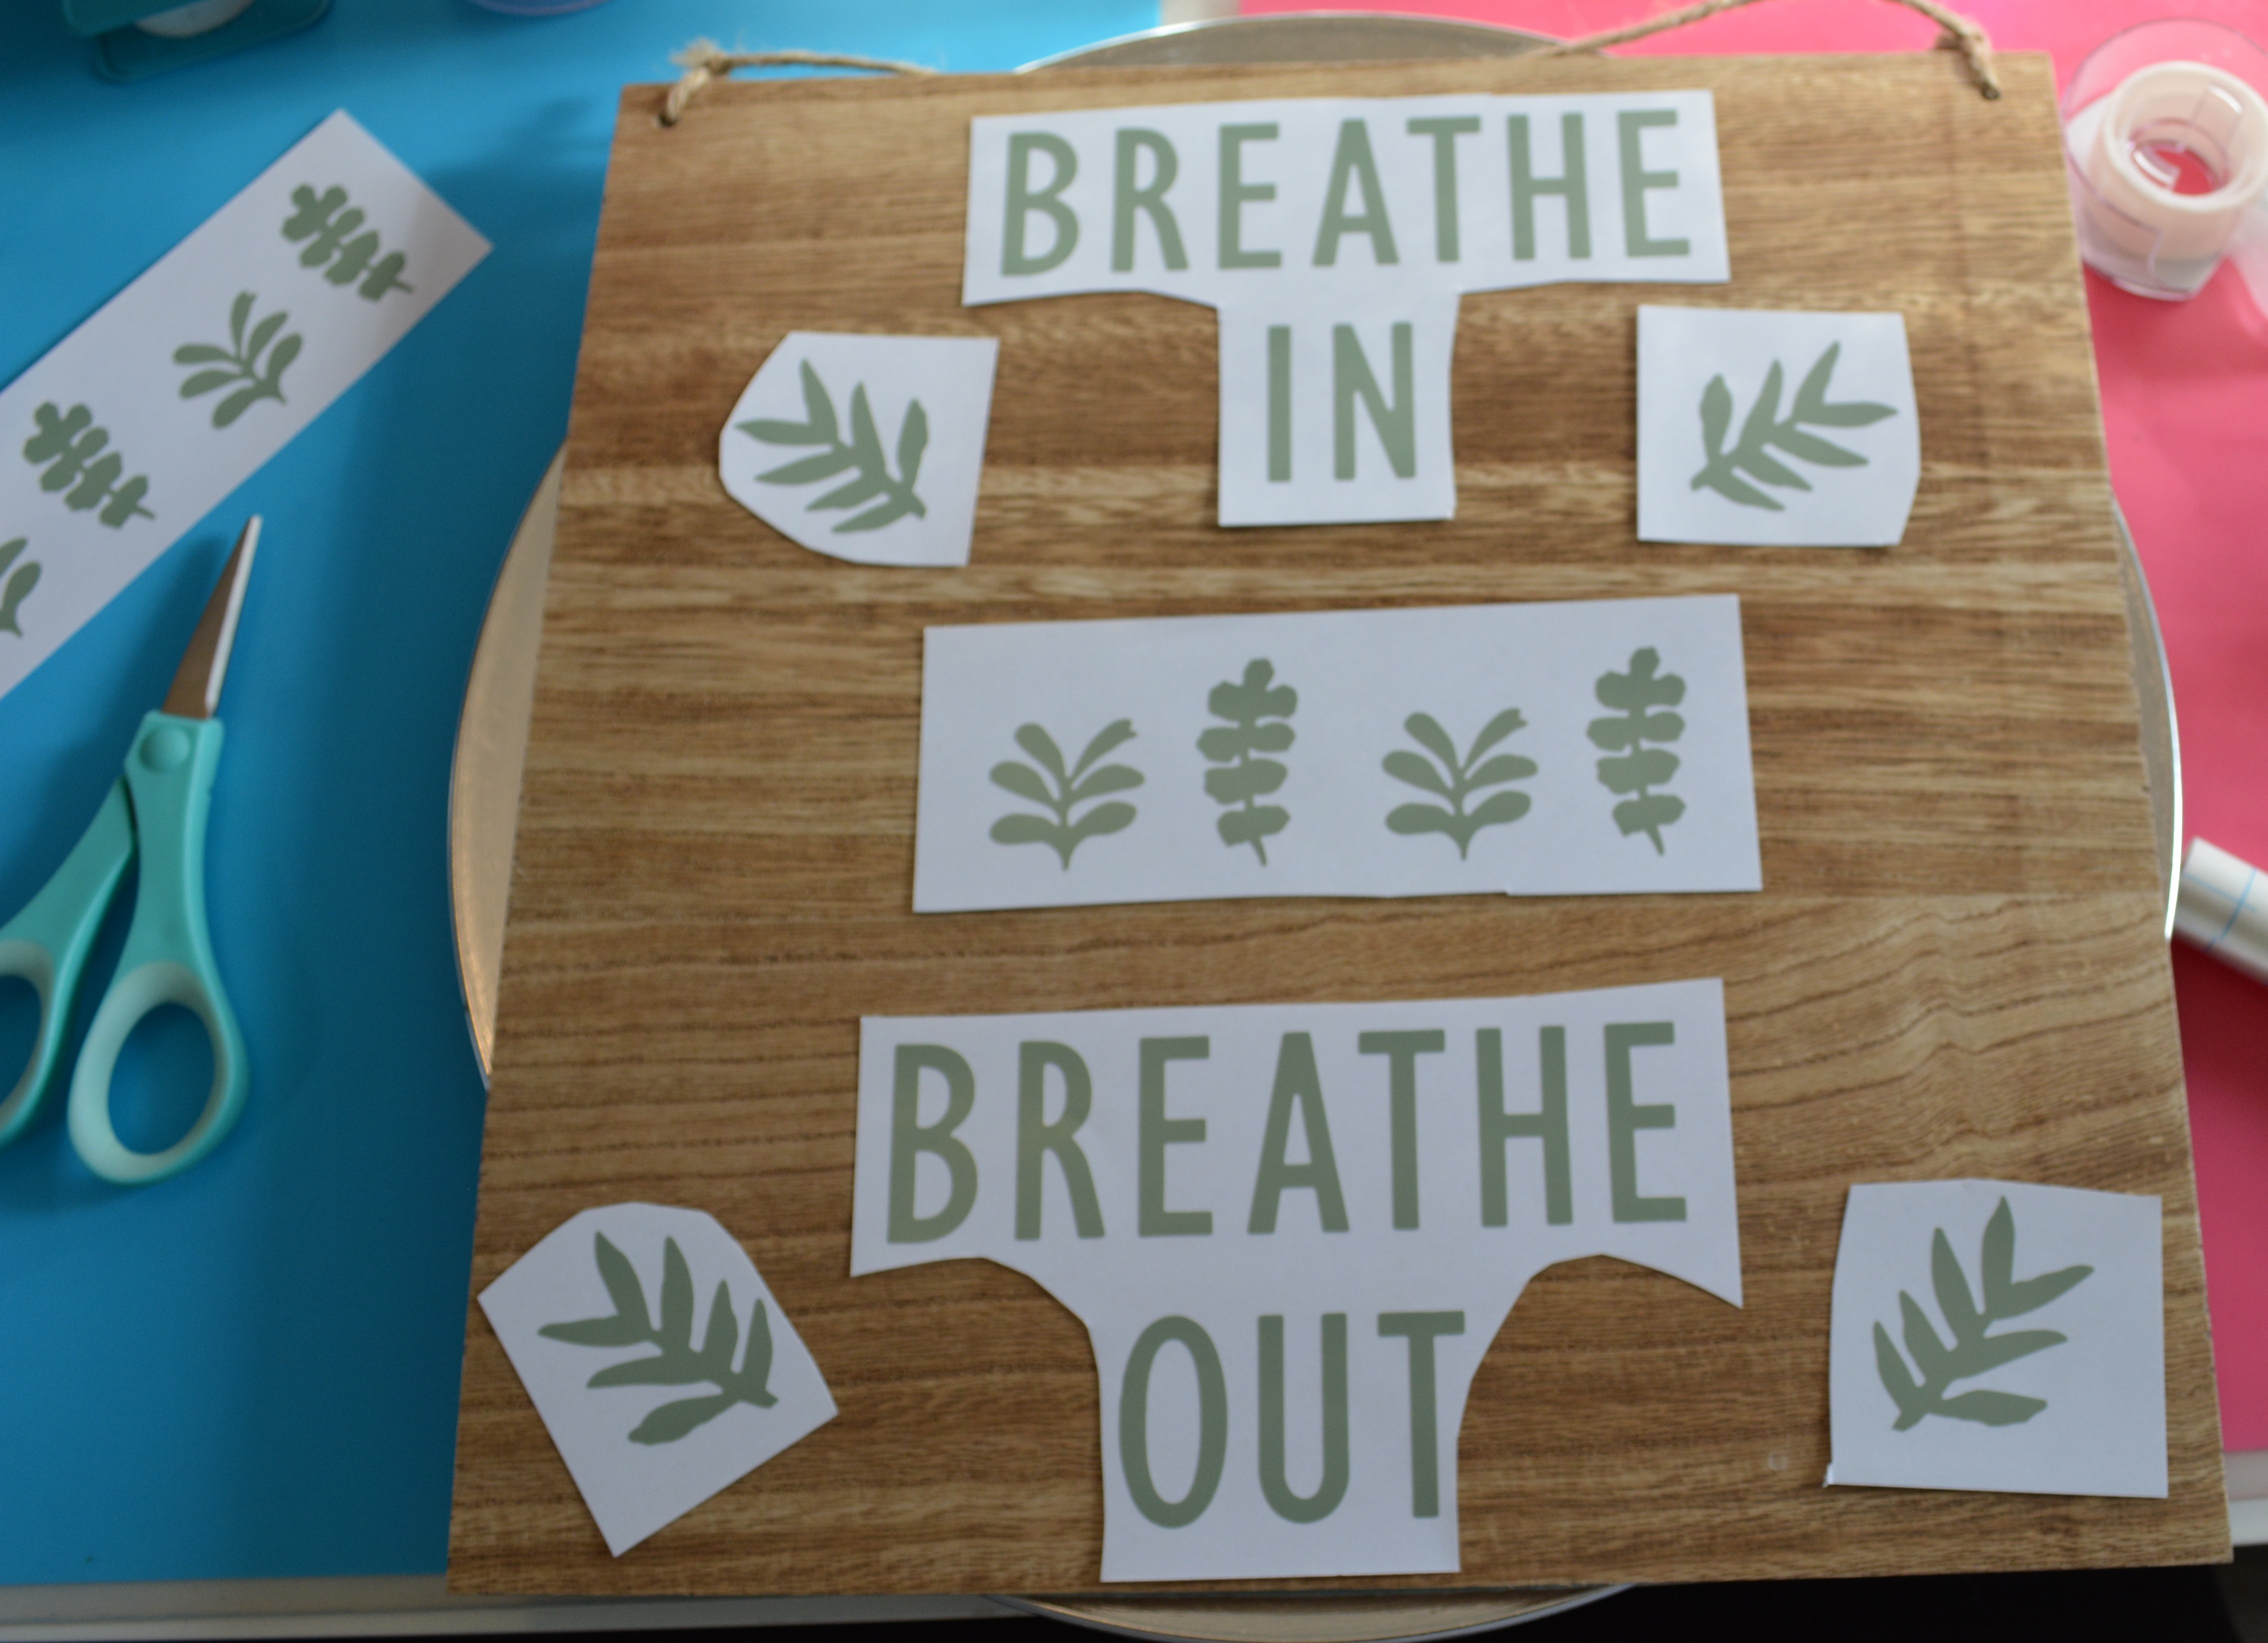
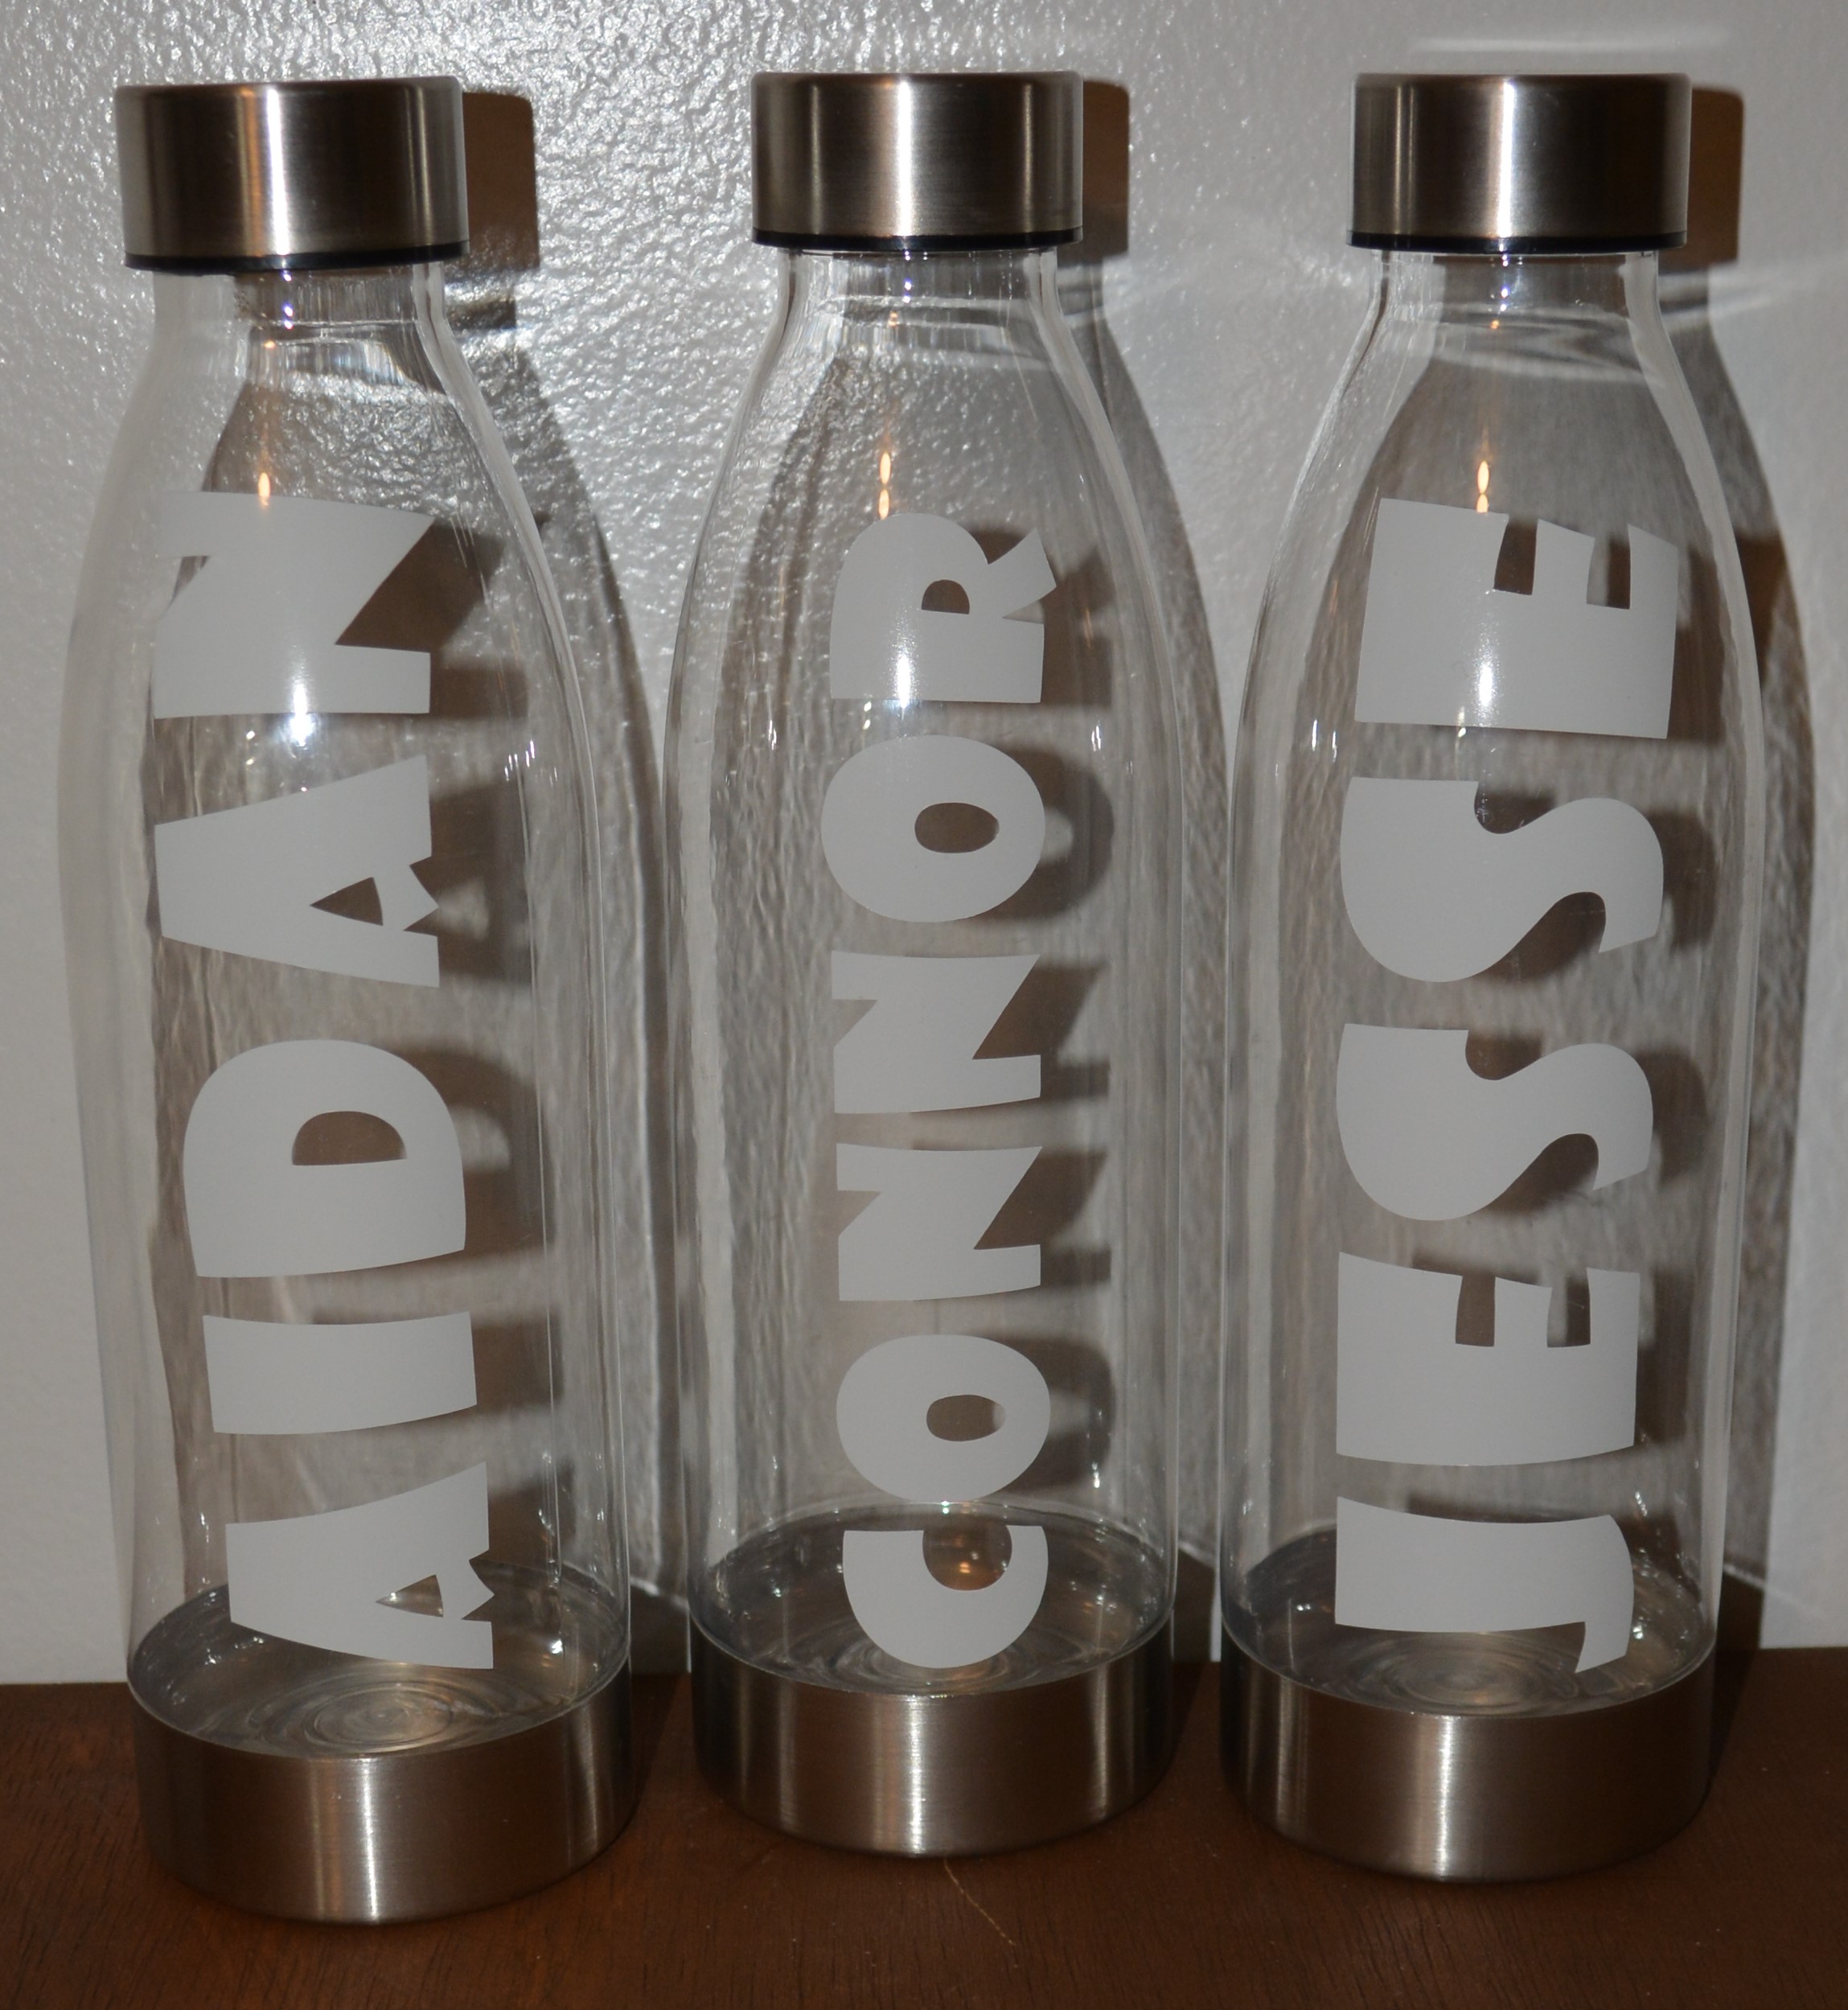
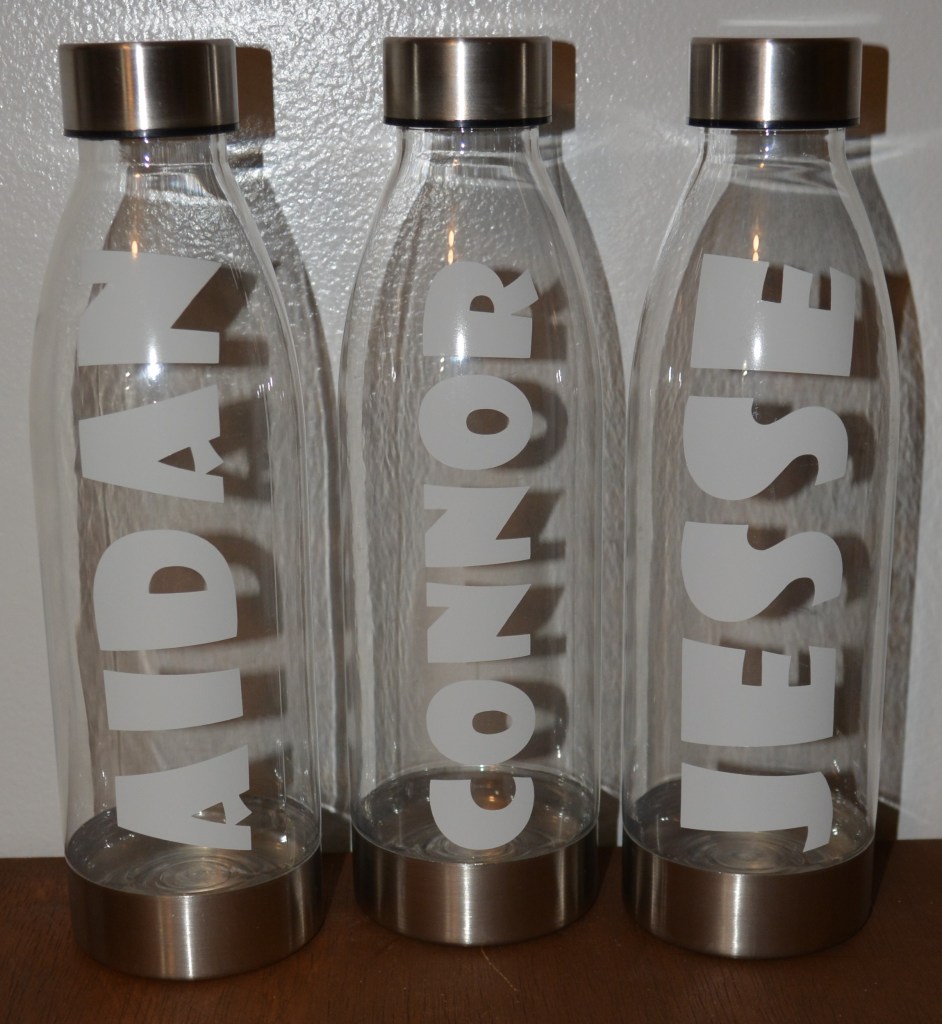
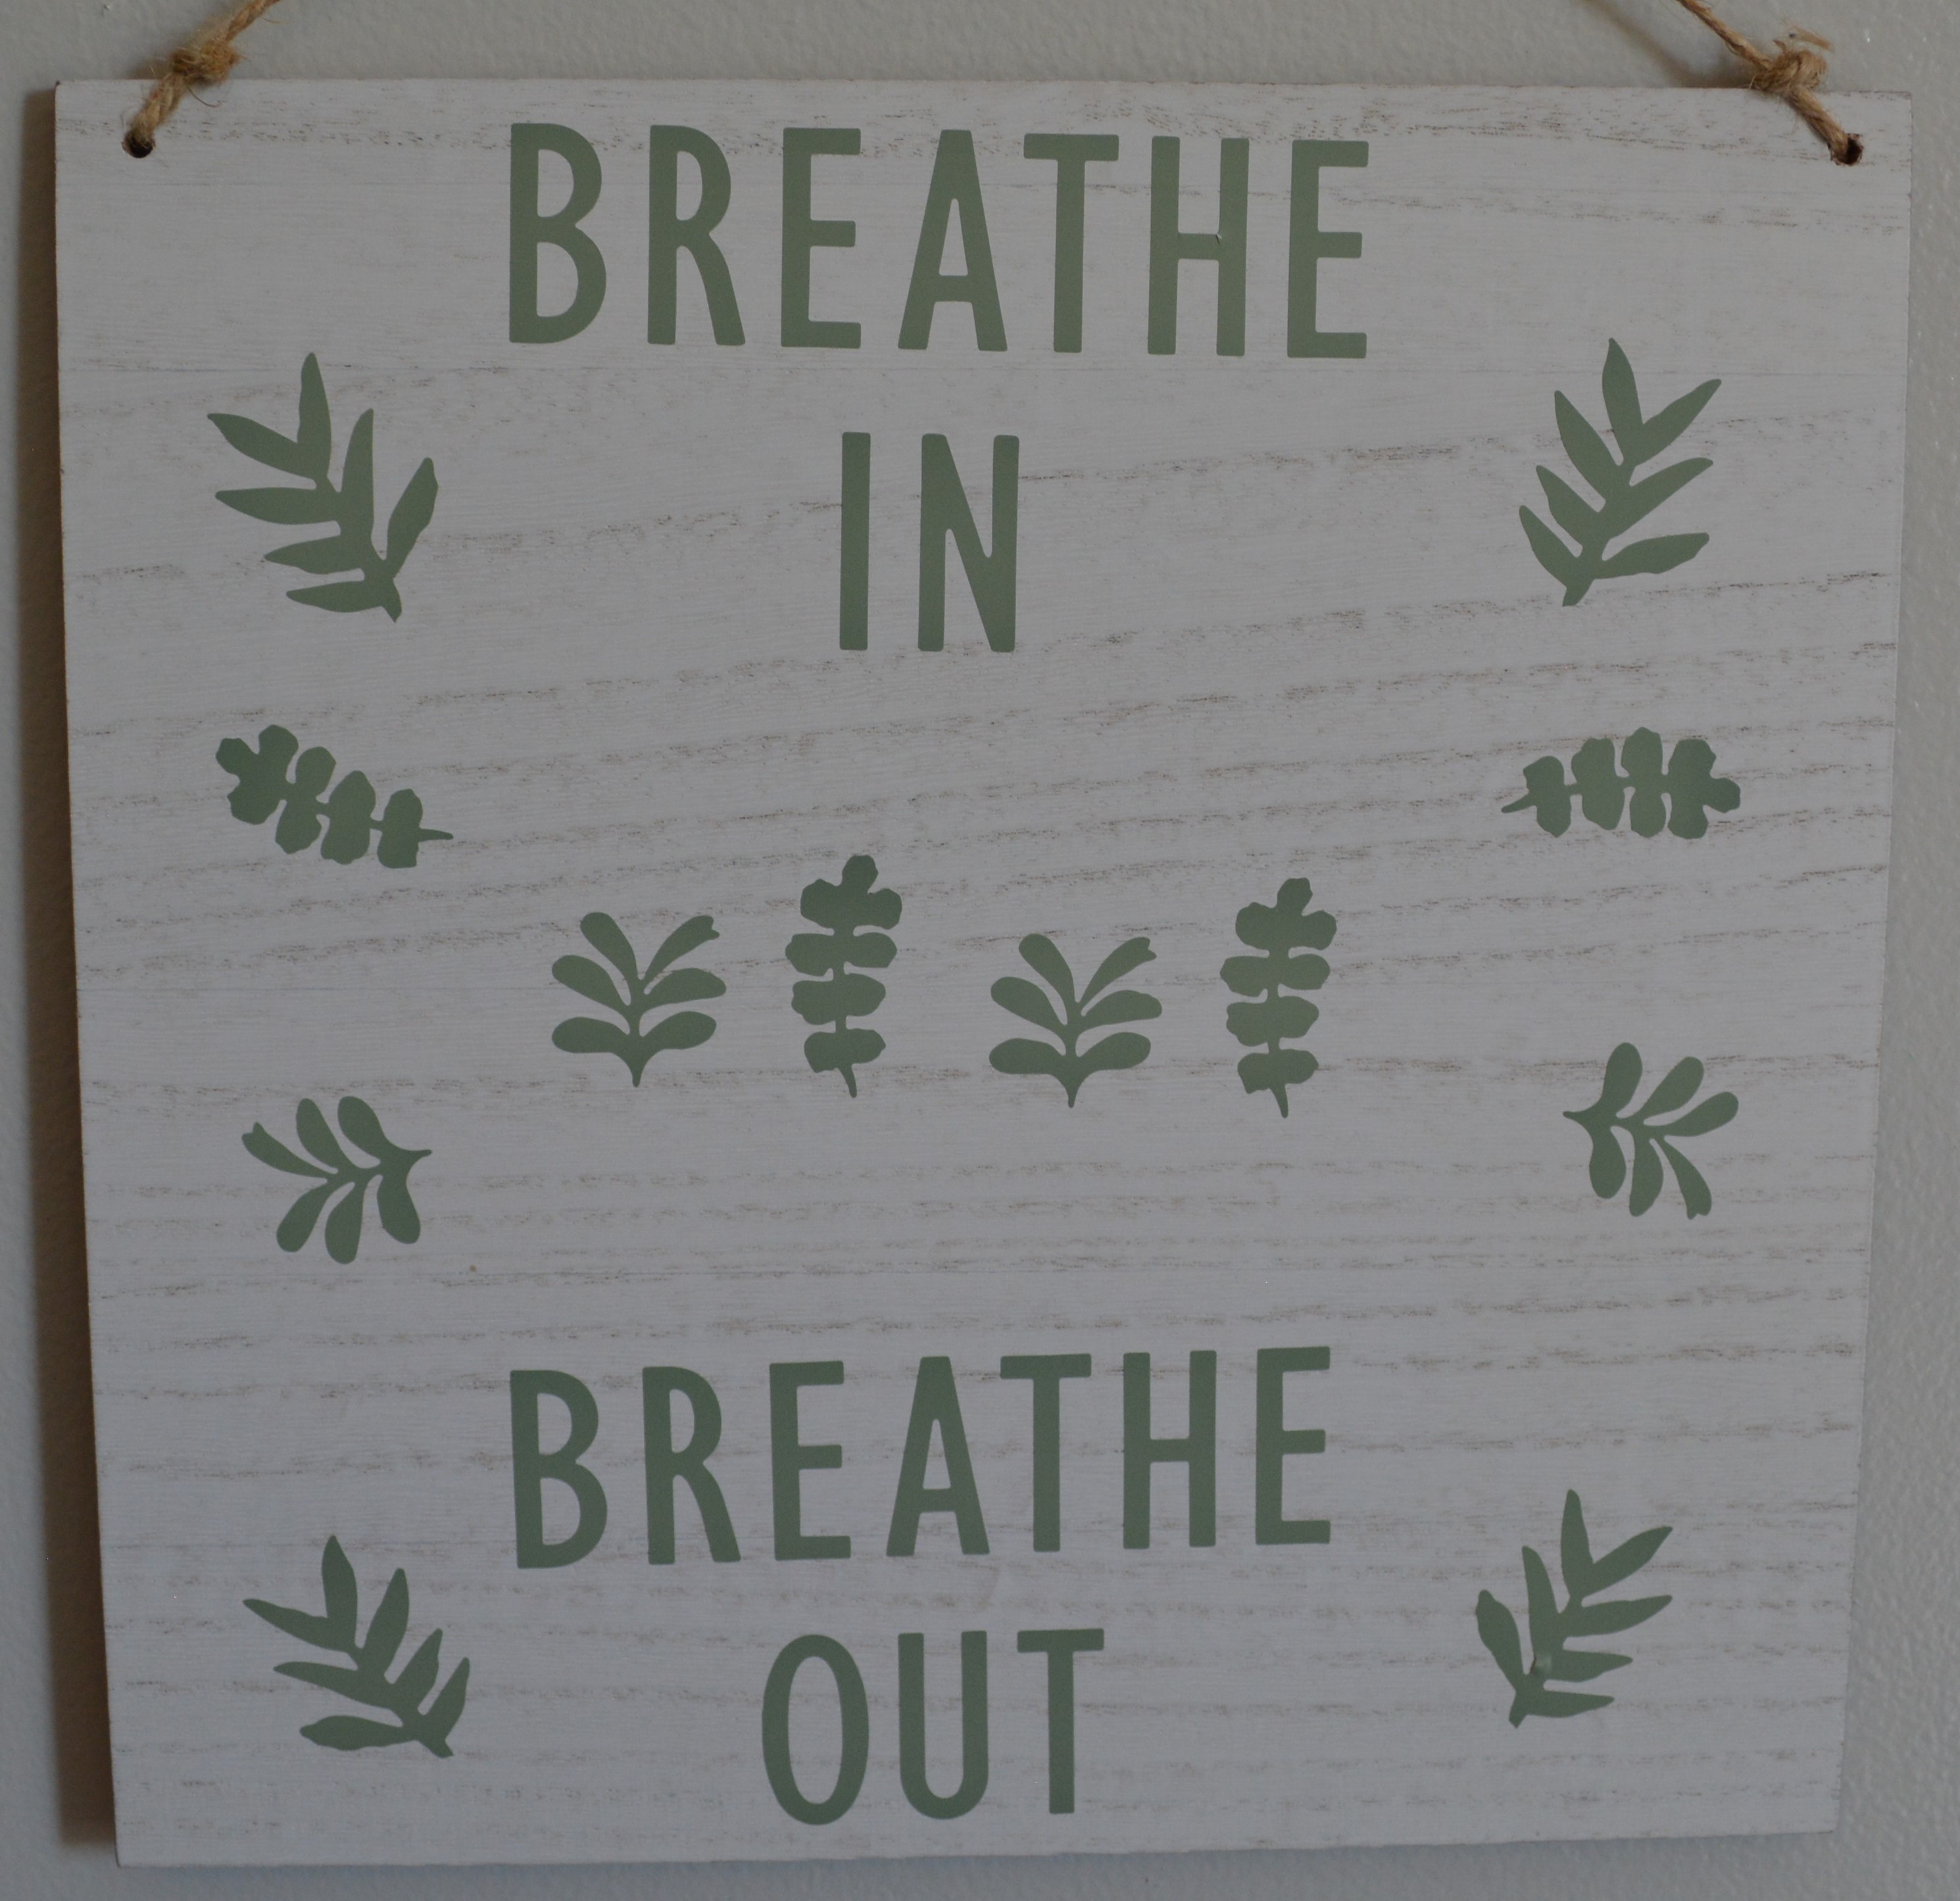
This final sign I cut the vinyl apart and laid it out on the bored. Then piece by piece I peeled off the backing and laid it down on the bored. Confession time!!!!! This sign is not straight and the spacing is terrible. It just goes to show that things do not always have to be perfect and I am okay with that. I left it as is and it will just stay in my craft room as a reminder that life is not perfect but you can breathe in and out and everything will be okay!!

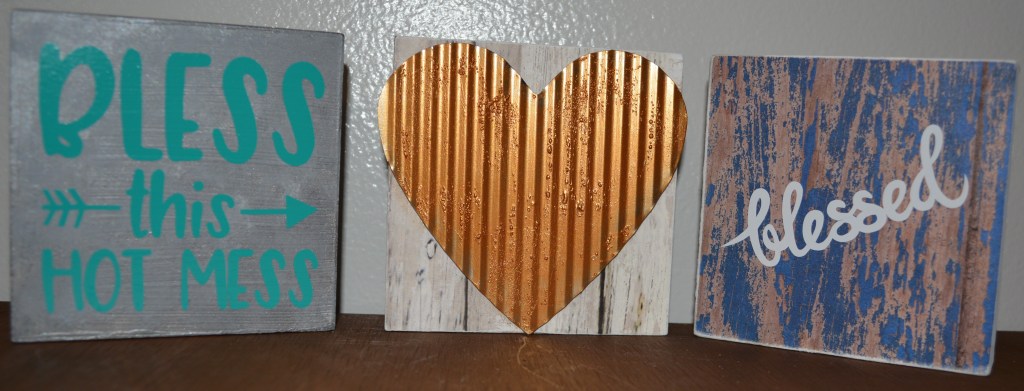
Here are the final projects and they turned out great except my crooked one. Once the one sign was painted it took all of about 30 mins to do these signs. Target is really giving a variety of things that you can craft with and these vinyl stickers are amazing. Even if you are not crafty, you can totally pull off any of these projects. Just give it a try!!

Thank you for joining me today. Please Like, Share, Comment, and Subscribe!! Also find me on Instagram and Facebook!!

Have a wonderful weekend!

Isaiah 40:8 ESV The grass withers, the flower fades, but the word of our God will stand forever.

Melissa McGuire

Supplies

Wooden Signs- Target. Michael’s Craft Supply and Hobby Lobby carry them too and Walmart has a few

Waverly Chalk Paint- Walmart

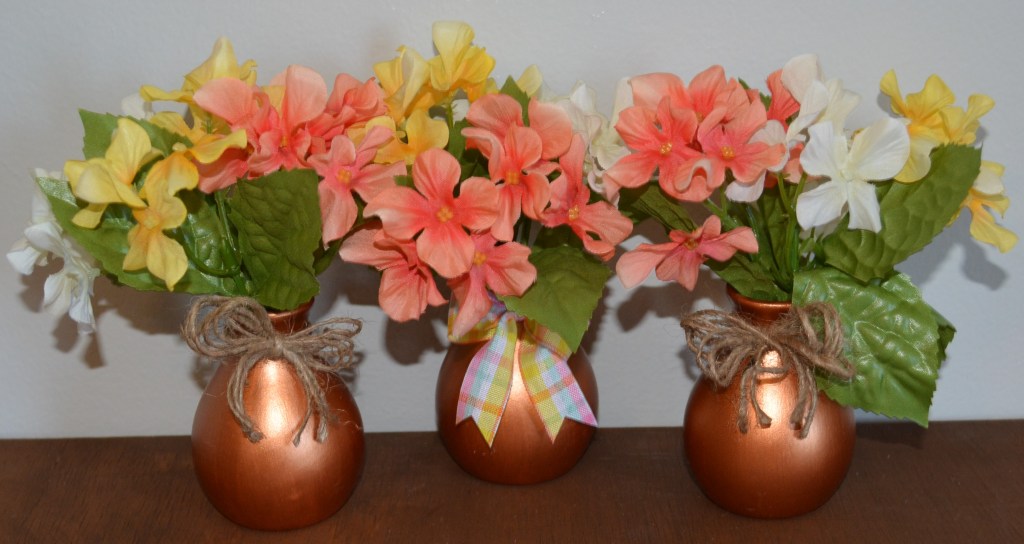
Flowers- At Home Store

Ribbon- Dollar Tree

Vinyl Stickers- Target

Surebonder Hot Glue Gun and Hot Glue Sticks- Hobby Lobby

Finishing Projects

Do you have a bunch of projects that you have intended to do but have just not gotten to them? Well that’s how this post is going to go. I have had several little projects that I just needed to get done. I either have some holes in my decor that I need to fill or they are things that I keep putting off. So I decided to just knock them all out in one day. I am extremely happy I did. I hope that one or more of these projects inspire you to get those projects done that you have just not gotten to yet.

Lets Get Started

Supplies

A few of the things that I needed to get done were some water bottles for my kids, some blocks for my tiered trays, a plate for my craft room and finally a block that holds cards and pictures. All of these projects I used my Cricut, Cricut vinyl, and Orical 651 vinyl. I also used a few random pieces left over from other projects.

We can start with these blocks. I put some scrapbook paper on two of them with Mod Podge over a year ago. The other one I used shades of silver paint and a sponge to make it look galvanized. I knew I wanted words on at least two of them. So I went into Cricut Design Space and looked up things to do with Blessed. I found one plain Blessed saying and one that said Bless This Hot Mess. I cut each phrase out with Orical 651 vinyl and added them to the galvanized block and the block with the blue painted wood.

For the white wood block, I just wanted a shape of some sort. I literally looked around my desk to see what I could find. I save a ton of things I pull off of other projects. Little pieces here and there that I do not use right away. I found a galvanized heart that I pulled off a Dollar Tree sign last week. I did not want to leave it the same color so I roughly painted it with Dark Bronze paint. It took two coats. Now if you know me pretty well, you will know that I am very impatient. I can not wait on anything. So I took my heat gun to the paint on the heart to make it dry faster. Well I held the heat gun on the heart to long and the paint started to bubble. It was a happy accident and I loved the way it looked. I did that with each coat of paint I put on it. Once it was dry I hot glued the heart on to the block.

I can not wait to put these in my 3-tiered trays!! They are so cute. The blocks are about 3×3 in size and about an half an inch thick. So they are a great size to put in any small spots that are missing decor.

Lets move onto the next project!!

I have had this charger sitting around since just after Christmas. I wanted to put an inspirational quote on it to put in my craft room. Since I have been working on changing my life around a bit with losing weight and working on my mental and physical health, I wanted something to push me. The quote I settled on after reading a ton was “I Dare To Fail So I will Achieve Greatly.” I found an SVG of it and downloaded it into Cricut Design Space. Then I cut it out on some metallic Cricut vinyl. Once I weeded the vinyl, I used transfer tape to add it to the plate. I was not as careful as I should have been and I did not get the wording on the plate straight. Instead of wasting the vinyl and pulling it off to try again, I added a blue butterfly to the side of the plate to fill the space. Always see if you can save your project if you mess up. Sometimes the project turns out better than you expected it would.

I can not tell you how much a love this. It does not matter to me that the words are a bit off. Honestly it is a representation of how the day went as I was making all of these projects. Something went wrong on each one and I am happy it did because the end results are so much better than I expected the projects to be.

Two down, Two to go!!

I have had these water bottles sitting my my craft room since last summer. They are around a $1.00 each at Walmart and I knew I wanted to put my kids names on them. I went back to my Cricut and into Design Space. I looked for a font that I wanted for all three and typed out their names and sized them. Then I cut them out, weeded the vinyl and then added their names to the bottles.

This was such an easy and cheap project. Now I could take the time to put Mod Podge over the letters but it is not that important to me. These might last my kids the summer. Since they are cheap, it is not a big deal to make them new ones next summer. I will say my kids were pretty excited about these though.

Final Project!!

I forgot to take a before picture of this block that is a card or picture holder. A friend gave this to me a long time ago with some cute paper on it. The glue lifted from the paper and fell off so I decided to redo it. I painted the block with the Dark Bronze paint. It took two coats to completely cover it.

Once it was dry , I got back on design space and found a beautiful butterfly. I sized it and cut it out with metallic vinyl. Then I added it to the block. After that I found a ribbon that looked good with the colors and tied it in a bow around the wire holder. That was it!!! This was quick and now I can set this out and remember my sweet friend who made this for me to begin with.

There are always ways to get around not having a cutting machine like a Cricut. You can use stickers, rub-on transfers, or print things out on from the computer and Mod Podge them on. Even stencils would work. Use what you have.

I hope that these projects motivate you to get some of those half done or not even started projects done that are taking up space in your craft room. I am glad and excited I finished these. It feels good to have them done.

Please Like, Share, Comment, and Subscribe. Also please find me on Instagram and Facebook under Yellow Butterfly Craft Designs.

Have a wonderful weekend!!!

Melissa McGuire

Supplies

Blocks- Target

Paper- Hobby Lobby

Mod Podge- Hobby Lobby

Shades of Silver Paint- Walmart

Heart- Dollar Tree

Cricut- Amazon

Orical 651 Vinyl- Michael’s Craft Supply

Surebonder Hot Glue Gun and Hot Glue Sticks- Hobby Lobby

Charger- Dollar Tree

Butterfly- Random Plant Decoration

Water Bottles- Walmart

Dark Bronze Paint- Target

Block Card Holder- Any Craft Store

Ribbon- Hero Arts

Egg Topiary with a Twist!

First off let me say that I am sorry for not posting last week. I was under the weather and completely exhausted. I did not even make it into my craft room. I am feeling much better and ready to get to today’s project.

Easter is almost here!!!! I wanted to get one more project done before Easter. I found this mini watering can and wash bin at Hobby Lobby a long with this pedestal at Target. I thought they would make a cute decor piece stacked together. I was hoping to make it look like the a bird bath and use beads and wire to make the watering can look like it was watering flowers but I did not have the right beads for it. So I decided that an Easter Egg Topiary would be cute!! I am also going to give a simple flower arrangements at the end of the post. It all would make a great centerpiece for a table if you put them all together.

Lets Get Started

Supplies

This is a big project so it did take a lot of supplies. I used the mini watering can and wash bin. Along with the pedestal, some vase filler, spring flowers, eggs, and floral foam. If you do not like the colors of anything, then you will also need some paint. I used E6000 and hot glue to put everything together.

The first thing I did was paint the wash bin with Dark Bronze and then I used a few different shades of silver to galvanize the pedestal. Both took a few coats of paint to cover them. Next I took these small little plaques and used E6000 to glue them on. Hot glue will not hold them.

I then hot glued some floral foam into the wash bin and watering can. I knew I wanted to stack eggs one on top of each other. To do this I took the tip of my hot glue gun and melted a hole in the top of two eggs. They already have holds in the bottom. Then I put all three eggs on a wooden skewer and hot glued them in place. As you can see from the picture above, I used three eggs at first but it was to tall so I removed one of the eggs. I left part of the skewer on the bottom of the eggs to push down into the floral foam in the watering can to hold it all in place.

Now it is time to stack everything on top of each other. The base is the pedestal, then the wash bin and finally the watering can. I hot glued all of those together. After that I used a few different kinds of flowers to fill in around the bin and can. Finally, I put some vase filler around the bottom of the bin to look like eggs. The bottom of the pedestal looked bare so I added a bow.

Bonus!!!

After looking at the finished project, I thought it needed something to go beside it to tie it all together. I had these two pink buckets for a while so I thought a few flower arrangements would be really cute to go on either side of the topiary. I used floral foam again and added flowers to each bucket so they matched. I added bows to each bucket too. I felt like the flowers were not enough to tie the buckets to the topiary so I took skewers and cut them in half and hot glued them to the bottom of six eggs. Then I arranged them in the buckets.

Here is the finished project. The fun thing about this one is that you can take the eggs off after Easter and just use all of this as spring decor. It serves double duty and I love that!!! The colors are so bright and cheery. It all would look great as a centerpiece on a table. I have mine sitting on my entertainment stand.

Thank you for joining me today. I also will have a few bonus decor pieces on Facebook and Instagram. Please go take a look under Yellow Butterfly Craft Designs. Also please Like, Share, Comment, and Subscribe.

Matthew 28:6 He is not here, for He has risen, just as He said. Come, see the place where He was lying

Melissa McGuire

Supplies

Watering Can and Wash Bin- Hobby Lobby

Pedestal and Buckets- Target

Flowers and Stems with Balls- Dollar Tree

Eggs- Dollar Tree

Ribbon- Michael’s Craft Supply

Small Plaques- Hobby Lobby

Floral Foam- Dollar Tree

Silver Shades of Paint- Walmart

Dark Bronze Paint- Target

Vase Filler- Dollar Tree

E6000 Glue- Hobby Lobby

Surebonder Hot Glue Gun and Hot Glue Sticks

Easter Beauty

I find inspiration all over the place. This is another wreath inspired by a picture I saw on Facebook. I fell in love the beauty of the cross draped in white and the Easter Lilies. My take on it is a bit different than the original but the end result is so pretty and perfect to represent the true meaning of the Easter season.

Lets Get Started

Supplies

I used an 18 inch vine wreath form as the base. Use what ever size is best for your. The cross is from Dollar Tree and they have several styles of crosses so pick what you like. You will notice that later on I changed this cross out for a bigger one because I thought the one in this picture was to small. The burlap ribbon is from Hobby Lobby along with the sheer white material. I got the Easter Lilies from Dollar Tree. Honestly they were the best looking ones I found. When I put the wreath together it looked a bit bare so I used random greenery that I had on hand. You will also need some paint or stain, hot glue and some kind of stronger glue that will not melt in the heat, and some floral wire.

The first step is to fill in the hole at the top of the cross with wood filler. Some of the crosses have holes that need to be covered. The second cross I used did not require that step. Once the filler is dry, sand it down smooth.

Now it is time to paint. I used three different colors to get a wood grain look. The lightest color is Waverly Chalk Paint in Hazelnut and I put this down as a base coat. The other two colors are Waverly Chalk Paint in Truffle, and Dark Bronze in the Target brand paint. I roughly mixed the two colors together with a stiff brush. You can also use a fan brush. I dry brushed the two colors over the Hazelnut before it was completely dry. This will blend the paint and give it streaks making it look like dark stained wood. The Bronze color gives the cross some shine which is very pretty. Keep layering and blending the paints until you are happy with how it looks.

While your paint is drying start on the wreath and flowers. I used three bunches of Easter Lilies. Two up right and one pointing upside down. To attach them to the wreath form I used floral wire and wrapped it tightly around it. You can move and pull the flowers until you are happy with it. I used floral wire to attach the extra greenery too in places I felt needed it.

Next I took the burlap ribbon and made a big bow. There are several bow tutorials on YouTube and they are much better than me trying to explain it in words. I did add some floral wire to the back of the bow by threading it through the back loop and adding some E6000 to it to hold it in place and some hot glue for an instant hold. Then I placed the bow in the middle where the Lilies met and brought the wires around the back of the wreath form and twisted them together like you would with a bread twisty tie.

Here’s the thing, if your hanging any wreath where heat will be hitting it, then you have to use a stronger glue. Hot glue will melt in the heat and your wreath will fall apart. That is why I used the hot glue and E6000. It is well worth the time to wait for that stronger glue to dry.

Its time to finish the cross. Cut the sheer white fabric to the length and width that you think looks best with your size cross and drape it around the cross. On the back of the cross, place some hot glue and E6000 behind the sheer white fabric to hold it in place. In the middle of the back of the cross, add the two glues to it then put a long piece of the floral wire in the glues. Take a strip of the burlap ribbon and place it over the wire sandwiching the wire between the ribbon and the cross. This will help hold the wire on. Finally add the cross to the wreath and wrap the wire around the back and twist it tight to hold the cross on.

Here is the finished product. I LOVE this and it shows the true meaning of Easter which is the death and resurrection of Jesus. It represents his ultimate sacrifice for our sins and the great love He has for us.

I hope you enjoyed this project. It really is an easy one to make. Please Like, Share, Comment, and Subscribe. Also find me on Instagram and Facebook under Yellow Butterfly Craft Designs.

Mark 8:34 ESV And calling the crowd to him with his disciples, he said to them, “If anyone would come after me, let him deny himself and take up his cross and follow me.

Have a wonderful weekend!!

Melissa McGuire

Supplies

Vine Wreath Form- Hobby Lobby

Easter Lilies- Dollar Tree

Cross- Dollar Tree

Burlap Ribbon- Hobby Lobby

White Sheer Fabric- Hobby Lobby

Floral Wire- Dollar Tree

Waverly Chalk Paint in Truffle and Hazelnut- Walmart

Dark Bronze Paint- Target

E6000- Hobby Lobby

Surebonder Hot Glue Gun and Hot Glue Sticks- Hobby Lobby

Spring in Small Places

We have had some warmer weather here the last week or so which has been a nice change from the ice and snow. The birds are slowly coming out and I have even had my windows open a few days. It has been amazing!! All that tells me we are headed toward SPRING!! While Fall is my favorite season, Spring brings its own kind of fun. Things are lighter and brighter and there is a feeling of new beginnings in the air.

The first craft I am going to start the Spring season off with are these sweet flower vases. These can be used from now all the way though summer. If you change out the bow and flowers, these can even take you into Fall. I love crafts that can last more than one holiday or season!

Lets Get Started

Supplies

I feel in love with these little bud vases from Target. They are short and small so they can be used in small spaces or even 3-tiered trays. The other items I used for the craft are some twine, ribbon, and flowers. I also used some paint from Target called New Penny.

The first thing I did was give these vases 2 coats of the New Penny paint from Target. This paint is amazing, at least the metallic colors are. It covers well and looks nice and shiny.

The next step is to pick what kind of ribbon or twine you want to tie around the neck of the vases. I picked this cute plaid ribbon from Michael’s Craft Supply for one of the vases and the other two I used twine from the Dollar Tree. For the ribbon, I tied it in a bow around the neck of the vase. Then I took the tails of the bow and placed them together, folded them in half long ways, and then starting from the bottom with my scissors pointing up toward the bow, and cut the tails down. Once they open up the have the V shape in them. Its my favorite way to cut them.

With the twine, I wanted a bigger bow. I started by cutting 2 longer pieces of twine. Those will be the tails of the bow. Then I took the twine and wrapped it around 3 of my fingers 4 times making loops and then cut the twine. After that I took another longer piece of twine and laid the loops I just made from around my fingers and the 2 pieces of twine I cut for the tails in the middle of it. Once all of that was gathered together, I tied the long piece of twine around the loops and tails. You can now see where the bow was formed. I tied the bow around the vases and cut the tails to the length I wanted.

The last thing I did was pick out some flowers. I tired a few different kinds and settled on the Hydrangeas. I cut the stems down to fit in the vases and I was done.

These are so sweet and tiny. They can be put anywhere and like I said before they can be used for a few holidays. Since I did not glue in the flowers in, they can be changed out for the seasons along with the bows. The penny color makes them great for St. Patrick’s Day too. Let me know what you think! What color would you paint these vases?

Thank you for stopping by, and have a wonderful weekend. Please Like, Share, Comment, and Subscribe. Also find me on Facebook and Instagram under Yellow Butterfly Craft Designs.

2 Corinthians 5:17 17Therefore, if anyone is in Christ, the new creation has come: The old has gone, the new is here!

Melissa McGuire

Supplies

Set of 3 Vases- Target Bullseye Playground

New Penny Paint- Target

Twine- Dollar Tree

Plaid Easter Ribbon- Michael’s Craft Supply

Flowers- Michael’s Craft Supply

Card or Picture Holders

We have almost made to to March!!! There are a few holidays right around the corner. Most people do not decorate for St. Patrick’s Day but we do. March 17th is my husbands birthday so we decorate the house in green. When I decorate, I also put out a card holder of some sort. I did not have one for St. Patrick’s Day or for Easter so I decided to make some from the holders Dollar Tree sold for Valentine’s Day. Some might think it is odd to have a card holder as regular decor but in my kitchen it is a must. I have a friend of mine who sends me a hand made card every month and this is where I love to display it. She lives in Hawaii so seeing the card on my counter is a great way to think of her often!

Lets Get Started

Supplies

For this project I used these 2 card holders from Dollar Tree. One is a truck and one is a mason jar. They both need a face lift. I used chalk paint, acrylic paint, and Mod Podge along with several paint brushes. Towards the end of the project I used some strong scissors, fake gold coins, hot glue, and a window sticker.

To start off, I pulled the tops out of the holders. I had to twist them a bit but they finally came out. Then I popped the heart off the truck and the gem stone from the mason jar. That was rough. I stabbed myself with a knife in the process so please be careful. I did sand both pieces down a bit too because there was some glue still left on them from the embellishments.

Once your pieces are prepped I advise you prime them. For this I used Waverly White Chalk Paint. It took a good three coats of chalk paint to cover everything. Once everything is primed and dry, it is time to draw out the truck. I wanted to make sure the truck looked like a truck still once it was finished. I used a pencil to draw on the features like the bumpers, windows, tires, and running boards. If you are unsure of what an old truck looks like, just google wooden painted trucks. Several come up.

Now it is time to paint each piece. For the mason jar I used a Pool color so it would somewhat resemble glass. The truck I wanted to be green and used an acrylic paint from Hobby Lobby at first. The paint itself was terrible and would not cover at all. So I threw it into the trash and used the Arteza acrylic green paint to paint over it. The tires I painted with Ink Chalk Paint from Waverly. The penny color is a paint that was on clearance from Target. It is amazing and covers well. I was so surprised. It is a great color too.

After all of that was dry, I put two coats of Mod Podge on the mason jar. I used the glossy kind to make the it shine like a mason jar. The truck I did differently. I only put Mod Podge on the windows of the truck. That way they looked like glass.

It took me a while to figure out what to put on the mason jar. I thought about egg stickers or something like that. I looked at Walmart and Dollar Tree for some ideas but came up with nothing. So I shopped my stash and found this bunny that is a window sticker. I did add a bit of hot glue behind the ears to hold it in place. Then I put the card holder top back in it.

The bed of the truck had hearts on it from Valentine’s Day and I knew I wanted to cover them up. Gold coins were the perfect way to cover up the hearts. I cut one to make it look like it was down inside the bed of the truck. Use good strong scissors for this. I have scissors from Tim Holtz that are strong and can cut through almost anything. Then I hot glued 4 for coins around it. Finally I put the card holder back in.

Here are the finished projects. They are so cute and one of a kind. I love them. I can display cards in them proudly for the holidays. They will add to the decor in my kitchen for these two holidays where is it hard to find little things like card holders.

Let me know what you think of these projects. As always Like, Share, Comment, and Subscribe. You can find me on Instagram and Facebook under Yellow Butterfly Craft Designs.

John 3:16 For God so loved the world, that he gave his only Son, that whoever believes in him should not perish but have eternal life.

Have a wonderful weekend!

Melissa McGuire

Supplies

Truck and Mason Jar Card Holder- Dollar Tree

Waverly Chalk Paint in White, Pool, and Ink- Walmart

Arteza Acrylic Paint- Amazon

Penny Acrylic Paint- Target

Tim Holtz Scissors- Hobby Lobby

Gold Coins- Walmart, Dollar Tree

Bunny Window Sticker- Dollar Tree

Mod Podge- Any Craft Store

Surebonder Hot Glue Gun and Hot Glue Sticks- Hobby Lobby