

Hello again!!! I know it has been a while! Life happens sometimes and I had to step away for a bit but now I am back and we are jumping right into Patriotic decor. The 4th of July is a big deal in my house because we are a retired military family. My husband served our country in the air force for over 15 years. He was deployed or had to work over the 4th of July so many times so we would celebrate it when ever we could even if that meant we went to the fire station to do it.
Over the next 4 days I will be posting some Independence Day inspiration. Keep in mind just because this decor is all red, white, and blue you do not have to use the same colors. Today we are going to start with flowers!! I have 3 different fake flower arrangements to show you.
Lets Get Started
Project 1
Supplies
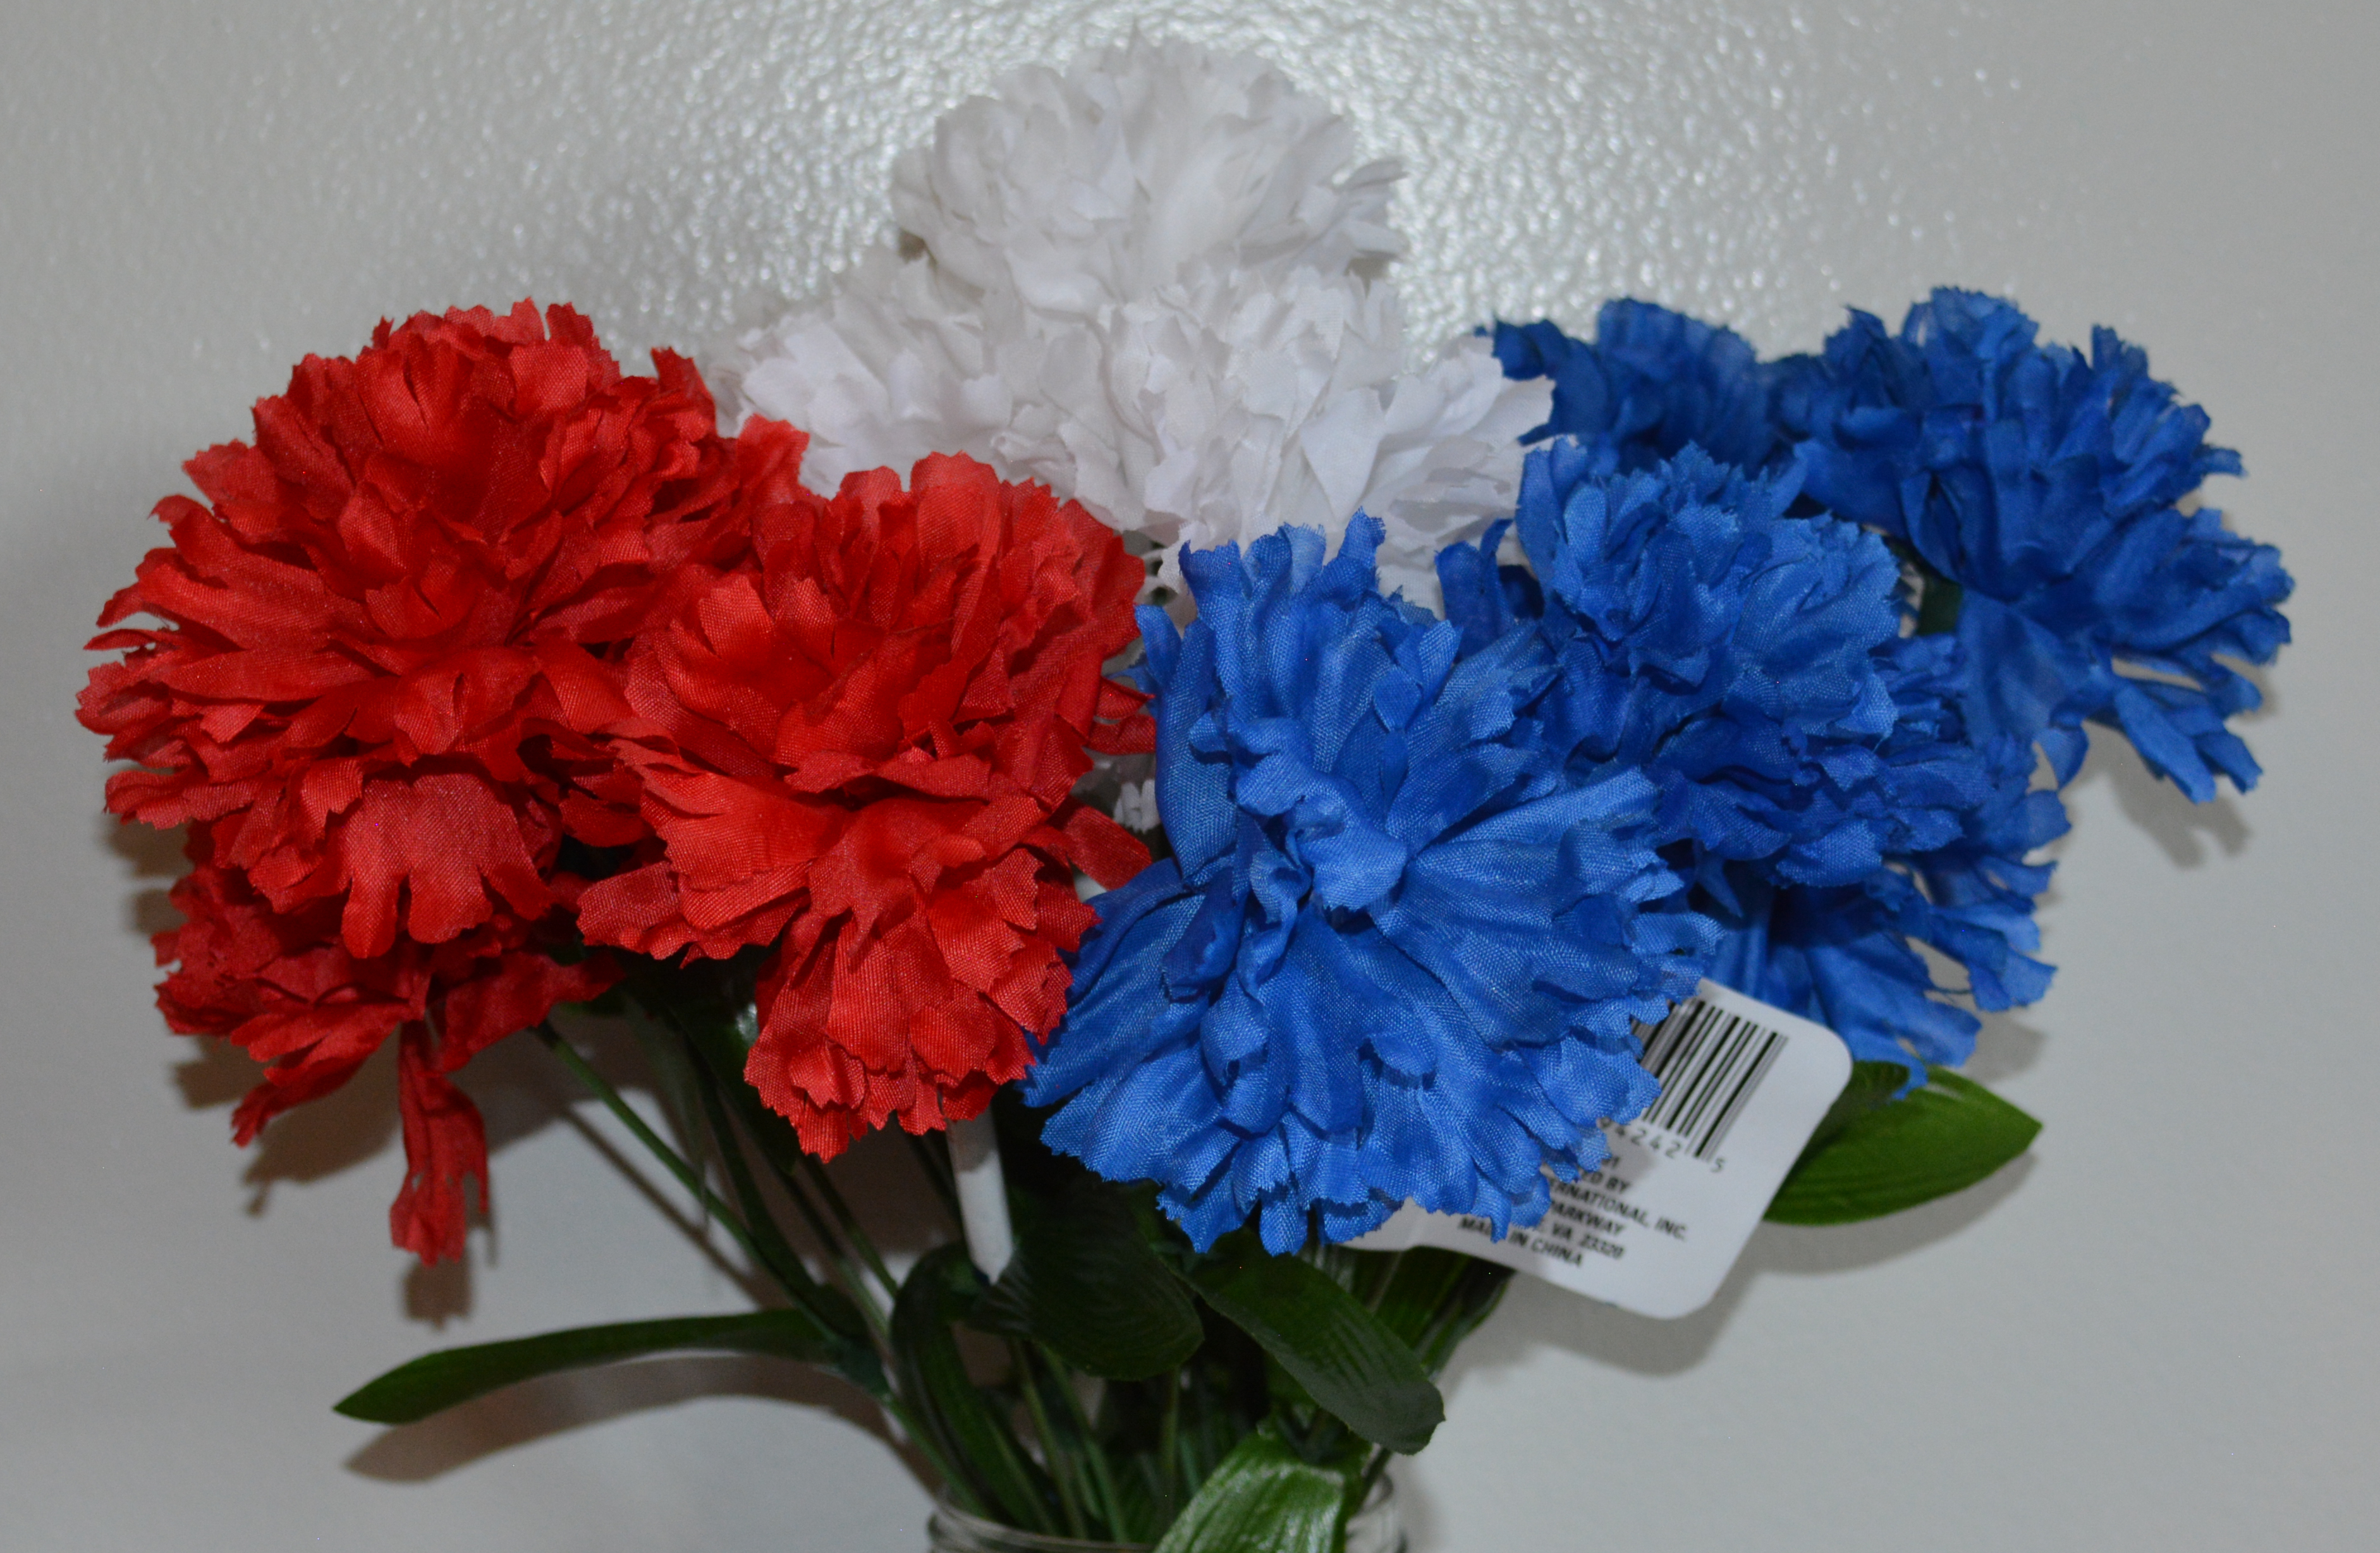

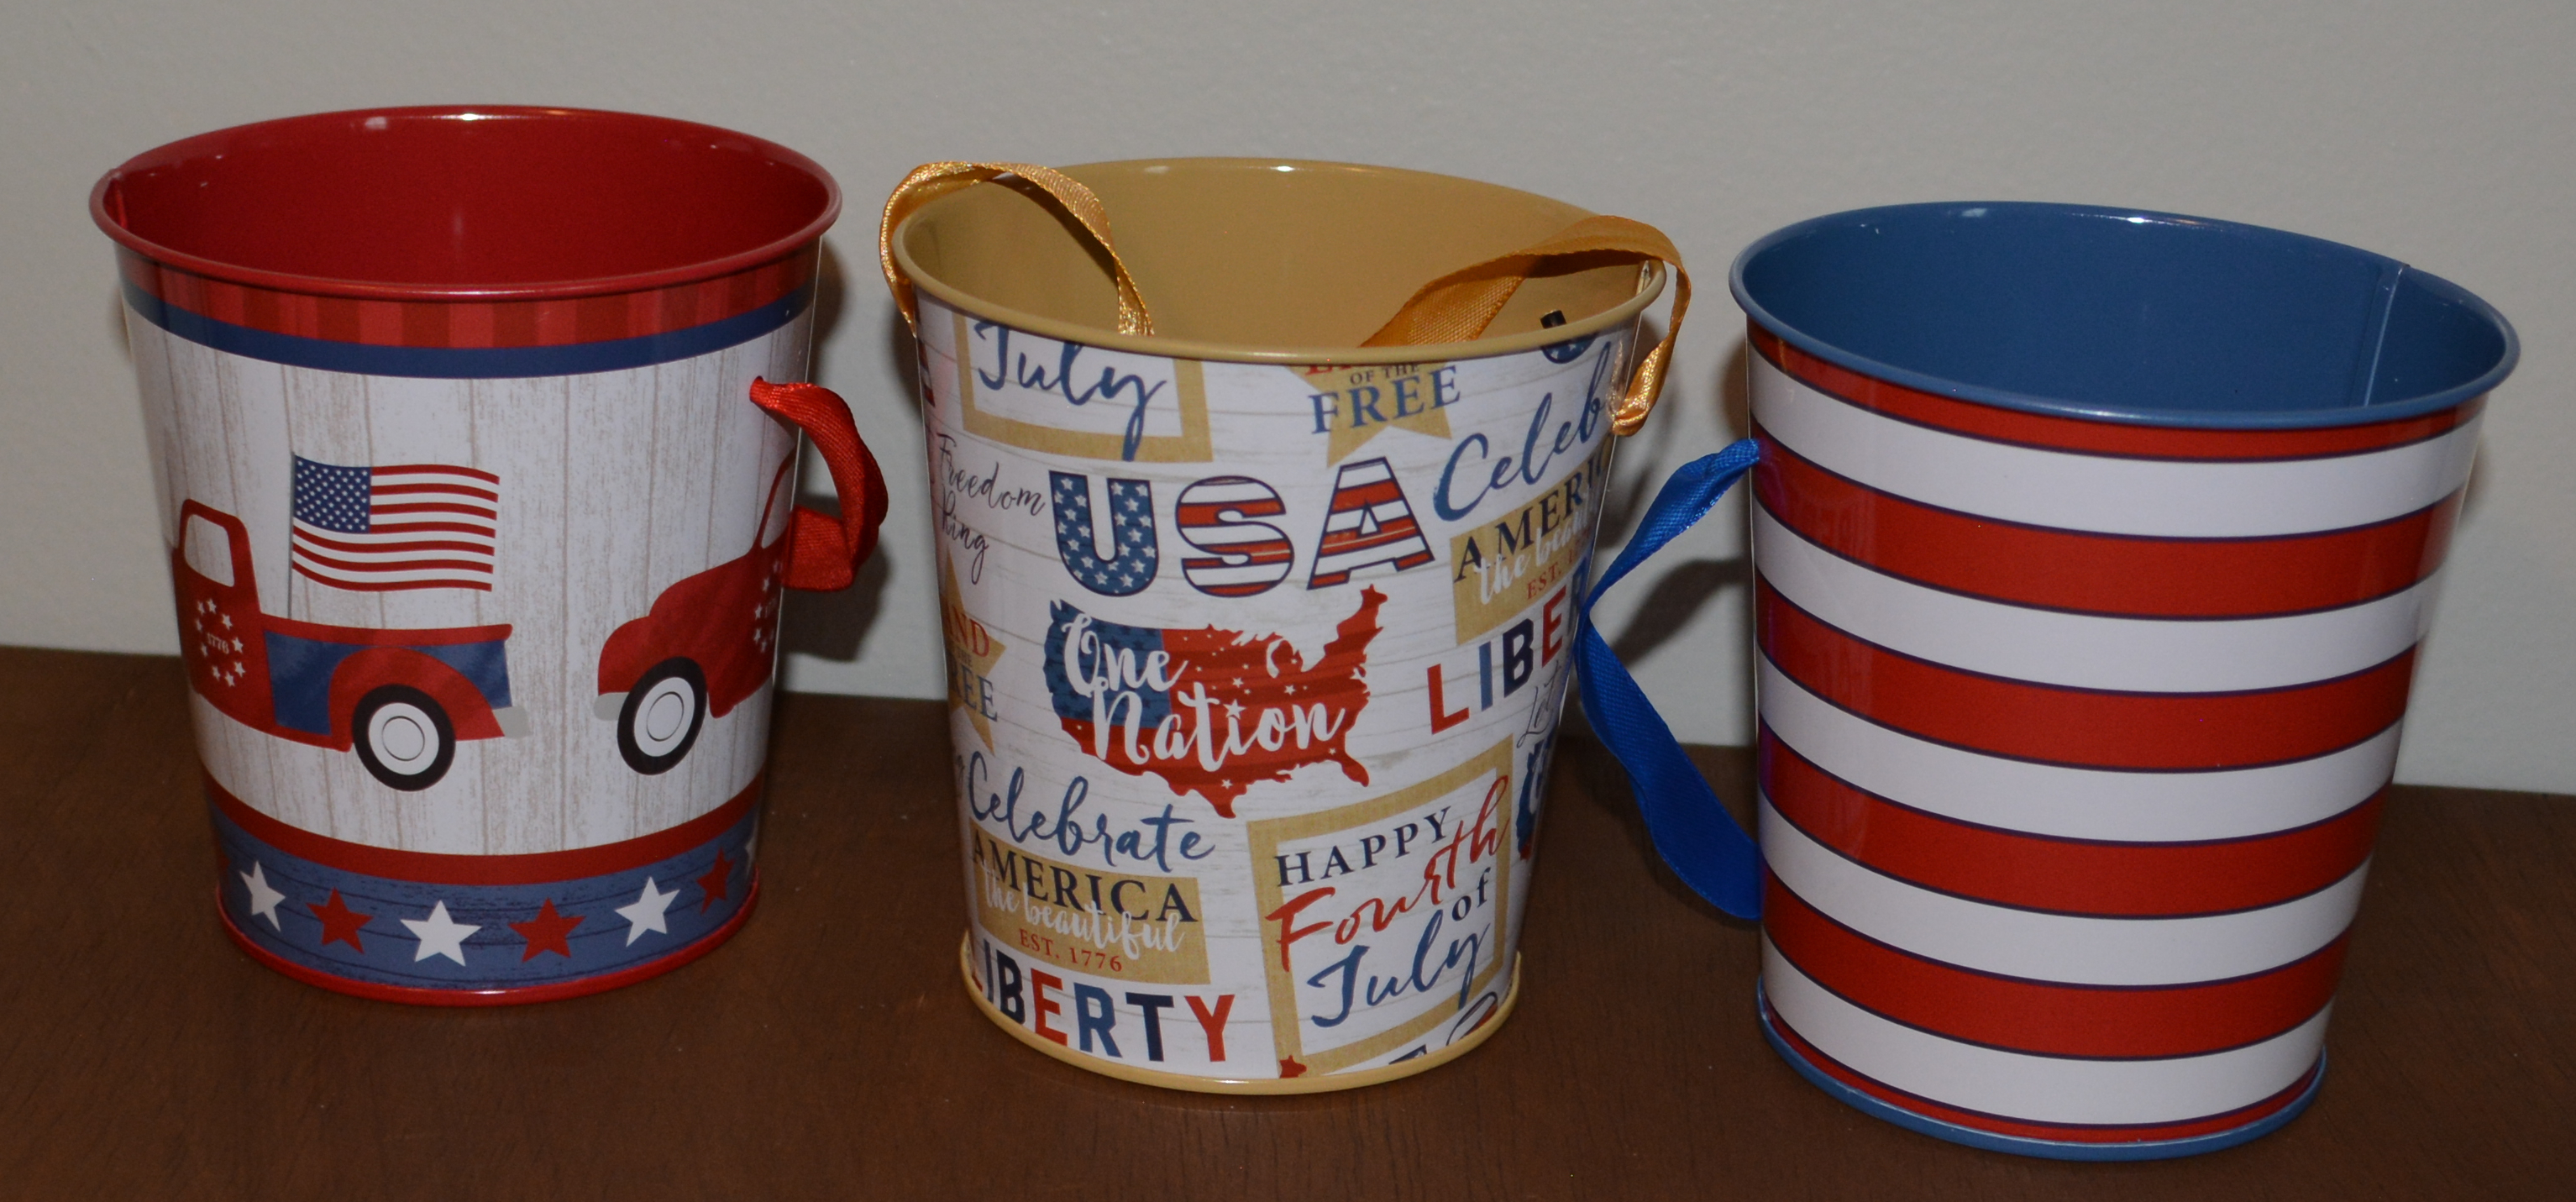
We are going to start with the simplest project. For this first one you will need some red, white, and blue flowers. I also filled in with greenery so that the buckets looked fuller. I am using Dollar Tree buckets as my flower pots. Finally the last thing you will need is either flower foam or a pool noodle.

First thing I did was put floral foam in the bottom of the buckets. If you need to use some glue to hold it in place. I used hot glue. If you do not have floral foam, you can use a pool noodle. Next I arranged the red, white, and blue flowers in the buckets. Once I liked the way they looked, I thought it looked bare. As I looked around my flower stash I saw a big bunch of greenery. It was all from Dollar tree and I used several different kinds to fill out the buckets.
I will show you how I did each set of arrangements and then at the end of the blog post I will show you how I styled everything.
Project 2
Supplies
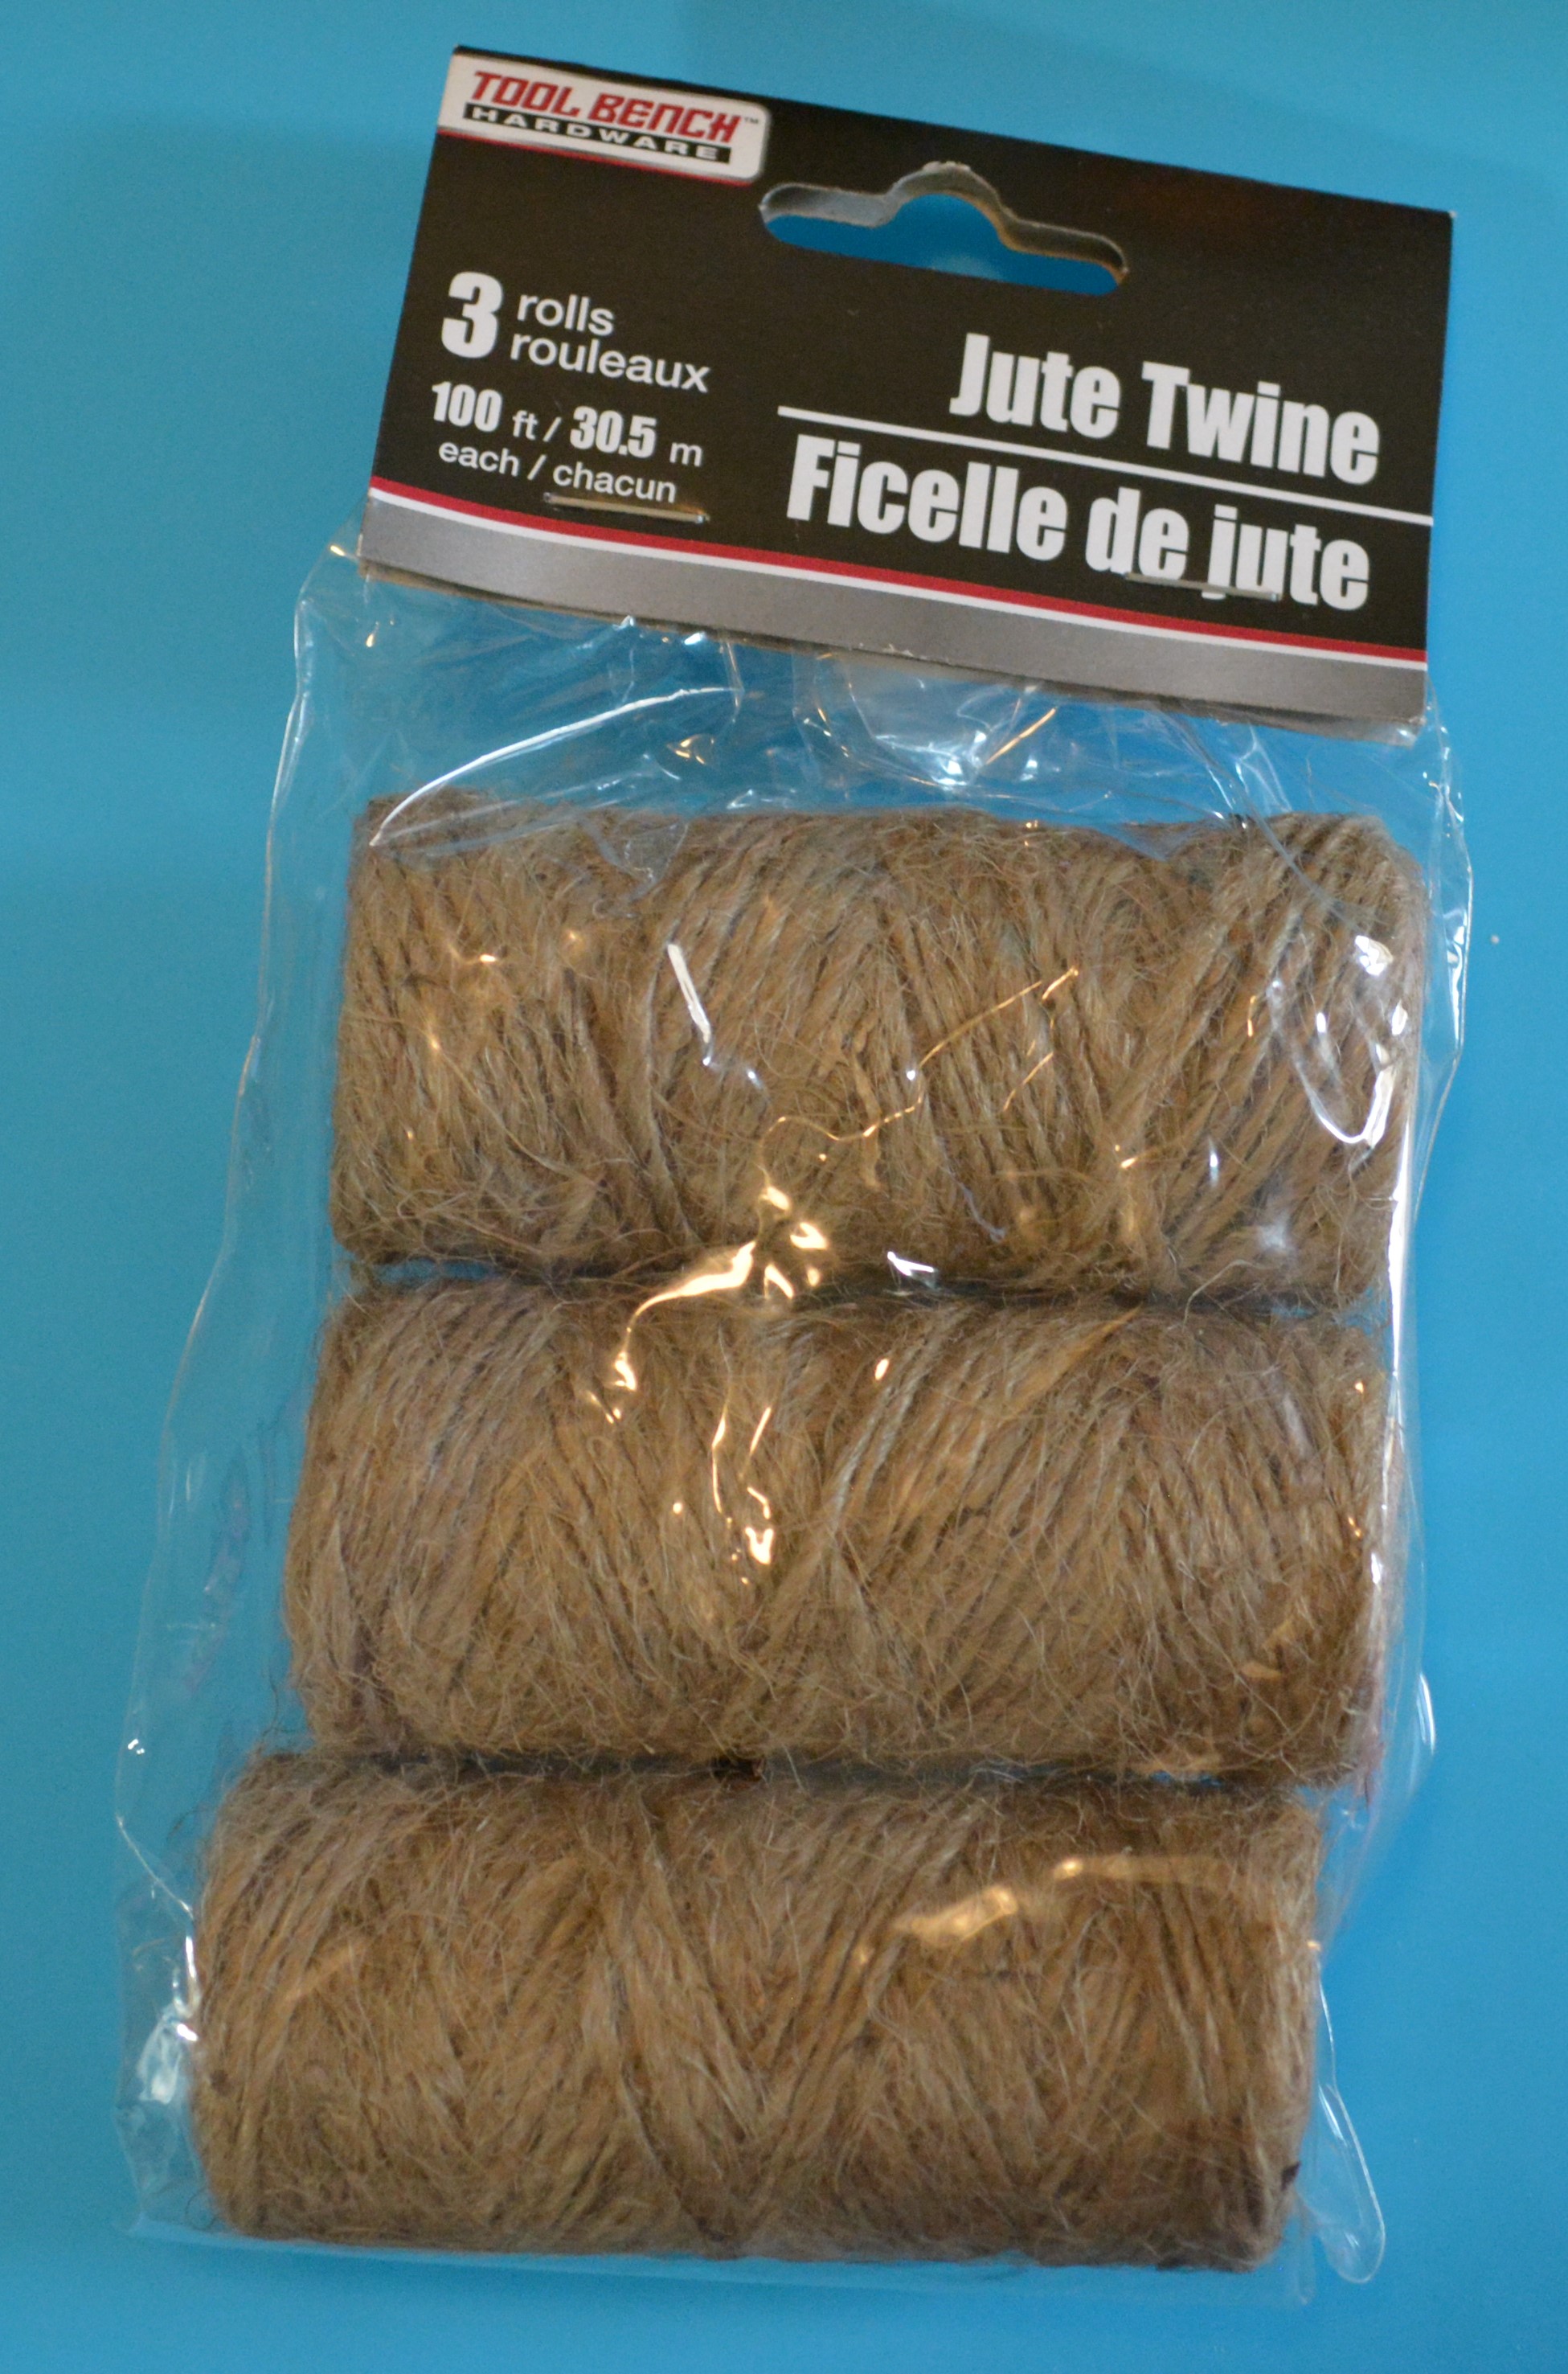

Time for project #2! You will need some more flowers, flower foam, and twine. This time I used terracotta pots. I also used some white chalk paint and some navy acrylic paint.
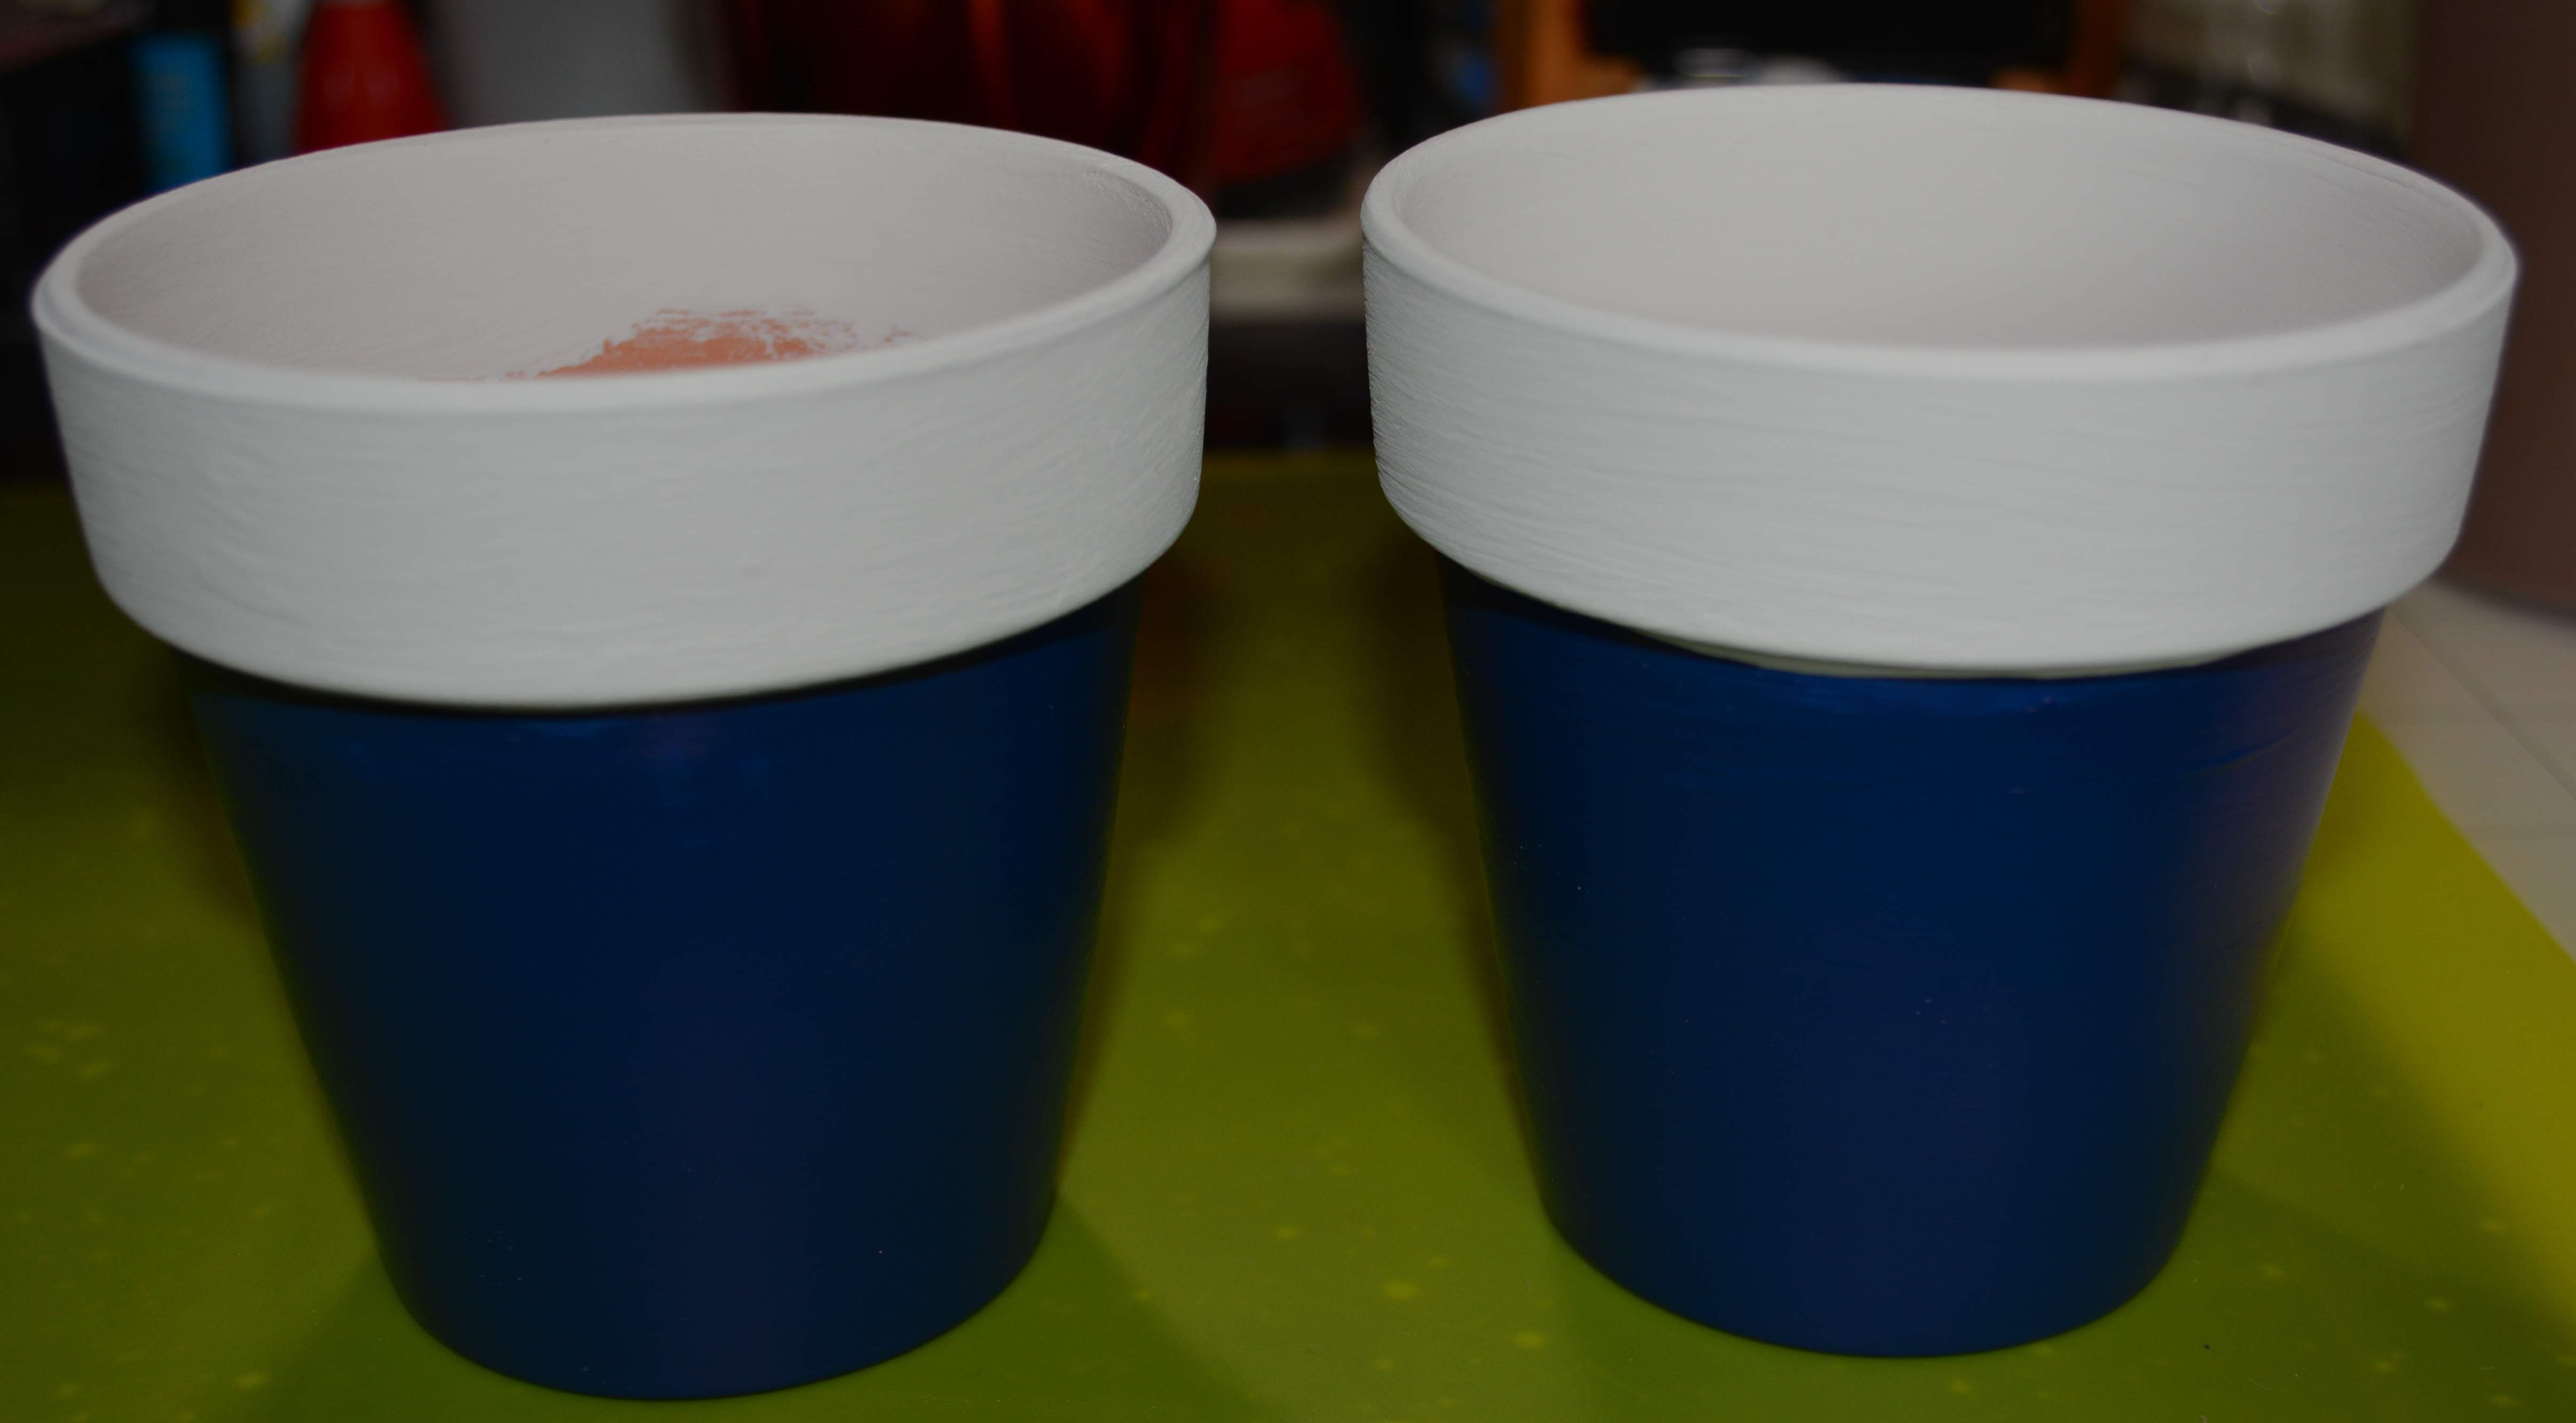
We are going to paint these pots. First I painted the navy blue acrylic paint on the pots. It only took one coat of paint to cover the bottom half of these pots. Once that was dry, I used masking tape to protect my navy paint and then painted the top part of the pot with white chalk paint. Please pick the paint colors you like.
Next I glued some twine around the pots right under the white top. I wrapped it around twice and glued little by little as I wrapped the twine so that it would not slide down and off the pot. Then I tied 2 simple bows and glued them onto the twine that is on the pots.
The last thing I did was hot glued some floral foam to the bottom of the pot and added the flowers. I cut the flowers off of the big stem that they come on so I have individual stems and not one big one. That way I can cut the stems as short as I need to. And with that, project #2 is done!!!
Project 3
Supplies
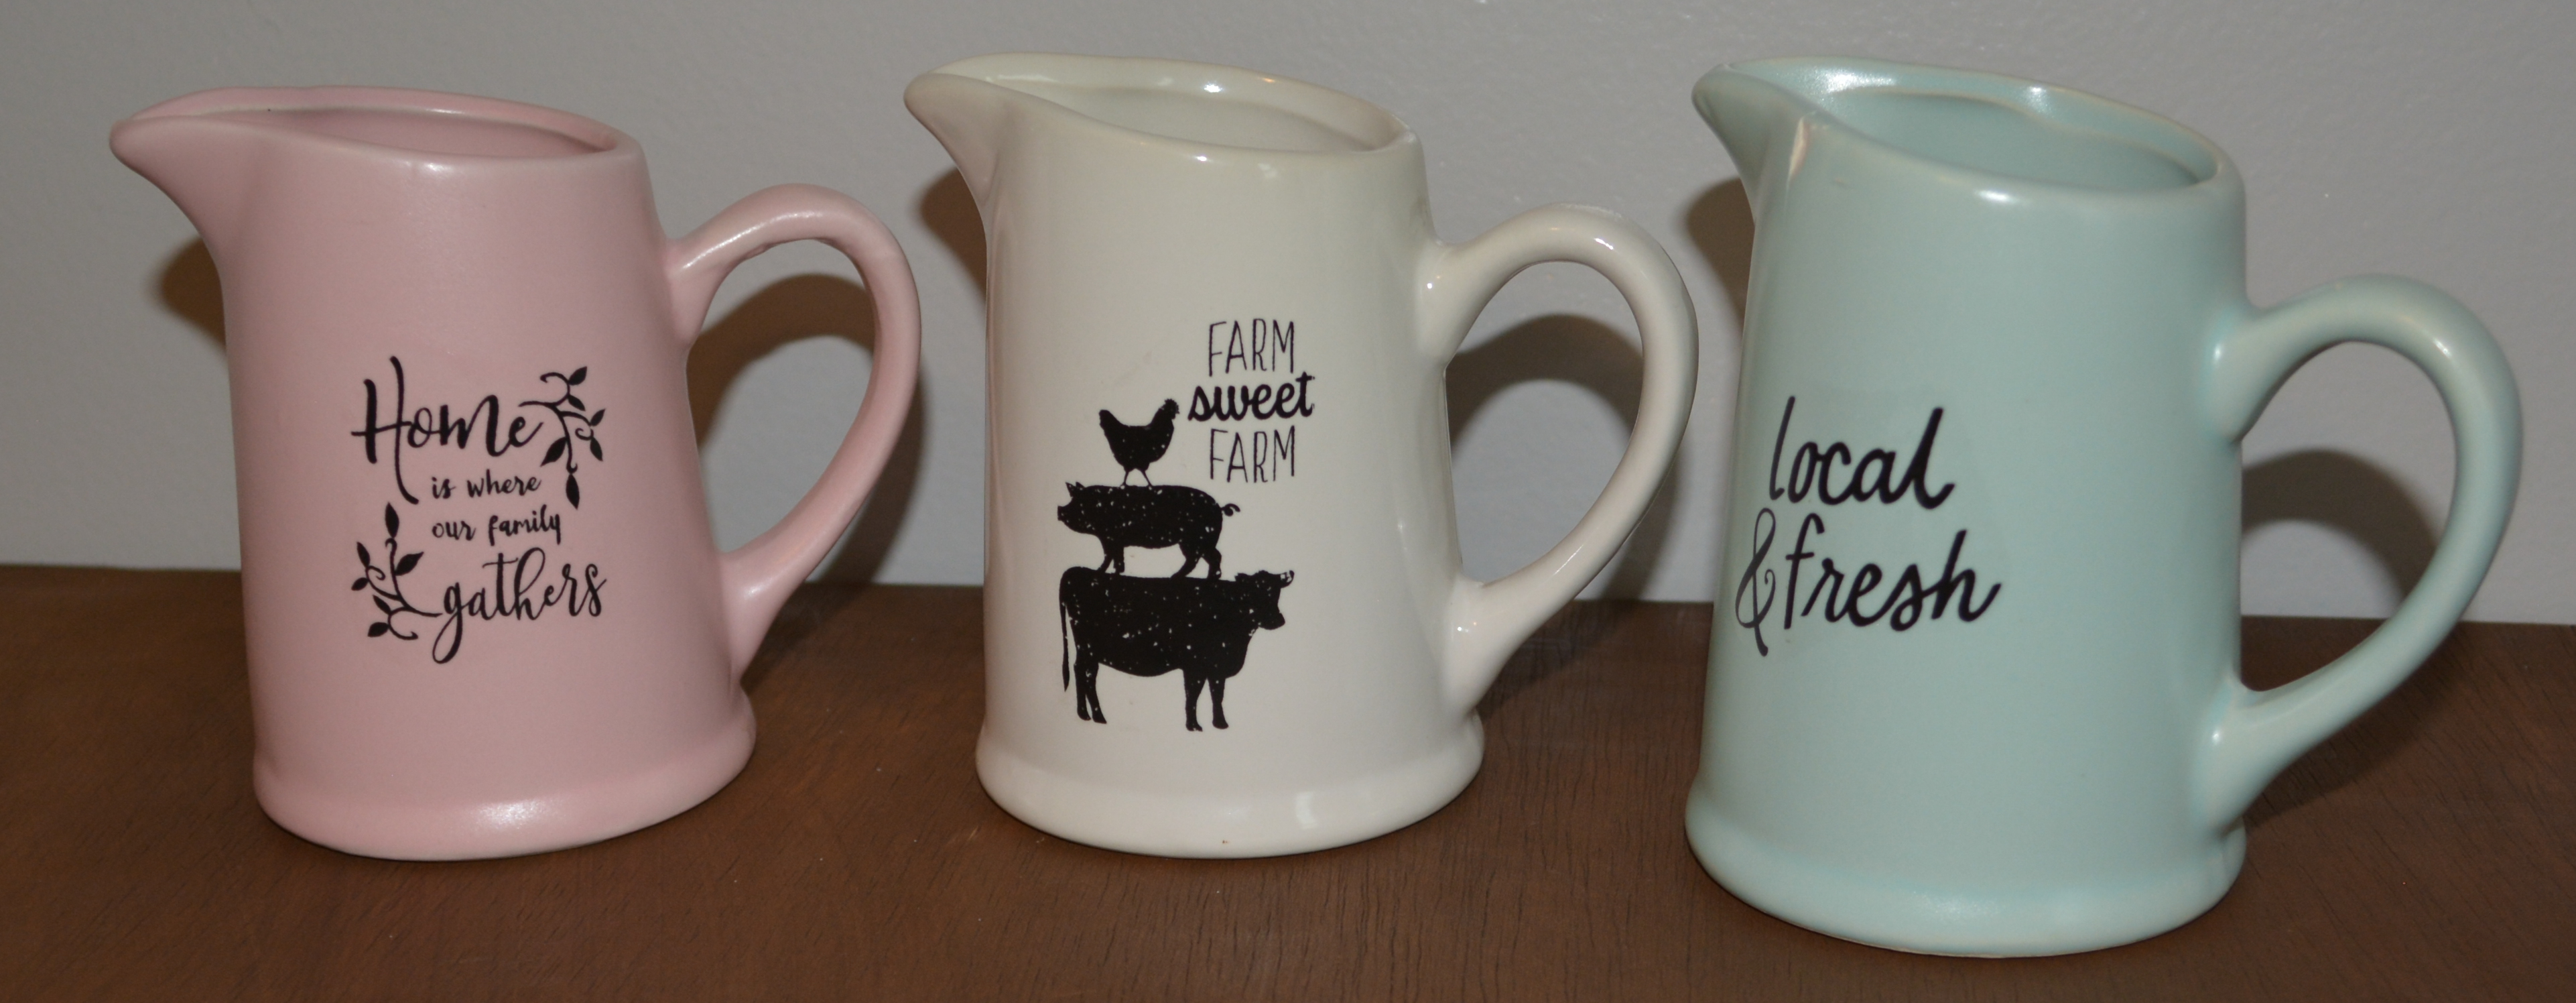

We are going to use a different product for this project. We are going to use alcohol inks and a blending tool. I also used a small pitcher from Dollar Tree. You can use any container that has a non-porous surface to do this project. So something that is slick like metal, glass, or something that has a clear coat on it. And just like the other projects you will need a few flowers.


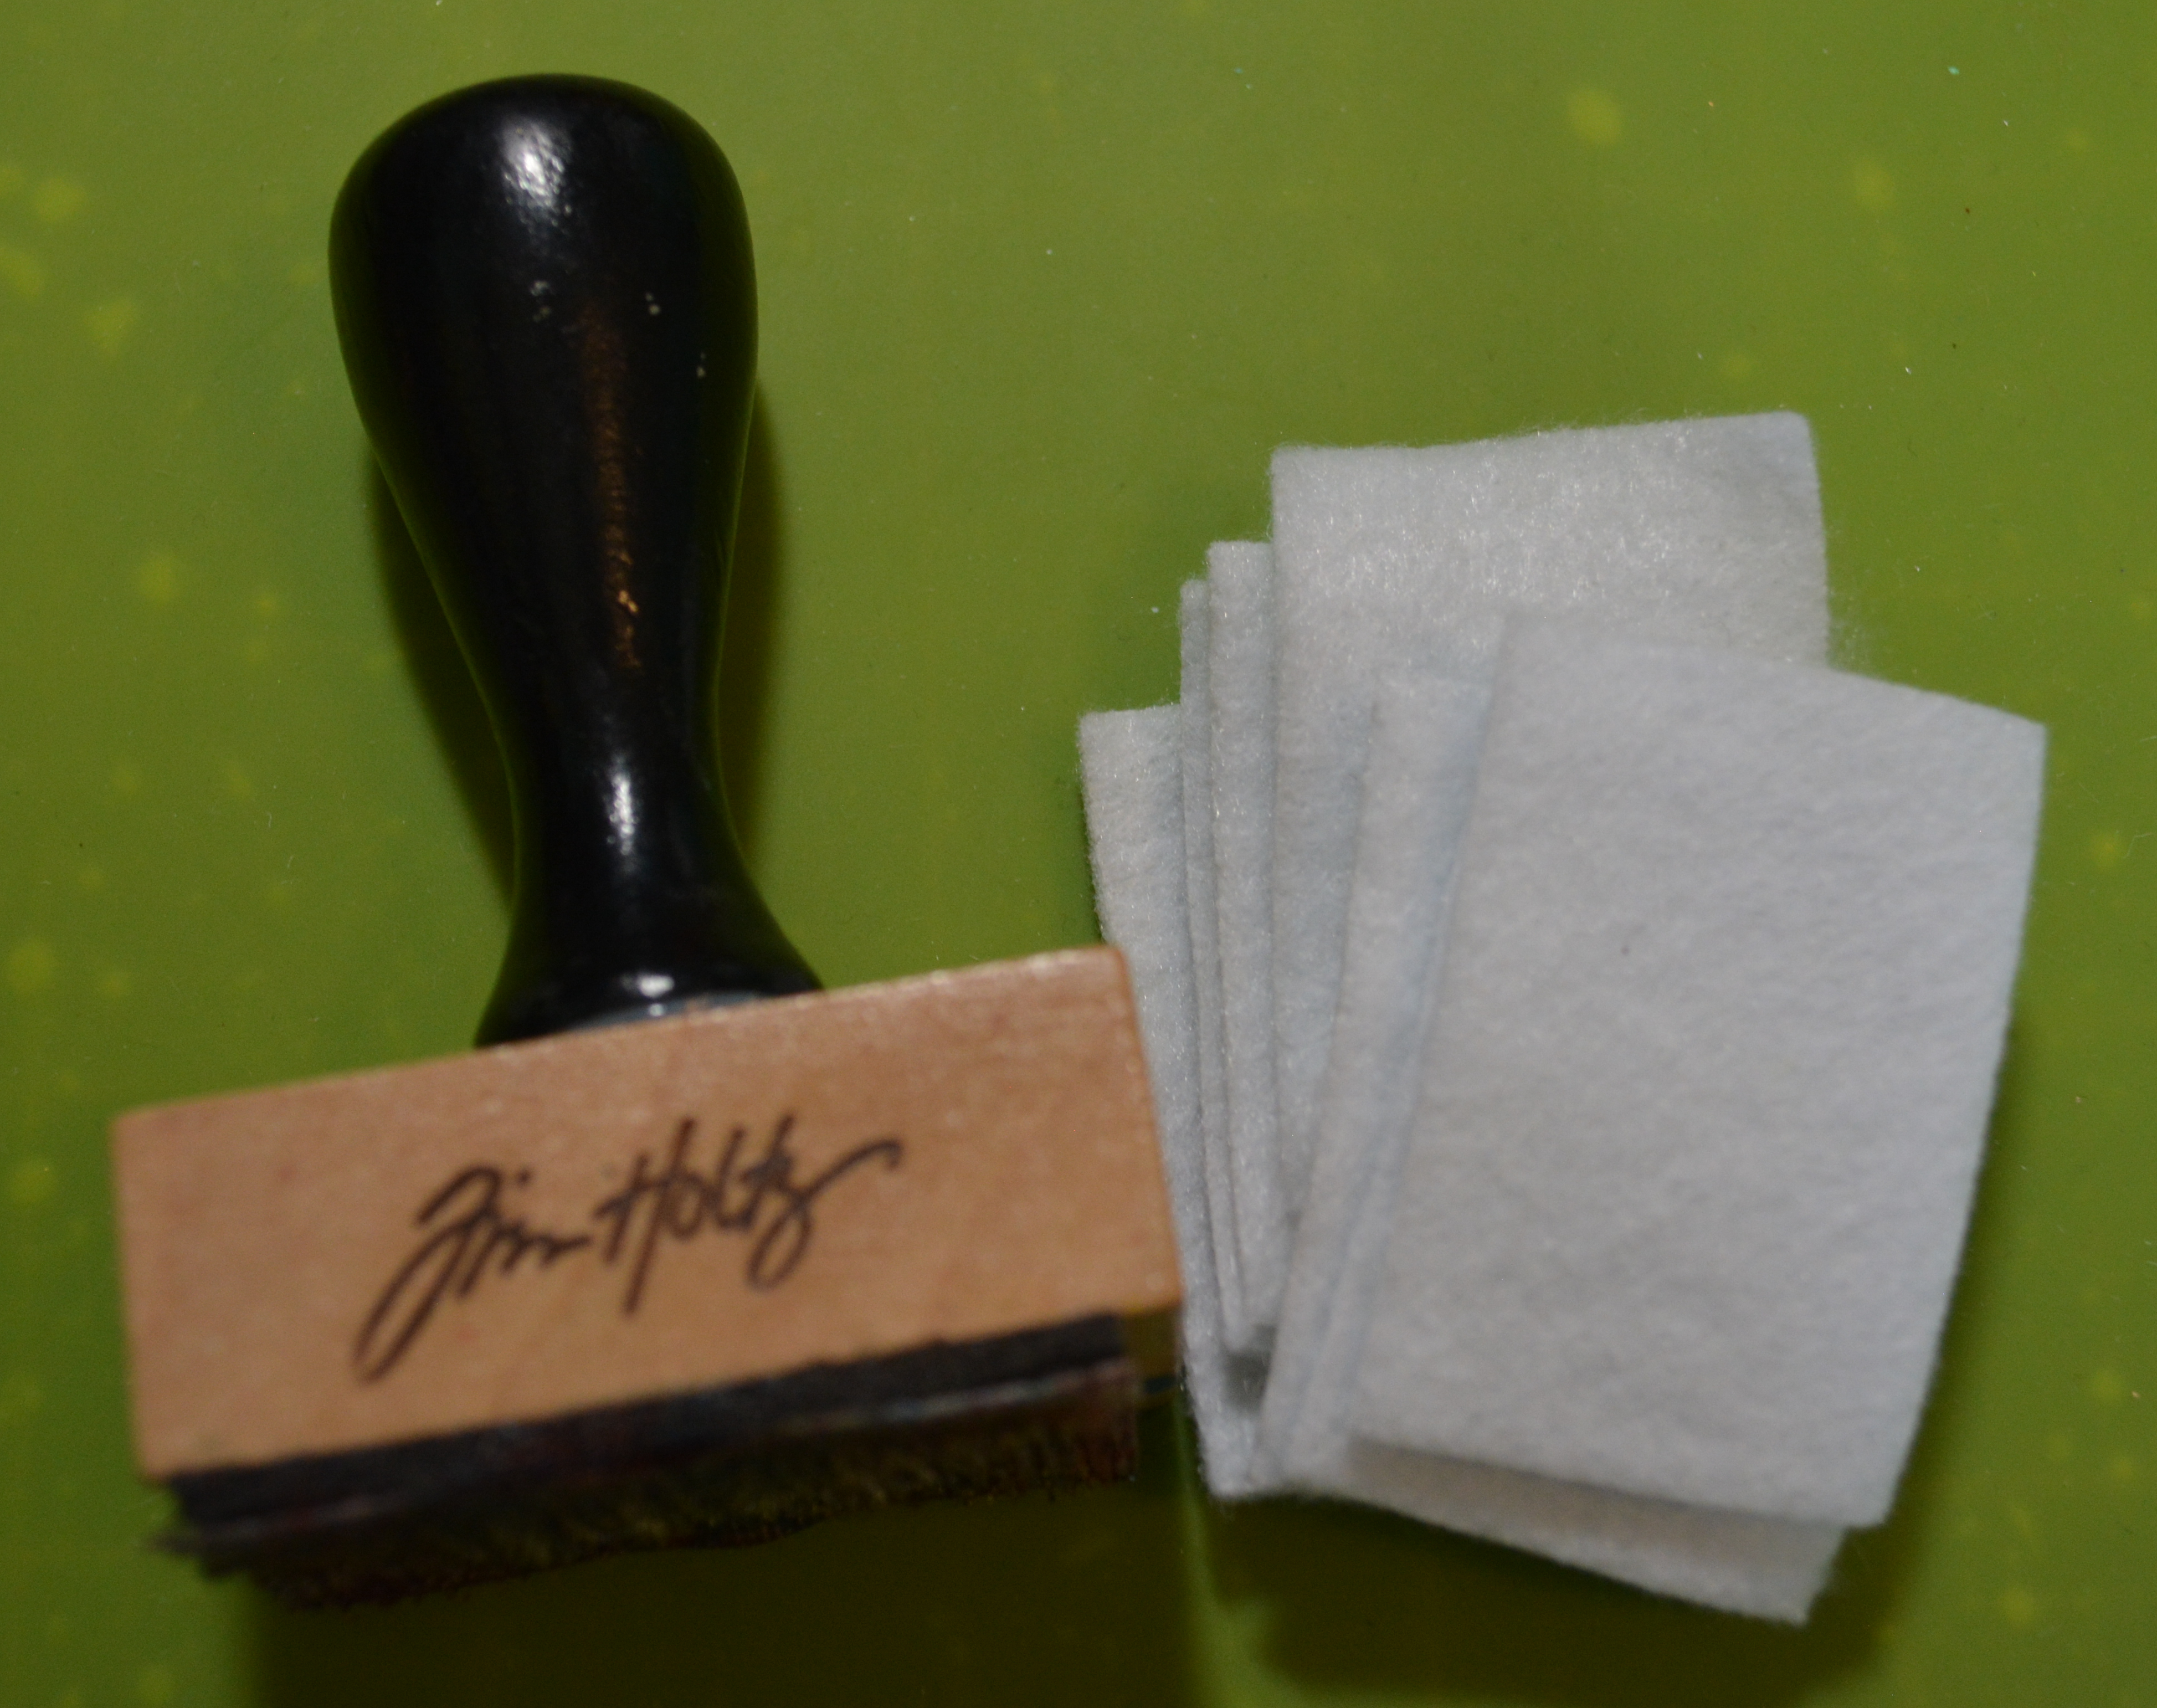
To start our final project, I took some fingernail polish remover and a cotton ball and used the polish remover to get the words and animals off the pitcher. Next I took a Tim Holtz blending tool and felt pads to apply alcohol ink to the pitcher. Alcohol ink gives a marbling affect. If you do it on clear glass, it will look like it is stain glass. It is a really fun and cool to use. To use the ink, add a felt pad to the blending tool then put a few drops of ink on the felt pad and pounce it around the pitcher. The ink drys quickly. Once the first color is dry, on a clean felt pad, add a few drops of the next color of ink and pounce it around the pitcher. You can go back and forth as many times as you want between the two ink colors. Keep in mind the more ink you add, the more it will blend. Since I used Denim and Watermelon alcohol ink, I had to make sure I did not mix them to the point that the ink was purple.
Another thing you can do is use the blending solution to spread the ink out more or blend it together. Now if you do not like how the pitcher is looking, you can put rubbing alcohol on a paper towel and wipe down the pitcher. It will remove all the ink. Then you can start all over again!!


You can see the picture on the left how the ink blended but you can still really see the red and blue colors individually. Alcohol inks are really fun and you can use them in a few different ways.
Since this pitcher is so small I only used 3 flowers. And that’s a wrap!!! Project #3 is done!!
Styling the Projects

What do you think? These small flower arrangements are so cute!! They are simple and easy to do. Each has its own character and can be switched up to fit your style. In our home our decor is Patriotic themed so these flowers I could keep up all year long if I wanted to. I have these on a cart I have in our dinning room. I use candles sticks to add some height to the flowers so that the flowers are not all the same height and it has some interest.
Thank you so much for joining me today. Remember I will be posting 4 days in a row so please come back tomorrow for day 2!!
God Bless You and God Bless America!
Have a wonderful day,
Melissa McGuire
Supplies
Project 1
Buckets- Dollar Tree
Floral Foam- Dollar Tree
Red, White, and Blue Flowers- Dollar Tree
Greenery- Dollar Tree
Project 2
Terracotta Pots- Dollar Tree
Navy Acrylic Paint- Walmart
White Waverly Chalk Paint- Walmart
Twine- Dollar Tree
Masking Tape- Dollar Tree
Floral Foam- Dollar Tree
Red, White, and Blue Flowers- Dollar Tree
Project 3
Pitcher- Dollar Tree
Alcohol Inks- Hobby Lobby or Michael’s Craft Supply
Blender Tool and Felt Pads- Hobby Lobby or Michael’s Craft Supply
Red, White, and Blue Flowers- Dollar Tree
